Quick Answer
The best teeth-whitening kit at home uses an ADA-recognized hydrogen peroxide concentration between 6 and 14 percent (or carbamide peroxide 10 to 35 percent), with either form-fitting adhesive strips or a moldable LED-accelerated tray. Crest 3D White Whitestrips, Snow Teeth Whitening, and AuraGlow LED Kit are the three most rebought at-home systems and all use enamel-safe peroxide chemistry.
Charcoal powders and purple color-correcting toothpastes create a temporary optical effect at best. Only peroxide-based systems change the actual color of dentin, which is what people really mean when they say "whiter teeth."
Extrinsic vs intrinsic stains
Coffee, tea, red wine, and tobacco pigments sit on the outer enamel and form extrinsic stains. Whitening toothpastes with mild abrasives can lift some of these. Age, medication history (notably tetracycline), and natural genetics settle deeper stains into the dentin under the enamel; these are intrinsic stains and only bleaching chemistry can reach them.
How peroxide actually whitens
Hydrogen peroxide (H2O2) is small enough to diffuse through the porous enamel to the dentin. Once there, it breaks down into water and oxygen radicals. The radicals cleave the double bonds in dense pigment chains, breaking them into smaller molecules that reflect more light. Carbamide peroxide is a stable delivery form that breaks down into hydrogen peroxide plus urea when it hits saliva; that is why the same 10% carbamide roughly equals 3.5% hydrogen peroxide in active strength.
Strip vs tray vs pen: which format is best
Whitening strips
Pre-dosed adhesive strips coated with peroxide gel. Easiest to use, hardest to over-apply, and the format with the largest independent research base. Best for beginners and shopper concerned about even coverage.
LED tray kits
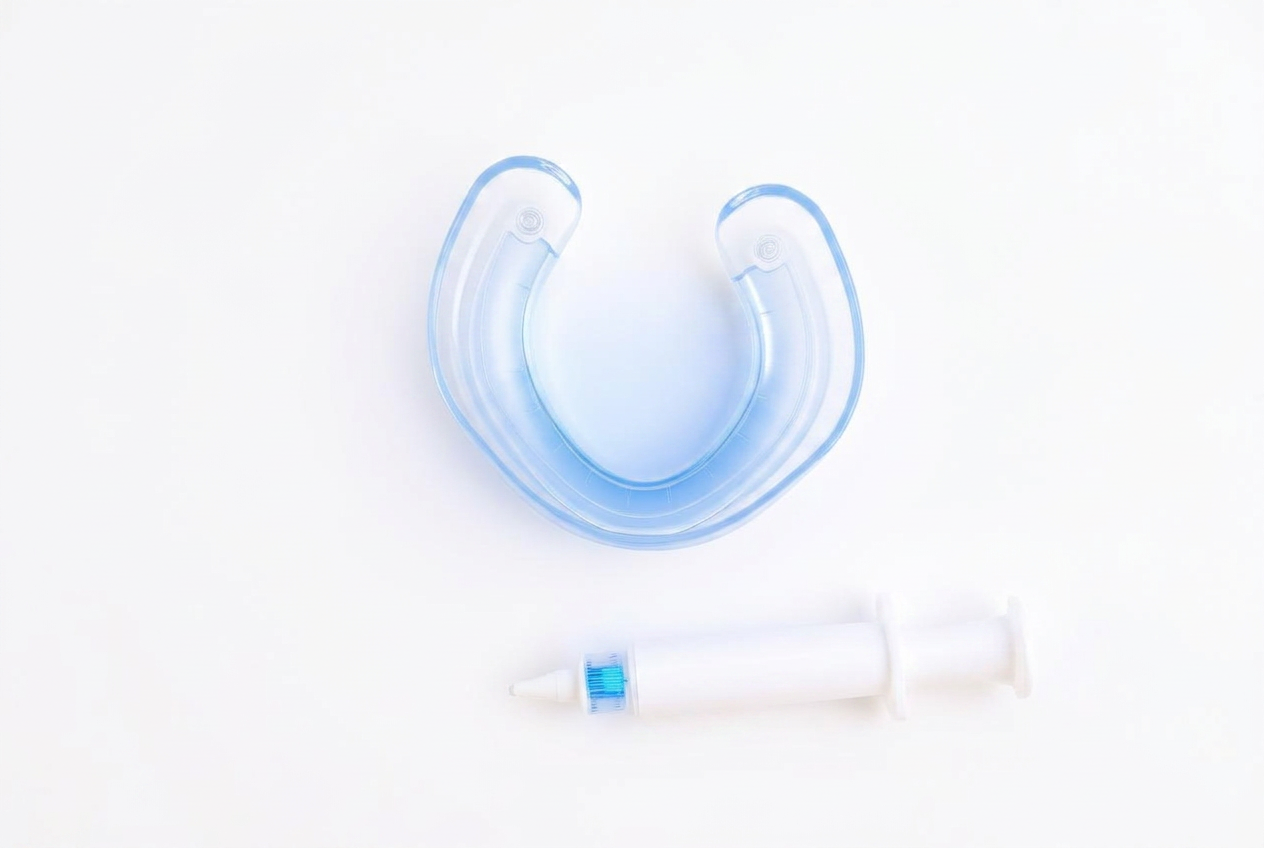
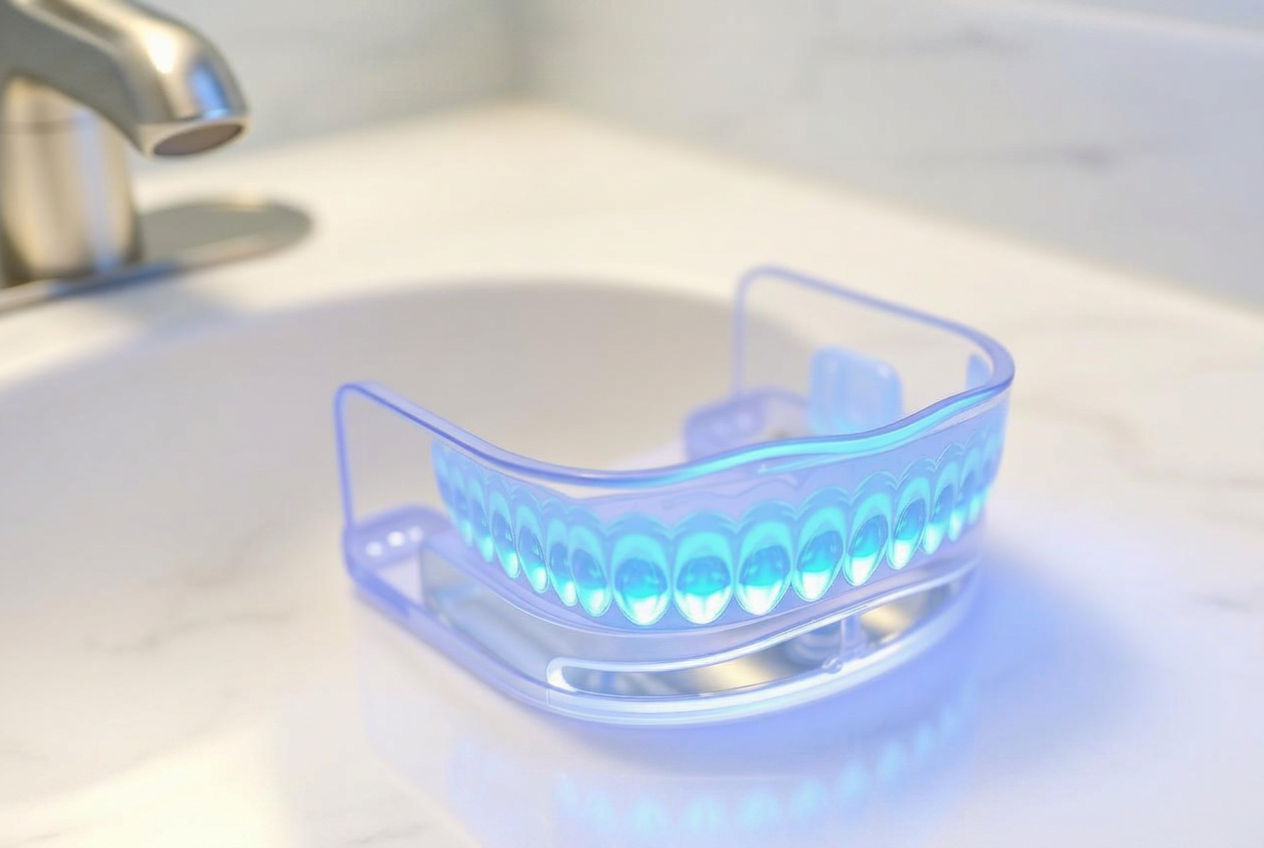
A dual-arch mouthpiece filled with gel from a syringe, plus a blue LED accelerator (415 to 480 nm wavelength). The light does not whiten by itself; it speeds the peroxide breakdown, cutting session time from 45 to 20 minutes. Best for people who want faster results and can tolerate a mild taste.
Whitening pens
Brush-on peroxide gel that sets on the tooth. Useful for touch-ups between full sessions. Not powerful enough as a standalone whitening course.
The five specs that actually matter
- Peroxide type and concentration: 6 to 14 percent hydrogen or 10 to 35 percent carbamide. Above those ranges, the FDA classifies the product as needing dental supervision.
- Sensitivity blockers: potassium nitrate or amorphous calcium phosphate (ACP) in the gel dramatically reduce zings during use.
- Form-fitting delivery: strips that grip or a moldable thermoplastic tray. Loose plastic trays leak gel onto gum tissue.
- ADA Seal of Acceptance (US) or CE marking (EU) is a real quality signal.
- Total peroxide exposure time per cycle: 30 to 45 minutes per day for 7 to 14 days is the safe home range.
Safe whitening protocol
- Brush your teeth 30 minutes before with plain fluoride toothpaste. Do not brush right before whitening; the abrasive plus peroxide combination increases sensitivity.
- Coat gums with a thin barrier of petroleum jelly if your kit is a tray. This shields tissue from chemical burns.
- Apply the tray or strip exactly per label instructions. 30 minutes is a common ceiling; never sleep in a whitening tray.
- Rinse mouth with warm water at the end and brush away residual gel.
- Avoid dark foods for 24 hours: coffee, tea, red wine, berries, soda, curry, beetroot. The enamel is temporarily more porous and picks up fresh stain fast.
- Complete a 7 to 14 day course, then wait at least 3 months before repeating.
Sensitivity management
- Use a potassium nitrate toothpaste (Sensodyne, ProNamel) for one week before and during your course.
- Space sessions every other day if your teeth zing on consecutive days.
- Stop and see a dentist if pain lasts more than 48 hours after a session. Some people have hidden micro-cracks that make home whitening a poor fit.
Common mistakes
- Sleeping in the tray. Extended contact does not add whitening; it just causes sensitivity and gum irritation.
- Whitening on existing dental work. Crowns, veneers, and fillings do not respond to peroxide, so they end up looking darker relative to the whitened natural teeth. Talk to your dentist about restorative color matching first.
- Whitening while pregnant or breastfeeding. No safety data exists; postpone.
- Repeating courses back-to-back. Wait a minimum of 3 months for enamel remineralization.
Bottom line
Choose ADA-recognized whitening strips for the easiest first course, or an LED tray kit with 6 to 14 percent hydrogen peroxide plus potassium nitrate for faster results. Follow the label exactly, use a sensitivity toothpaste alongside, and avoid dark foods for 24 hours per session. Expect two to four shades of visible change within one to two weeks and hold the result with a touch-up pen once every few months.