Quick Answer
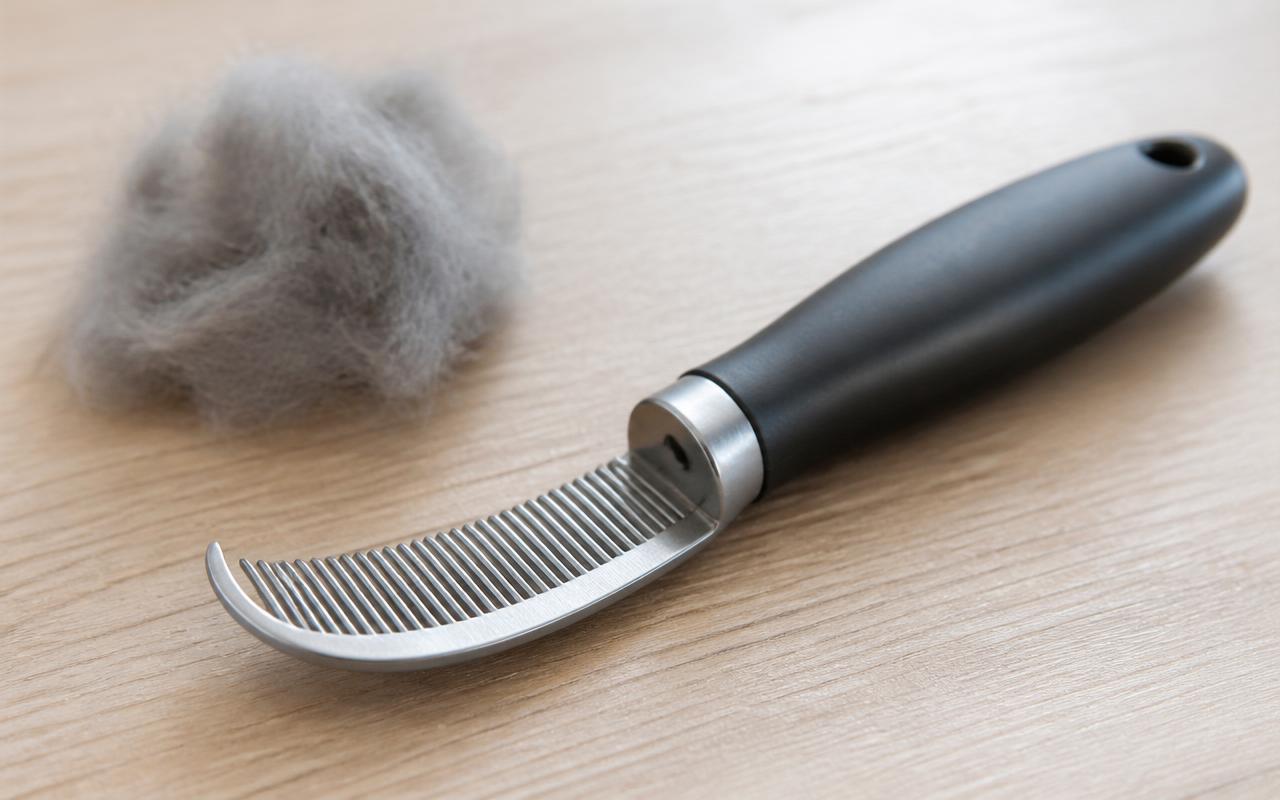
The best mat splitter for cats is a curved single-blade tool with a rounded safety guard tip, a laser-sharpened internal razor edge, and an ergonomic thumb-rest handle. Slide the smooth guard under the mat flat against the skin, pull the tool in the direction of hair growth, break the knot into strands, and finish with a stainless steel comb. Never scissor-cut a feline mat blind.
The reason a good mat splitter matters is anatomy: cat skin is thin, loose, and elastic, and a tight mat pulls that skin straight up into the center of the knot. A blind scissor cut nicks skin more often than groomers admit.
Why cats need a dedicated splitter, not scissors
Dog and human mats form some distance from the scalp. Cat mats form right against the skin because the felted layer is the soft undercoat and the top of the guard hair. When you pull a mat away from a cat to cut it, you are pulling the skin up too.
A mat splitter solves that with a J-shaped or hook-shaped tip. The dull outer curve rests flat against the skin. The razor edge lives on the inner curve, facing away from the cat. As you pull, hair passes through the hook and hits the razor; skin cannot.
Blade geometry that actually works
- Tapered rounded guard tip. The tip should be dull enough to press against your inner wrist without any bite. If it stings your wrist, do not put it near a cat.
- Laser-sharpened internal razor. Sharpness matters: a dull blade tugs the mat and pulls the root instead of slicing.
- Replaceable blade cartridge. Good tools let you swap the razor rather than replace the whole handle.
- Non-slip ergonomic grip. Rubber-coated handle with a thumb rest keeps the tool steady on wet, groomer-oiled hands.
- Left-and-right-hand versions. Some models have a fixed hook orientation. Check before you buy.
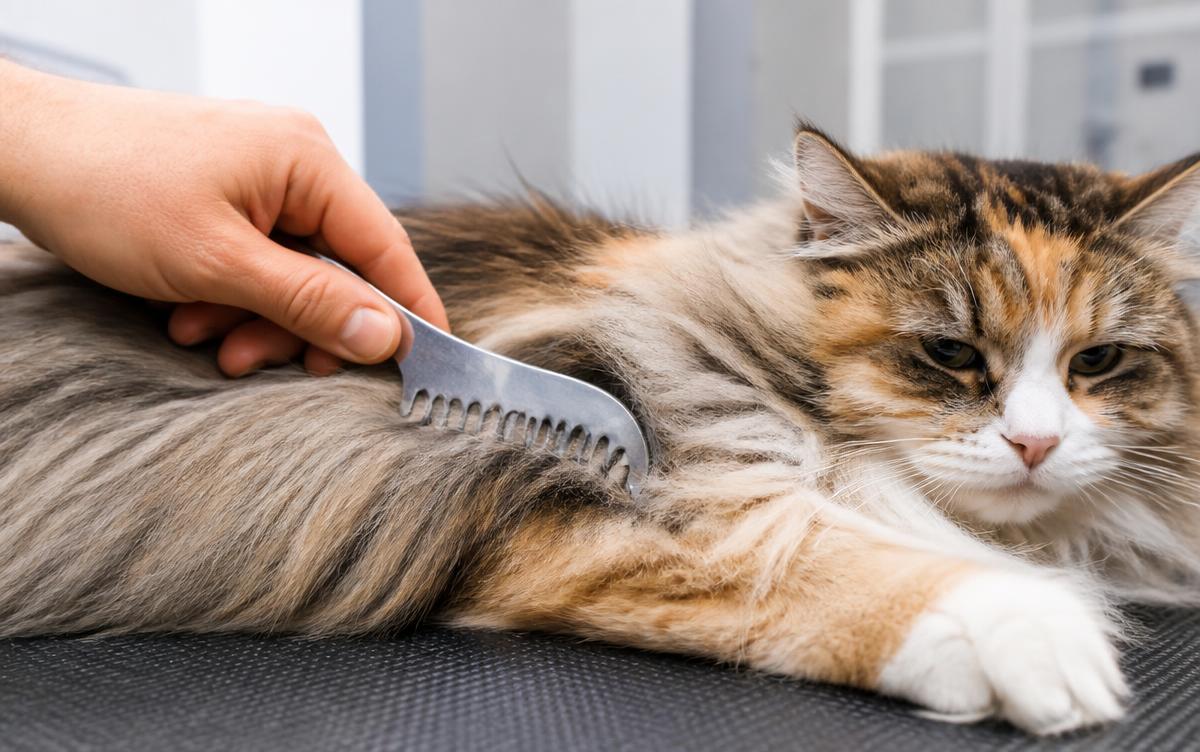
Single-blade vs multi-blade rake styles
- Single-blade precision splitter. One J-hook. Best for tight, small mats near the ears, armpits, and groin. Slow but very safe.
- Multi-blade dematting rake. A row of hooked teeth, each with an internal razor. Best for wide felted patches on the flanks or lower back. Faster but easier to overwork.
- Curved edge dematting comb. A hybrid. Fine teeth with a serrated inner edge. Works on light pre-mats before they turn into real knots.
For most home users with a long-haired cat, the single-blade splitter is the safer starting tool. Add a multi-blade rake later if you deal with wide flank mats often.
Step by step: safely splitting a cat mat
- Read the mat first. If the skin under it is red, hot, or smells bad, stop and see a vet. That mat is hiding a hot spot.
- Isolate the mat. Part the surrounding fur so you can see the base of the knot clearly.
- Support the skin. Pinch the hair between the mat and the skin with your free hand. This absorbs pulling force so the razor pulls hair, not skin.
- Slide the guard under. Rounded tip flat against the skin. If you cannot slide it, the mat is too tight; move to a groomer.
- Pull with the grain. Short strokes in the direction of hair growth. Never against.
- Split into strands, do not cut off. The goal is to open the mat into 3 to 5 sections that a wide-tooth comb can then work through.
- Comb through. A stainless steel greyhound comb clears the loosened hair away.
- Stop early. If the cat tenses, breathe, treat, and continue in the next session. A half-split mat now beats a bitten hand and zero mats.
When not to use a mat splitter
- Skin-tight pelt matting. If the fur has felted into a hard shell against the skin, a splitter cannot slide under. That is a professional clipper job.
- Mats over a joint or under the tail. Skin folds unpredictably. Better done by a groomer.
- Any mat with visible bleeding or wet skin. Vet visit first.
- A cat that panics on the grooming table. A defensive scratch during a splitter session ends badly. Sedated grooming exists for a reason.
Preventing the next mat
- Two-minute daily armpit and groin check. That is where cat mats start.
- Weekly full comb-through with a stainless steel greyhound comb.
- Feline detangling mist on friction zones. Reduces static and re-tangling.
- Full bath every 6 to 8 weeks for long-haired breeds. Bathing after brushing tightens loose mats.
- Sanitary trim every 2 to 3 months. Long armpit fur is a mat factory.
Common mistakes
- Cutting a mat off with straight scissors held perpendicular to the skin.
- Pulling the mat away from the cat before you cut. Skin comes with it.
- Using the splitter against the grain. Yanks the root and hurts.
- Trying to remove the whole mat in one pass. Break it into strands first.
- Grooming a cat that is actively fighting. Stop and reset.
Bottom line
The best mat splitter for cats is a single-blade curved tool with a rounded safety hook, a sharp inner razor, and a grippy thumb-rest handle. Slide the hook flat against the skin, split with the grain, break the mat into combable strands, and never scissor-cut blind. If a mat feels felted to the skin, is over a joint, or is over hot red skin, that is a vet or professional groomer job. A weekly comb pass makes the splitter almost unnecessary; that is the real goal.