Quick Answer
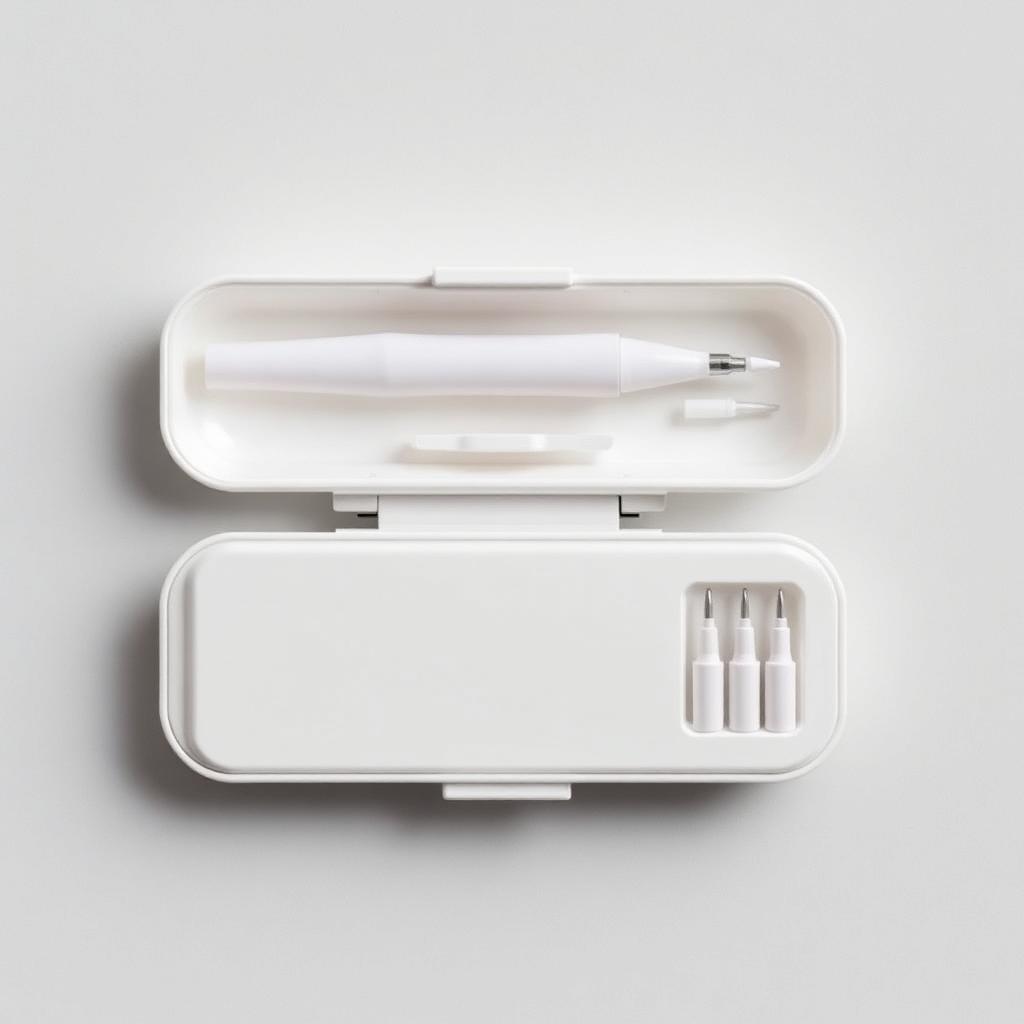
The best ear wax removal camera kit is a 3.5 mm probe otoscope with 1080P video, six adjustable LEDs, Wi-Fi to a phone app, and soft food-grade silicone scoops. You see what you are doing instead of blindly pushing wax deeper.
Cotton swabs do not clean ears. They compact wax. A camera changes that from a guessing game into something you can actually navigate.
Why blind cleaning fails
A cotton swab is wider than the outer ear canal. Push it in and it acts like a piston, ramming loose wax down against the eardrum. Over months this turns into a dense, hardened plug that can cause temporary hearing loss, tinnitus, and infection.
The ear canal is also curved and shallow. Even a small metal loop, used blind, can scrape the delicate skin and cause bleeding you cannot see.
What a good ear camera kit looks like
- 3.5 mm probe or thinner. Anything larger cannot pass the canal safely.
- 1080P camera. 720P is grainy; you need to see the wall clearly.
- 6-LED adjustable ring. A single LED casts hard shadows.
- Wi-Fi to a phone app. Wired probes are cheaper but awkward.
- Gyroscope image rotation. Keeps the view upright as your hand angles.
- Food-grade silicone scoop tips. Not metal, not hard plastic.
- Charging cradle with UV or antimicrobial holder. A tip that lives in a pocket is not clean.
Step by step: safe visual cleaning
- Soften wax first. Two nights of hydrogen peroxide or carbamide peroxide drops before the extraction session.
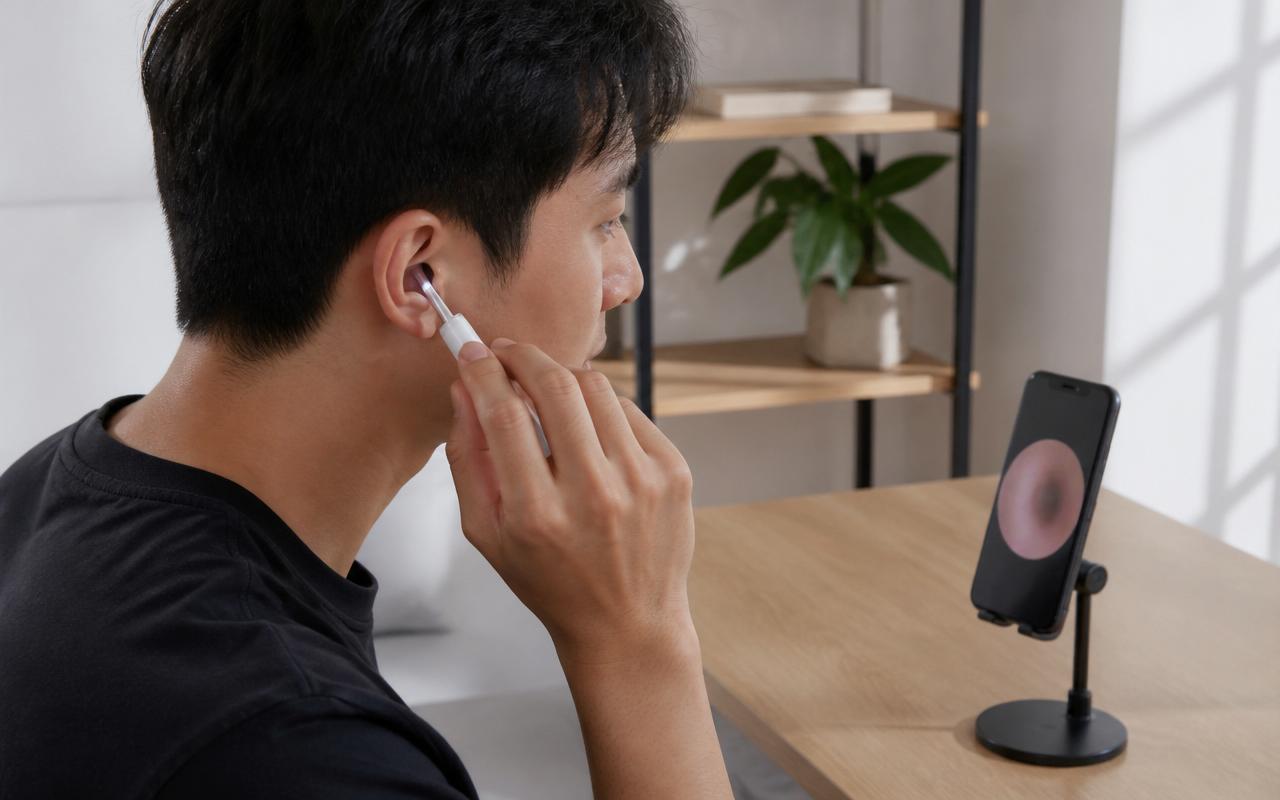
- Pair the camera to the app. Test the image on your palm.
- Tilt your head sideways over a towel. Gravity is a friend.
- Insert the probe slowly. Never past the point where you can see clean canal walls.
- Look for a soft flake, not the drum. If you see anything glossy and pale, stop; that is the eardrum.
- Scoop with a silicone tip. Rotate a quarter turn, retract slowly.
- Rinse the ear afterward with warm water. A bulb syringe helps clear residue.
- Wipe the probe with alcohol. Store the tip in the holder, not loose.
When to stop and see a professional
- Wax looks dark brown or black and does not shift with drops. Likely impacted; a nurse or ENT irrigates safely.
- Sharp pain, dizziness, or ringing during cleaning.
- Any discharge, blood, or smell.
- A history of ear surgery, tubes, or a ruptured drum.
- Children under 12; leave it to a clinician.
Common mistakes
- Skipping the softening step. Dry wax scratches on the way out.
- Pushing past the second bend of the canal. There is no reason to be that deep.
- Using metal loop tips because they came with the kit. Silicone only.
- Cleaning weekly out of habit. Once a month is plenty for most people.
- Sharing the wand. Skin flora is personal; each user needs a labeled probe.
Care and hygiene
Wipe the probe body with 70 percent isopropyl alcohol before and after each use. Silicone tips get soaked in warm soapy water, air dried, then stored in the case. If the camera lens fogs, a lens cloth (not tissue) clears it without scratching. Charge the wand once every two weeks even if you have not used it; the small battery drops quickly at rest.
Bottom line
A slim, high-definition, Wi-Fi ear otoscope with soft silicone scoops turns ear cleaning from a blind gamble into a visible, cautious job. Soften wax first, tilt your head, watch the screen, never past clean canal walls, and stop the moment anything hurts. If a plug will not budge, that is a clinic visit, not a longer probe.