Quick Answer
To remove a scratch from a car, first find out how deep it is with the fingernail test. If your nail glides over it, the scratch is in the clear coat and can be polished out with an abrasive compound and a microfibre pad. If your nail catches the groove, the scratch has cut into the colour coat or primer and needs touch up paint, not polish.
For shallow clear coat scratches the process is wash, clay, polish in a cross hatch pattern, wipe, and reseal with wax. For deep scratches the process is clean, fill with matching touch up paint in thin layers, level, and reseal.
How Automotive Paint Is Layered
Modern factory paint is built in layers. The bottom is bare metal, then a primer that bonds to the metal and resists corrosion, then a base colour coat that holds the pigment, and finally a clear coat that adds gloss and UV protection.
Polish only works on the clear coat. The moment a scratch breaks through into the colour or primer, no amount of polishing will hide it, because there is nothing left to refract light evenly.
The Fingernail Test
Run a fingernail across the scratch at a right angle. If it slides over without catching, you are in the clear coat. If it catches and drops into a groove, the scratch is deep.
I also like to look at the scratch under natural light from different angles. Clear coat scratches almost disappear when wet, because water briefly fills the groove. Deep scratches stay visible when wet.
Removing a Clear Coat Scratch
For shallow scratches I use a hand polishing method that anyone can do in a driveway.
- Wash and decontaminate. Wash the panel with car shampoo, dry it, then run a clay bar over the area to lift embedded grit. Polishing over grit creates new scratches.
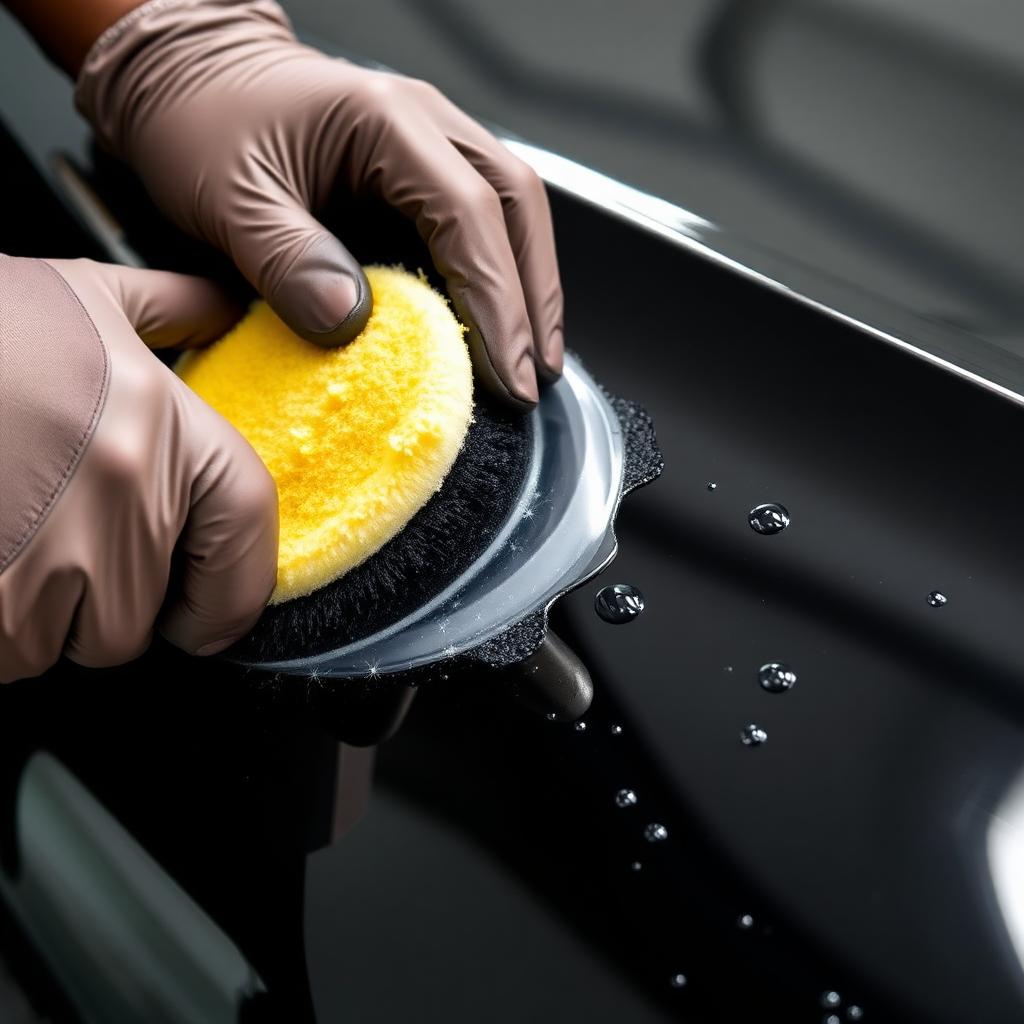
- Apply compound. Place a dime sized drop of polishing compound on a microfibre applicator pad.
- Cross hatch buff. Work in firm, even passes, alternating up and down with left and right. Avoid circular motions, which leave swirl marks under sunlight.
- Wipe and inspect. Wipe the residue off with a clean microfibre towel and check progress. Repeat once or twice if needed.
- Seal with wax. Polishing removes a thin layer of clear coat. Lock the repair in with a quality carnauba wax or a ceramic sealant.
Repairing a Deep Scratch with Touch Up Paint
If the scratch has cut into the colour, you have to fill the groove rather than polish it.
- Match the code. Find the paint code on the door jamb sticker and order a matching touch up pen or bottle from the dealer or a reputable colour matching service.
- Clean the groove. Wipe the scratch with isopropyl alcohol on a cotton swab and let it dry completely.
- Build thin layers. Apply paint in very thin coats with a fine brush or the tip of a toothpick. Let each layer dry fully before adding the next. Overfill is the most common mistake.
- Level after curing. After a few days, the repair can be carefully levelled with very fine wet sanding (2,000 to 3,000 grit) and then polished to blend the gloss.
- Top with clear coat. Apply a small drop of clear coat over the cured colour to restore protection.
What Not to Do
Skip toothpaste. The internet loves recommending it, but toothpaste polishes are a poor match for clear coat chemistry and can leave a hazy spot you then have to polish properly anyway.
Avoid heavy compound on dark paint without a follow up finishing polish. Aggressive compounds leave micro marring that shows up as a dull halo around the repair.
When to Call a Pro
If the scratch crosses a body line, runs over a curved panel like a fender arch, or shows bare metal at the bottom, hand it to a body shop. A spot repair from a pro is far cheaper than redoing a botched DIY job.
The takeaway
Diagnose first, then choose the right method. Clear coat scratches polish out with compound, a microfibre pad, and a careful cross hatch motion. Deep scratches need matching touch up paint in thin layers, finished with a drop of clear and a wax to lock everything in.
Practical Tips and Common Mistakes
Most of the value in this kind of routine comes from doing the boring steps consistently rather than chasing the perfect product. Buy a quality core kit, store it where you will actually use it, and put a reminder on your phone so the schedule does not slip. A weekend habit, even a short one, will keep your car ahead of the curve.
The most common mistake I see is rushing. Five extra minutes spent doing each step carefully almost always saves a redo or a much larger repair down the line. Take your time, follow the manufacturer instructions for your specific vehicle, and do not be afraid to stop and look up a question before you continue. There is no shame in pausing to confirm a torque spec or a service interval.
Keep a simple log in your phone with the date, mileage, and what was done. When the next service comes around or you go to sell the car, that history is worth real money and removes any guesswork about what is due. A photo of the dipstick, the brake pad, or the new battery sticker takes seconds and answers a future question in one tap.
Finally, do not assume more is better. Overfilling fluids, over scrubbing surfaces, and over tightening fasteners all cause their own problems. Follow the spec, stop when the job is done, and move on. The same rule applies to upgrades: pick the part that actually solves your problem rather than the most expensive option on the shelf.
Build a small kit you can keep in the car: a digital tyre gauge, a microfibre towel, a quart of the correct oil, a torch, jumper cables or a lithium jump pack, and a quality torque wrench at home. None of these are exotic, but together they cover most roadside surprises and let you handle routine work with confidence.
The last habit worth building is paying attention. New noises, new smells, new vibrations, and new warning lights all mean something. Catching them early almost always turns a major problem into a minor one. A car that gets a few minutes of attention every week rarely surprises you with a major bill.