Quick Answer
To clean car seats, match the method to the material. For cloth, vacuum deeply, spray a fabric specific cleaner, agitate with a medium stiff brush, then extract the residue with a clean microfibre towel without soaking the foam. For leather, vacuum gently, clean with a pH neutral leather cleaner on a soft cloth (never spray directly on perforated leather), then condition to restore the oils.
The rule for both is light moisture, agitation, and extraction. Saturating either material is what causes mould in cloth and water marks in leather.
Read the Material First
Cloth and leather have opposite needs. Cloth absorbs water and traps dirt in the fibres, so it needs lifting. Leather has a delicate finished top coat, so it needs gentle pH neutral cleaning and oil replacement.
Suede and Alcantara are different again. They need a dedicated suede brush and a dry foaming cleaner, never a wet scrub. If you are not sure what your seats are made of, check the owner's manual before you spray anything.
Cleaning Cloth Seats
- Vacuum deeply. Use a crevice tool to pull loose dirt, sand, and crumbs out of the seams before any wet cleaner touches the fabric. Wetting dry dirt turns it into mud that pushes deeper into the cushion.
- Spray fabric cleaner. Apply a dedicated upholstery cleaner in a light, even mist. Avoid soaking. The foam should sit on the surface, not soak through to the foam below.
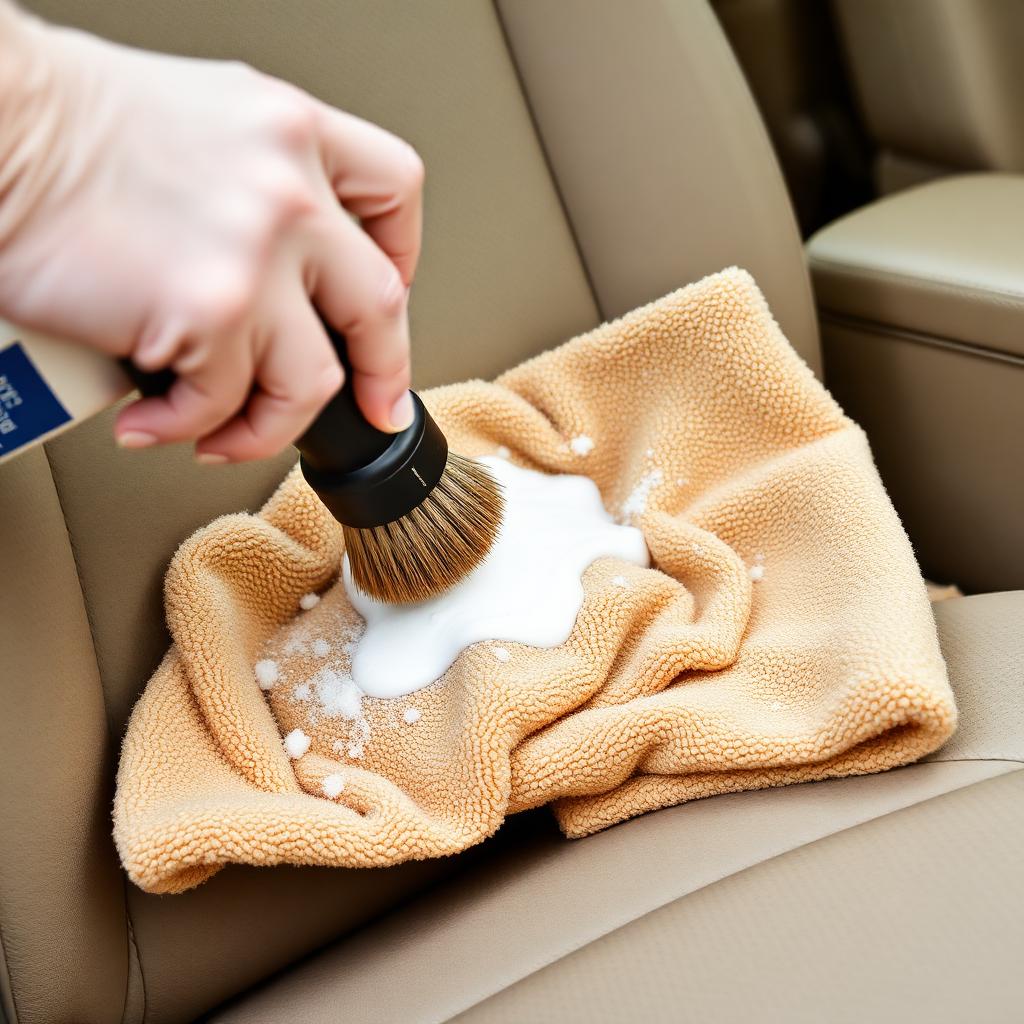
- Agitate. Work the cleaner into the fabric with a medium stiff nylon detailing brush in small circular motions. This is what actually lifts stains.
- Extract. Wipe with a clean dry microfibre towel and fold to a fresh face often. For a deep clean, a small heated carpet extractor pulls the dirty water out completely.
- Dry with airflow. Crack the windows or run a fan inside the car so the foam dries fully. Damp foam grows mildew within days.
Cleaning Leather Seats
- Vacuum gently. Use a soft brush attachment so the suction does not drag grit across the finish.
- Spray onto the towel, not the seat. Spray a pH neutral leather cleaner onto a soft microfibre cloth or a horsehair detailing brush. Spraying directly onto perforated leather lets liquid seep into the holes and ruin the foam underneath.
- Wipe in sections. Work one panel at a time so the cleaner does not dry on the surface.
- Dry off. Wipe with a fresh microfibre towel to remove any residue.
- Condition. Apply a quality leather conditioner with a soft pad, let it soak in for about 15 minutes, then buff off the excess. Conditioning replaces oils lost to sun and heat and prevents the finished top coat from cracking.
Spot Treating Stains
Coffee, soda, and food stains all respond best to early treatment. Blot (do not rub) with a clean towel, apply cleaner, agitate, and extract. For old set in stains, a cheap consumer extractor turns a job that used to be impossible into a 10 minute panel.
For ink or makeup, work from the edge of the stain inward so you do not spread it. Test any unfamiliar product on a hidden area first.
What Not to Do
- Do not use household kitchen cleaners on automotive interiors. The pH is wrong for both cloth dye and leather finish.
- Do not over saturate cloth. The foam below will grow mildew.
- Do not use silicone heavy dressings on leather. They make seats slippery and can attract dust.
- Do not park in direct sun while the seats dry, since rapid heat sets watermarks.
Building a Routine
I vacuum the interior every two weeks, do a light wipe down of the seats once a month, and a deep clean (cloth extraction or leather condition) twice a year. That cadence keeps the cabin looking like new without ever turning it into a weekend project.
The takeaway
Match the method to the material. Cloth wants light moisture, agitation, and extraction. Leather wants pH neutral cleaning and regular conditioning. Avoid soaking, work in sections, and let everything dry with airflow. Done a few times a year, that simple routine keeps any interior in showroom condition.
Practical Tips and Common Mistakes
Most of the value in this kind of routine comes from doing the boring steps consistently rather than chasing the perfect product. Buy a quality core kit, store it where you will actually use it, and put a reminder on your phone so the schedule does not slip. A weekend habit, even a short one, will keep your car ahead of the curve.
The most common mistake I see is rushing. Five extra minutes spent doing each step carefully almost always saves a redo or a much larger repair down the line. Take your time, follow the manufacturer instructions for your specific vehicle, and do not be afraid to stop and look up a question before you continue. There is no shame in pausing to confirm a torque spec or a service interval.
Keep a simple log in your phone with the date, mileage, and what was done. When the next service comes around or you go to sell the car, that history is worth real money and removes any guesswork about what is due. A photo of the dipstick, the brake pad, or the new battery sticker takes seconds and answers a future question in one tap.
Finally, do not assume more is better. Overfilling fluids, over scrubbing surfaces, and over tightening fasteners all cause their own problems. Follow the spec, stop when the job is done, and move on. The same rule applies to upgrades: pick the part that actually solves your problem rather than the most expensive option on the shelf.
Build a small kit you can keep in the car: a digital tyre gauge, a microfibre towel, a quart of the correct oil, a torch, jumper cables or a lithium jump pack, and a quality torque wrench at home. None of these are exotic, but together they cover most roadside surprises and let you handle routine work with confidence.
The last habit worth building is paying attention. New noises, new smells, new vibrations, and new warning lights all mean something. Catching them early almost always turns a major problem into a minor one. A car that gets a few minutes of attention every week rarely surprises you with a major bill.