Quick Answer
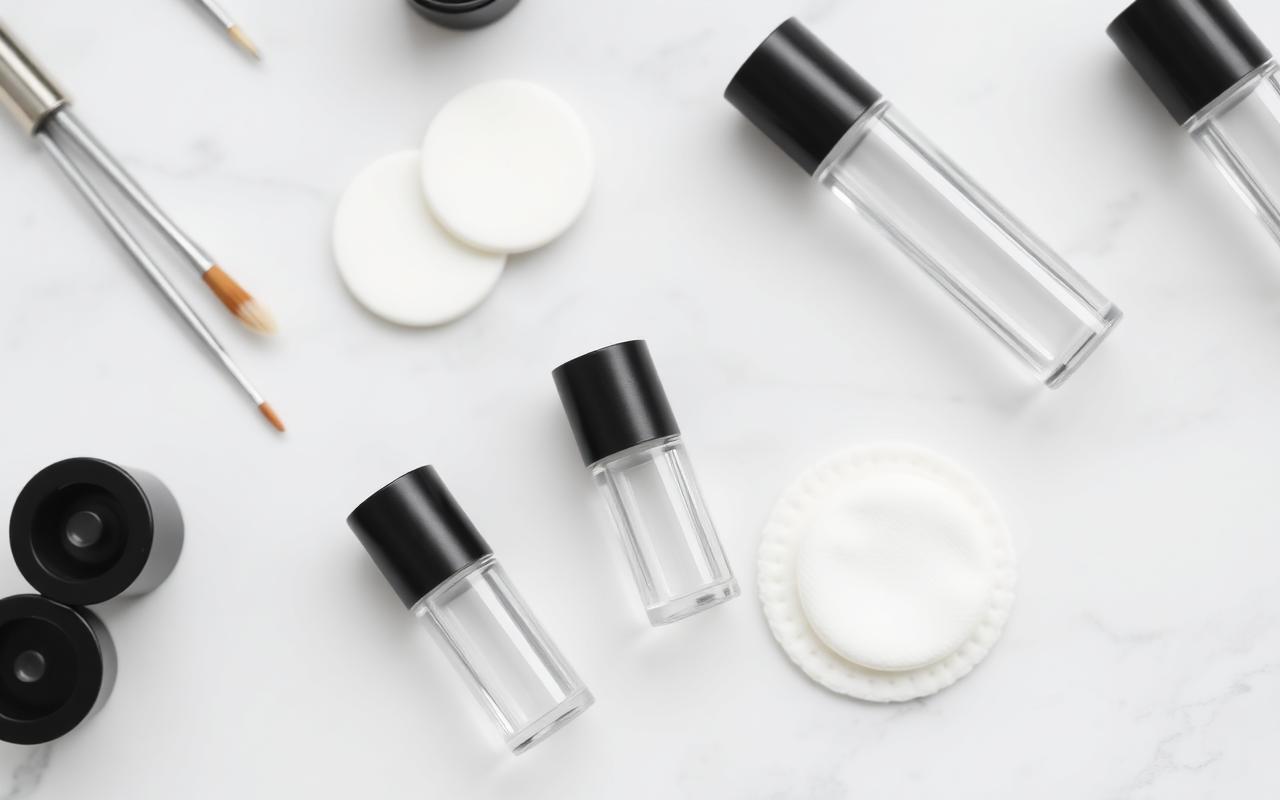
The best at-home eyebrow lamination kit has single-use hypoallergenic lifting and setting sachets, a water-soluble lift glue, a keratin nourishing oil for the final step, and Y-comb precision applicators. Icon Brow Lab Lamination Kit, Elleebana Brow Boost, Lash Bomb Lamination Kit, and Peach and Lily Brow Lift are the four most-recommended kits under $50.
Results last 4 to 8 weeks. Always do a 24-hour patch test on your inner arm before your first full application. Never exceed the stated timing on the perming or setting solutions.
What lamination actually does to your brows
Lamination is a mild chemical perm for eyebrow hair. A lifting cream (reducing agent) temporarily relaxes the internal disulfide bonds in the hair keratin, making stiff, coarse brow hairs pliable and easy to shape. A setting cream (neutralizer) then re-forms those bonds while the hairs are combed upward, locking them into the new lifted position. The result is a full, brushed-up, feathered look that behaves for weeks.
Kit components worth paying for
Single-use, individually sealed sachets
The active solutions oxidize the moment they meet air. A quality kit portions each solution into single-use foil sachets or airtight micro-bottles, protecting potency and dose accuracy per session.
Water-soluble lift glue
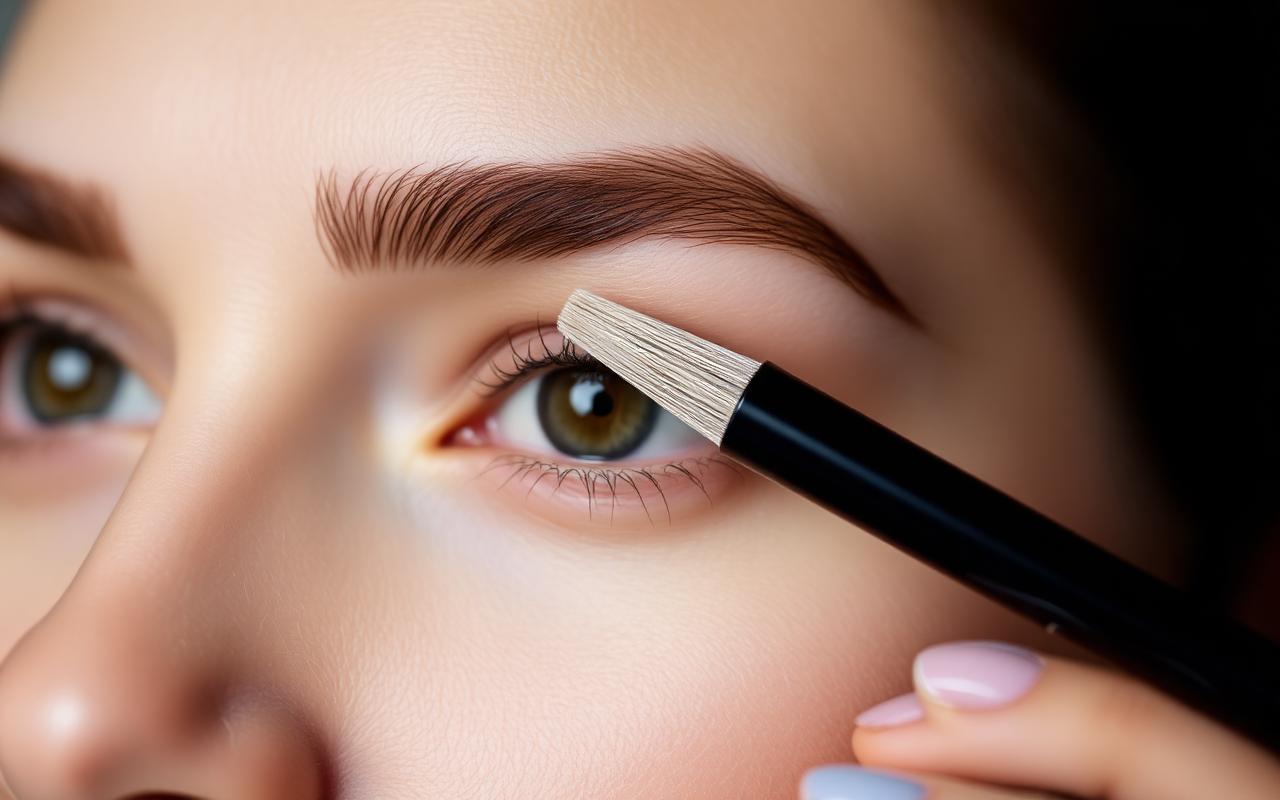
A skin-safe adhesive holds the brow hairs in the lifted position while you apply solutions. Look for glues that state clearly they are cyanoacrylate-free.
Keratin nourishing oil
Lamination temporarily dries out hair fibers. A finishing oil with keratin, vitamin E, argan, or castor oil restores lost moisture and shine.
Y-comb and micro-brush applicators
Y-shaped combs separate individual hairs cleanly; micro-brushes apply solutions with control over exactly where the chemistry lands.
Safe step-by-step protocol
- Patch test 24 hours ahead on your inner arm with the lifting cream.
- Cleanse the brow area with micellar water. All oil and makeup must be gone.
- Apply lift glue to the brow area, then use a spoolie to brush the hairs straight up into shape. Press with the Y-comb.
- Apply Step 1 lifting cream to the middle two-thirds of each brow only, not on the skin. Set a timer for 5 to 8 minutes maximum (follow your specific kit).
- Wipe clean with a cotton pad, then apply Step 2 setting cream for another 5 to 8 minutes.
- Wipe clean again, then apply Step 3 keratin nourishing oil generously and comb through.
- Keep brows dry for 24 hours. No steam, no swim, no heavy workout, no rubbing.
How often to laminate
Every 6 to 8 weeks maximum. Doing it more often over-processes the hair and leads to breakage, frizzy tips, and a straw-like texture. Between sessions, brush the brows upward daily and use a brow serum with castor oil.
Common at-home mistakes
- Skipping the patch test. Roughly 1 in 200 users has a hidden sensitivity to the perming chemistry.
- Leaving solutions on too long. The single biggest cause of home-lamination damage. Set a timer.
- Applying to wet brows. The solutions cannot bind evenly.
- Laminating over broken skin, active acne, or a fresh brow wax. Wait 48 hours after any wax or thread.
- Skipping the nourishing oil. The step everyone rushes, and the reason lamination frizzes early.
Bottom line
Pick a kit with single-use sachets, keratin finishing oil, and Y-comb applicators. Icon Brow Lab is the balanced pro-adjacent pick, Elleebana Brow Boost is the reputable beauty-industry standard, and Lash Bomb is the best budget entry. Follow the timer religiously, keep brows dry for 24 hours after, and space sessions 6 to 8 weeks apart to keep the hair healthy.