Quick Answer
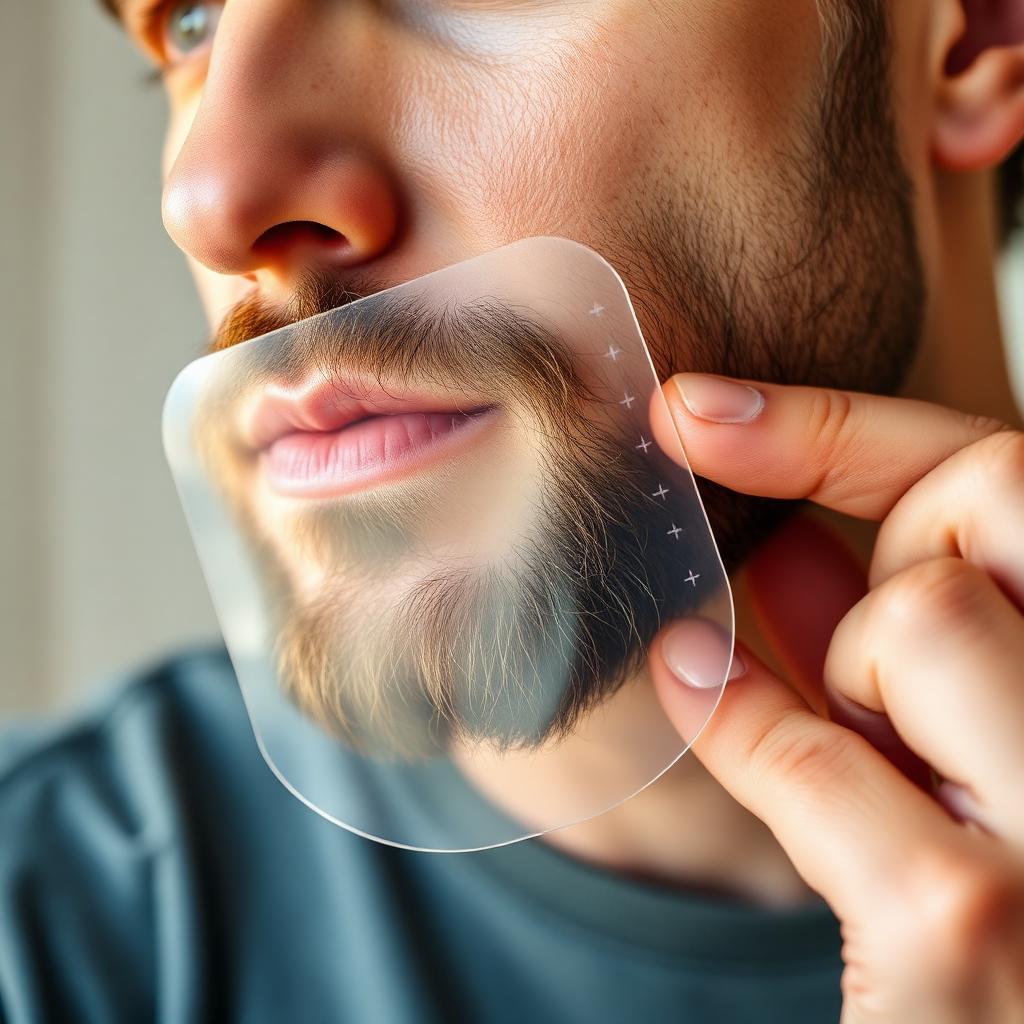
The best beard shaping tool for symmetry is a clear, hard-plastic template with multiple angled edges (curved and stepped), a built-in comb, and non-slip pads. Solid coloured stencils and thin flexible ones are the two designs to avoid.
Symmetry problems at home come almost entirely from freehand estimation. The right template removes the guesswork.
Why home beards drift out of alignment
Your dominant hand naturally over-trims on the opposite side of your face. Left-handed people over-cut the right cheek line; right-handed people over-cut the left. That drift compounds over each trim, so a beard that started symmetric can look lopsided within four or five sessions. A physical guide breaks that cycle by anchoring each cut against the same reference points every time.
What to look for
Clear, transparent construction
You need to see the hair through the tool. Solid stencils force you to trim blind, which defeats the point. Look for high-clarity acrylic or polycarbonate.
Multiple edge profiles
Good tools have:
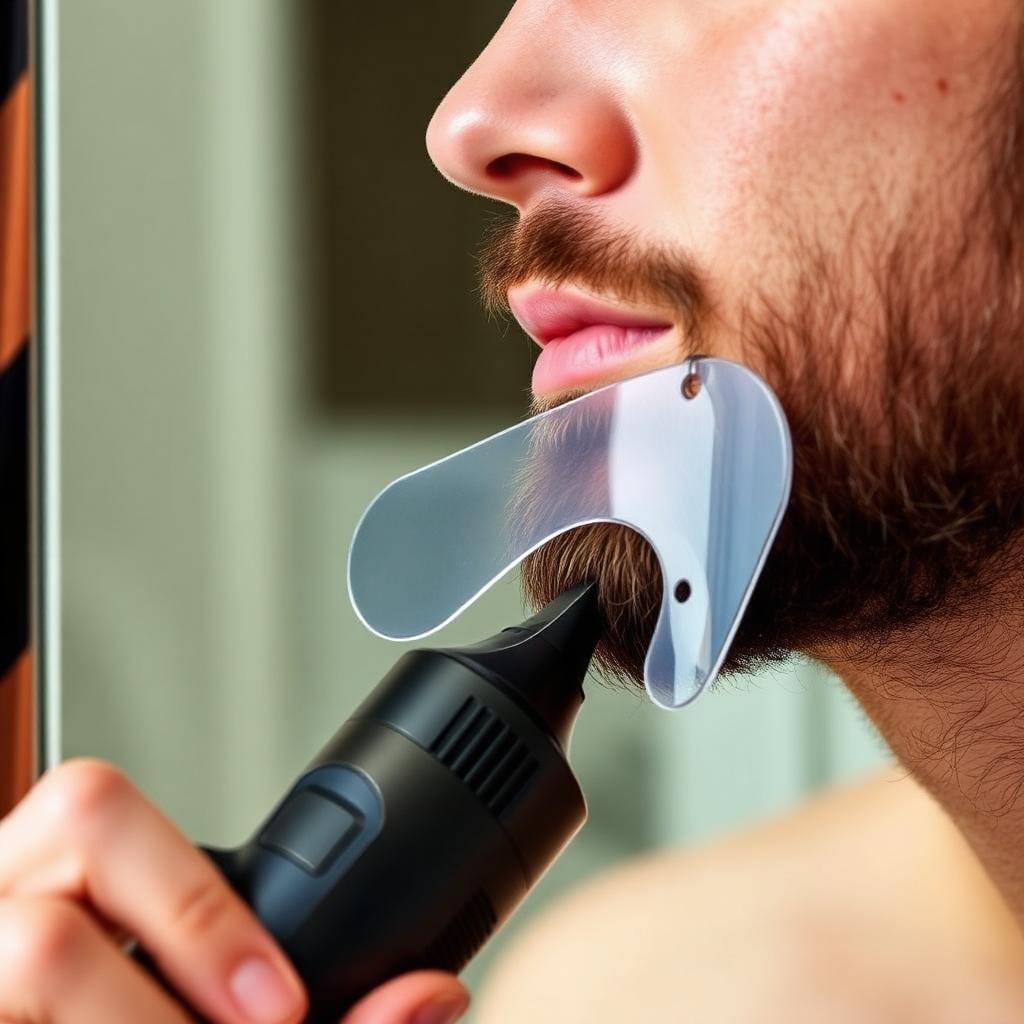
- A curved edge for a modern, rounded cheek line.
- A stepped edge for a classic, angular jawline.
- A neckline curve that mirrors the natural jaw arc.
Built-in comb teeth
Fine teeth along the guide edge comb the beard flat before you trim, so no stray hairs escape the line.
Anti-slip pads
Small rubber pads or textured strips on the inside surface keep the tool from sliding when you press it against the face. Slippage is the biggest source of "one side higher than the other".
How to align both sides
Use anatomical landmarks, not eyeballing:
- Cheek line: place the top of the tool against the earlobe and the bottom against the corner of the mouth. Trim above the guide.
- Neckline: use the "two-finger rule" above the Adam's apple as the low point. Trim below the guide.
- Sideburn taper: anchor the tool along the tragus of the ear on each side.
Doing this on both cheeks in the same order guarantees the same trim line each time.
Trimming with the guide
- Comb the beard downward. Neutral position, no wet hair.
- Set the tool. Press flat, using the anti-slip pads to grip.
- Trim above the edge. Use a detail trimmer or T-blade without a guard.
- Flip and repeat. Mirror the position on the opposite side.
- Blend. Remove the tool and softly feather the line into the beard with a longer guard.
Care and durability
Clean the tool with warm soapy water. Do not put it in a dishwasher; heat warps acrylic. Anti-slip pads eventually wear out; some kits ship replacements.
Common questions
Do I need a stencil if I have a barber?
Between visits, yes. The stencil is what keeps you from undoing a professional shape at home.
Are the "beard bro" fixed templates any good?
The original design pioneered the category and still works. Newer clear multi-angle tools cover more styles for the same price.
What if my face is very asymmetric already?
Use the tool on your stronger side first, then adjust the second side by 1 to 2 mm inward or outward to match visually. Symmetry of the trim, not the face, is the goal.
Bottom line
The right beard shaping tool is clear, rigid, has multiple guide edges, and grips your face without sliding. Anchor it against fixed anatomical landmarks, trim above the line, and mirror the action on both sides. That single change fixes the lopsided-beard problem for good.