Quick Answer
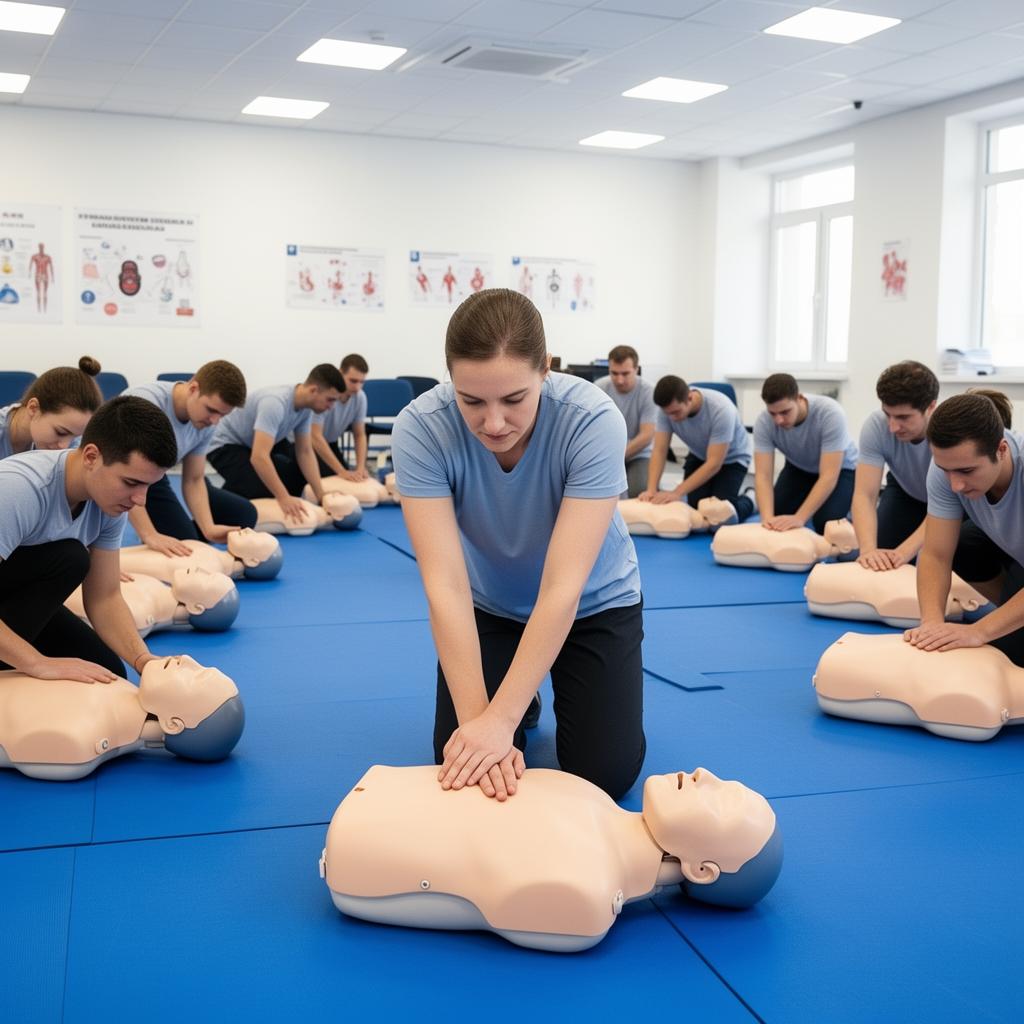
The correct CPR compression position locks your elbows straight, stacks your shoulders directly over your hands, and uses your hips as the pivot point so the force comes from your whole upper body weight rather than your arms. Place the heel of your dominant hand on the center of the chest on the lower half of the sternum, layer the other hand on top, and interlock the fingers so only the heel of the bottom hand touches.
The target is 2 to 2.4 inches deep at a rate of 100 to 120 compressions per minute, with full chest recoil between each push.
This article is educational. Real CPR competence comes from in person certification with hands on practice.
Why body mechanics matter
CPR is physically exhausting. Within 60 to 90 seconds, untrained rescuers using only arm strength fatigue and their compression depth drops below the threshold that keeps blood circulating. Correct mechanics let your body weight do the work, which means you can sustain proper compressions for the full time it takes EMS to arrive, often 5 to 10 minutes or longer.
The single biggest difference between high performing rescuers and average ones is body position, not strength.
Upper body alignment
Three rules form the structural base of every compression.
- Lock your elbows straight. Bent arms force the triceps to absorb every push, which burns them out in minutes. Locked arms transfer load directly to the chest.
- Stack your shoulders over your hands. Lean forward until your shoulders are directly above your wrists. Force should travel straight down, not at an angle that slides the hands sideways.
- Pivot from your hips. Hinge from the hips rather than the shoulders. Your core and back muscles handle the load, and arms simply transmit it.
Hand placement
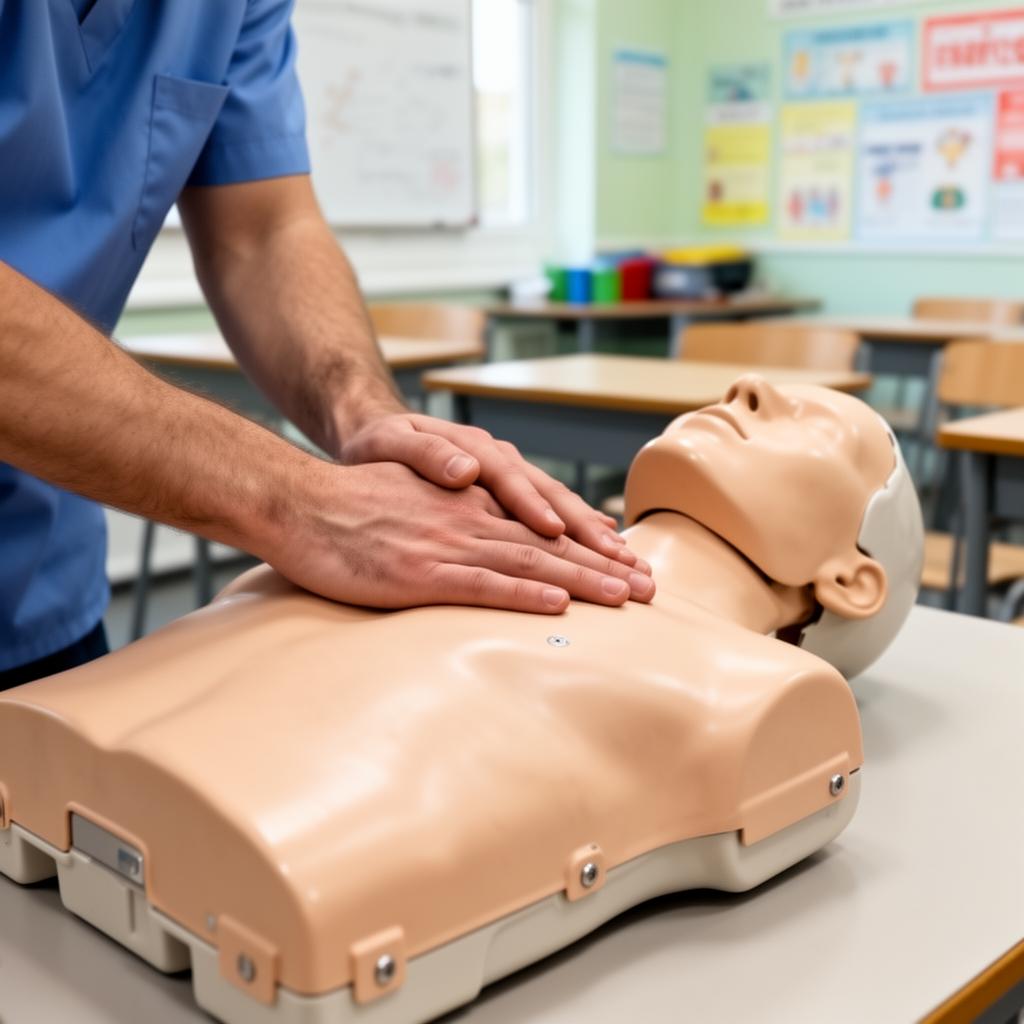
The chest target is narrow. Wrong placement either misses the heart or risks rib damage.
- Find the center of the chest by following the breastbone (sternum) down to the lower half, between the nipples on most adults.
- Place the heel of your dominant hand on that spot. The heel, not the palm.
- Layer the non dominant hand on top of the first.
- Interlock your fingers and pull them upward so only the bottom heel stays in contact with the chest.
Concentrating the force on the heel of one hand keeps the pressure on the sternum and away from the ribs.
Compression depth and rate
Current adult CPR targets are 2 to 2.4 inches of depth (about 5 to 6 centimeters) at 100 to 120 compressions per minute. Going too shallow fails to pump enough blood. Going too deep increases the risk of rib fractures without improving blood flow.
The cadence matches the beat of "Stayin' Alive" by the Bee Gees, which falls right inside the 100 to 120 range. Many CPR instructors teach this trick on purpose.
Full chest recoil
Every compression must be followed by complete chest release. Between pushes the heart refills with blood. If you lean on the chest or do not let it spring back fully, the refill is partial and the next compression delivers less blood out to the brain and body.
Lift your weight just enough that you feel no pressure on the chest at the top of each cycle. Do not lift your hands off the chest, just unload the weight.
Switching rescuers
Even with perfect body mechanics, fatigue is real. If you have a second trained person on the scene, swap rescuers every 2 minutes (about every 5 cycles of 30 compressions and 2 breaths). The swap should take less than 10 seconds so blood flow is not interrupted.
Solo rescuers continue to the best of their ability. Tired but ongoing CPR is always better than perfect CPR that has stopped.
Common mistakes to avoid
- Bending the elbows burns the arms out fast.
- Standing or kneeling too far back puts force at an angle and slides hands sideways.
- Lifting hands off the chest wastes time relocating between cycles.
- Compressing too fast (over 120) gives the heart no time to refill.
- Compressing too slow (under 100) drops blood pressure between cycles.
- Pausing too long for breaths drops blood flow to zero.
Important note
Hands on practice on a feedback enabled mannequin is the only way to know if your depth and rate are correct. Take a Basic Life Support or community CPR course with an accredited provider. Reading about CPR builds awareness, but only training builds the skill.
The takeaway
Straight elbows, shoulders stacked over hands, hip pivot, and interlocked hands with only the heel in contact. Aim for 2 to 2.4 inches deep at 100 to 120 per minute with full chest recoil. The mechanics matter as much as the math because exhausted rescuers stop helping. Body position is what lets you keep going.
Frequently asked questions
What if I hear or feel ribs crack during compressions?
Rib fractures are common and not a reason to stop. The alternative is no blood flow at all. Continue at the correct depth and rate.
Should I do compressions if I am not trained?
Hands only CPR (continuous compressions with no breaths) is recommended for untrained bystanders. Call emergency services and follow the dispatcher's coaching.
How long should I keep doing CPR?
Until the person revives, EMS arrives, an AED takes over, or you are physically unable to continue.
Does CPR position change for a child or infant?
Yes. Children use one or two hands depending on size, and infants use two fingers in the center of the chest. Train specifically for the age groups you might need to help.