

Quick Answer
Yes, installing a kitchen backsplash is a DIY project most homeowners can finish in one weekend. A standard 30 square foot backsplash costs 150 to 500 dollars in tile and 50 dollars in mortar and grout, and saves 600 to 1,200 dollars in tile installer labor.
The reason it works for DIY: the area is small, vertical, mostly hidden by appliances and counters, and you can lift a misaligned tile in the first 20 minutes if needed.
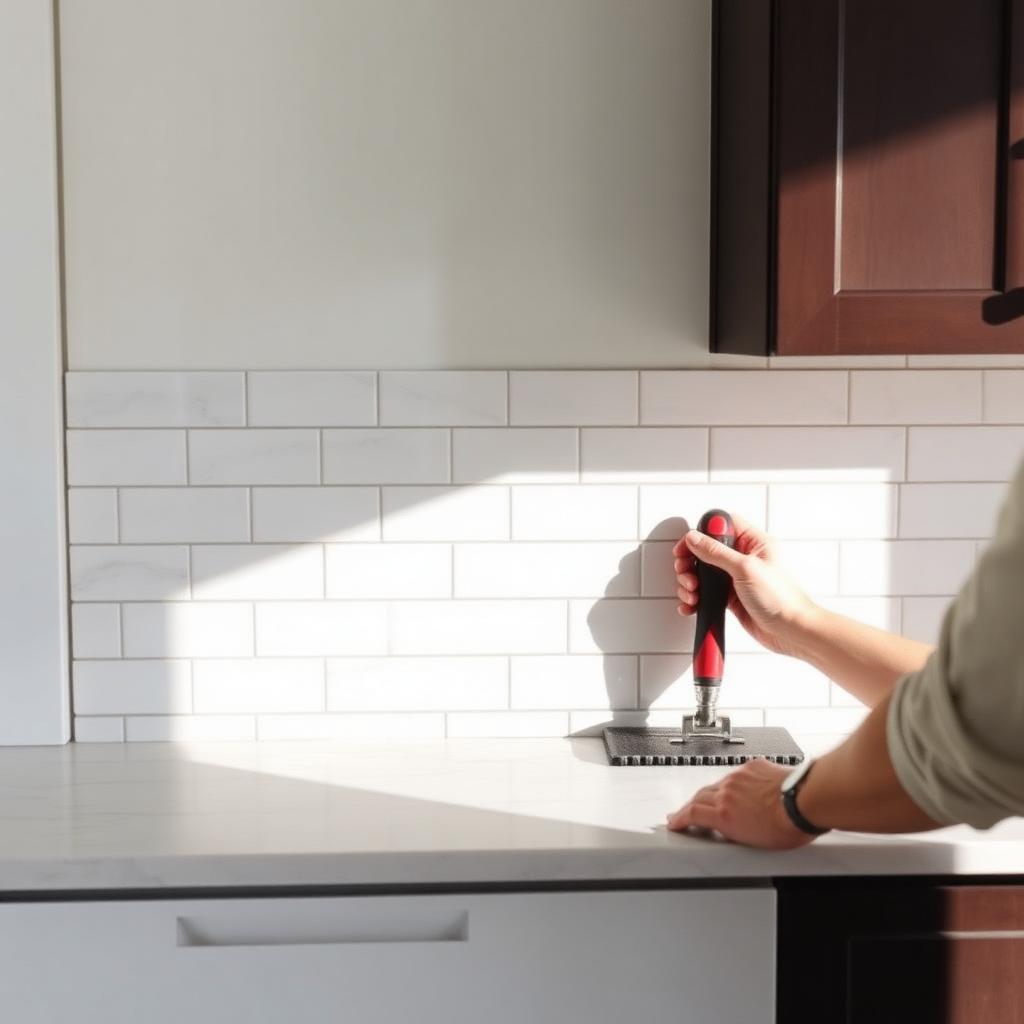
Tile Choice for Beginners
- Subway tile (3x6 or 4x12). The most forgiving, hides slight unevenness, classic look.
- Mosaic sheets. Easiest cuts (you trim the mesh, not the tile). Best for first-time DIY.
- Peel and stick vinyl. Cheap, fast, mid-grade look. Not durable behind a range over 200 F.
- Large format (12 inch +). Harder to keep flat. Skip on a first project.
Tools and Materials
- Pre-mixed thinset mortar or mastic (mastic only for dry areas, not above range).
- 1/4 by 1/4 inch notched trowel (for mosaics) or 1/4 by 3/8 inch (for subway).
- Grout (unsanded for joints under 1/8 inch, sanded for wider).
- Tile spacers, level, tape measure.
- Wet saw or snap cutter, tile nippers for the outlets.
- Grout float, sponge, microfiber cloth.
Prep Work
- Turn off the breaker for the outlets in the backsplash area.
- Remove outlet covers, switch plates, the range hood if it interferes.
- Wash the wall with TSP or degreaser. Grease behind the range is the number one bond failure.
- Sand glossy paint to 120 grit so the mortar grips.
- Tape the counter and any adjacent walls with painter's tape.
The Layout Trick
Find the visual center of the backsplash, usually the wall behind the range or the longest wall, not the middle of the room. Snap a vertical chalk line. Tile outward from this line. This guarantees the focal point looks balanced, even if the end pieces are uneven.
Dry-fit the first row across the counter before any mortar. Check that you do not end on a sliver less than 2 inches wide.
Setting the Tile
- Spread mortar with the flat edge of the trowel, then comb with the notched edge in one direction.
- Press tile into the mortar with a slight twist, set spacers between tiles.
- Periodically pull a tile off and check the back, you want at least 80 percent mortar coverage.
- Around outlets, hold a tile in place, mark with a pencil, cut with the wet saw or nippers.
- Let the mortar cure 24 hours before grouting.
Grouting
- Mix grout to peanut-butter consistency.
- Spread diagonally across joints with the float at a 45 degree angle.
- Pack grout firmly into every joint.
- Wait 15 to 20 minutes (test by pressing your thumb, no print = ready).
- Wipe diagonally with a barely damp sponge, rinse, repeat. Three passes minimum.
- After 24 hours buff off the haze with a dry microfiber.
Caulk the Right Joints
Caulk where the tile meets the counter and where the tile meets the wall cabinets, not grout. These are movement joints. Color-matched silicone, not white if your grout is grey.
Time and Cost
30 square feet, first-time DIY: 6 hours of setting day one, 4 hours of grouting and caulking day two, plus the 24 hour cure between. Tile 5 to 15 dollars per square foot, mortar and grout 35 dollars total, tools 50 dollars if you do not own them.
Bottom Line
A kitchen backsplash is the highest-return DIY project in the kitchen. The cost is low, the visual impact is huge, and the small dry area makes it forgiving. Start at the visual center, never end on a sliver, and caulk the movement joints.
Common Questions About DIY Kitchen Backsplash
How high should the backsplash go?
Typically to the underside of the upper cabinets, with continuous tile around the range hood area. Full-height tile to the ceiling behind the range is a current trend; budget extra time and materials.
Mastic or thinset?
Mastic for dry-area wall tile is fine and easier to work with than thinset. For backsplashes behind a sink or in any humid kitchen, modern advice is to use a polymer-modified thinset rated for vertical wall use.
Do I need to remove the outlet boxes?
No, but you do need to extend them out the thickness of the new tile so the cover plate sits flush. Box extenders cost about 1 to 3 dollars each and snap into the existing box.
Do I need to caulk where the tile meets the counter?
Yes. This is a movement joint. Color-matched silicone, not grout. Grout in a movement joint cracks within months.
How do I handle an existing tile backsplash I want to replace?
Score the grout, pry off with a stiff putty knife or oscillating tool, repair the drywall where paper tears, prime, then tile over. Often the existing drywall is too damaged and requires a thin layer of skim-coat compound first.
Pre-spaced sheets or individual tile?
Pre-spaced sheets save 30 to 50 percent of install time. For first-timers, this is the easiest path to a clean look.


