

Quick Answer
Installing the door, tracks, rollers and opener is technically DIY-able with two people and about a full day. Installing or adjusting the torsion spring is the one task the CPSC, IDA (International Door Association) and every major manufacturer (Clopay, Wayne Dalton, Amarr) all explicitly tell homeowners not to attempt.
For most homeowners, the right DIY scope is the opener (about 4 hours) and replacing the rollers, hinges and weatherstripping (about 2 hours). The door itself plus the spring system, hire out.
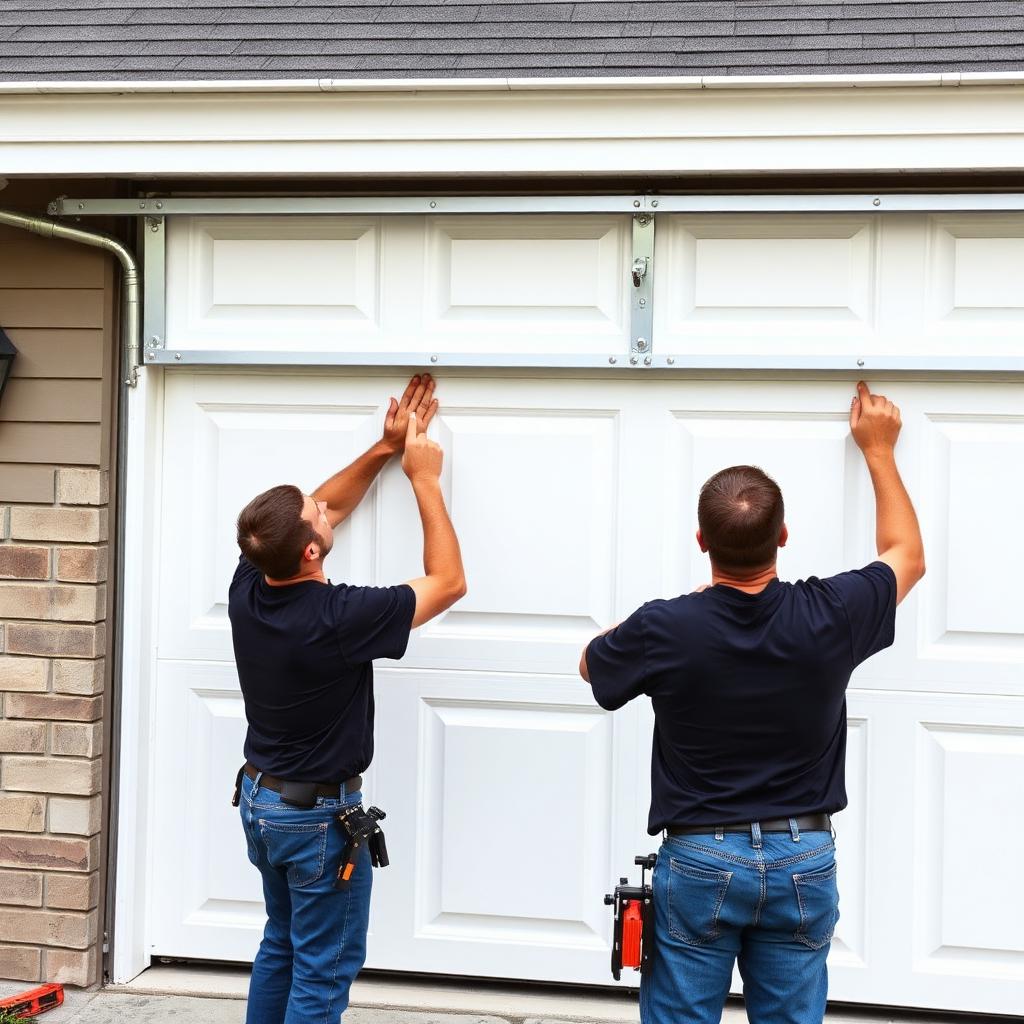
Why the Spring Is the Problem
A residential garage door weighs 130 to 350 pounds. The torsion spring across the top stores all that lifting force in roughly 7 to 9 turns of tension. A spring that lets go (broken winding bar, slipping pliers, wrong cone) becomes a high-speed projectile and a permanent injury statistic. The CPSC tracks more than 15,000 garage door related ER visits per year in the U.S., many of them spring-related.
Pros use the right winding bars, set the right number of turns for the door weight, and carry the tools to undo their mistakes safely.
What You Can Reasonably DIY
- Opener installation. Chain or belt drive, 4 to 6 hours, mostly ladder work and basic wiring.
- Roller replacement. Swap nylon for steel rollers. Quiets the door noticeably.
- Hinge replacement. One hinge at a time, door closed.
- Weatherstripping. Bottom seal, side jamb, top header.
- Safety eye realignment. A 5 minute fix when the door starts reversing.
What to Hire Out
- New door installation (panels, tracks, springs in one job).
- Torsion spring replacement (the most common service call, 200 to 400 dollars installed).
- Cable replacement (any frayed cable means imminent failure).
- Track repair after a car backed into the door.
Opener Install: Step-by-Step
- Assemble the rail per manufacturer instructions on the garage floor.
- Attach the motor end to the rail, then connect the trolley.
- Lift the motor onto a workbench or sawhorses, connect the header bracket to the door (centerline matters).
- Raise the rail to the header bracket, secure with the included hanger straps to the ceiling joists. Level the rail.
- Hang the motor with angle iron straps to the joists.
- Connect the safety eyes 4 to 6 inches off the floor on both sides.
- Wire the wall control button.
- Plug in and program limits per the unit's instructions.
- Run safety reverse test, place a 2x4 flat on the floor under the door, the door should reverse on contact.
Required Safety Features
U.S. federal law (16 CFR 1211) since 1993 requires every residential garage door opener to include:
- Automatic reverse on resistance.
- Photo-eye safety beams within 6 inches of the floor.
- Manual disconnect (the red emergency release cord).
If your existing opener is older than 1993, replace it. No retrofit kit makes them compliant.
Cost
- New 16 ft insulated steel door: 1,000 to 2,500 dollars unit, 400 to 800 dollars install (pro).
- Belt drive 1/2 HP opener: 250 to 450 dollars unit, 200 to 400 dollars install (pro), or DIY in 4 hours.
- Torsion spring (pair): 50 to 150 dollars parts, 250 to 400 dollars labor.
Bottom Line
Install the opener yourself. Replace the rollers and weatherstripping yourself. Pay a pro for the door panels and any spring or cable work, the cost is small compared to the injury risk. Run the 2x4 safety reverse test every six months.
Common Questions About DIY Garage Door Installation
What size opener do I need?
1/2 HP belt drive for single car doors, 3/4 HP for double-wide or insulated doors heavier than 250 pounds. Wall-mount jackshaft openers (LiftMaster 8500) are quieter and better for finished garages.
Chain or belt drive?
Belt for quiet operation under a bedroom. Chain for cheaper, slightly louder, slightly more durable. Modern belts (Kevlar-reinforced) last 15 to 20 years.
What is the lifecycle of a torsion spring?
Standard springs are rated for about 10,000 cycles, roughly 7 years for an average family. Upgraded springs (20,000 or 30,000 cycle ratings) cost 30 to 80 dollars more and last twice as long.
How do I know when to replace the spring?
If a fully lifted door drops to the floor when you let go in manual mode, the spring is broken or stretched. If the door is hard to lift but does not slam shut, the spring needs winding adjustment, also a pro job.
Insulated vs. uninsulated door?
Insulated (R-12 to R-18) is essential for attached garages with living space above. Adds 200 to 600 dollars over the basic door.
Smart garage door opener?
myQ (LiftMaster, Chamberlain), Tailwind iQ3 add Wi-Fi for 30 to 60 dollars. Useful for delivery notifications, remote close after leaving and integration with Apple Home or Google Home.
Final Tip
Schedule the new opener install for a calm dry morning. Working in wind makes hanging the rail and aligning the safety eyes much harder, and the open garage door becomes a sail. A 9 AM start gives you the full day to finish, run all the cycles, calibrate the auto-reverse and label the wall control before sundown.


