

Quick Answer
Yes, swapping an existing dishwasher for a new one is a 2-hour DIY project. It saves the 150 to 350 dollar appliance install fee, and the connections are all visible under the sink.
Installing a dishwasher where one has never existed before is a different project. It needs a dedicated 15 amp circuit, hot water supply, a drain line, and almost always a permit. That is electrician and plumber territory unless you already do that work.
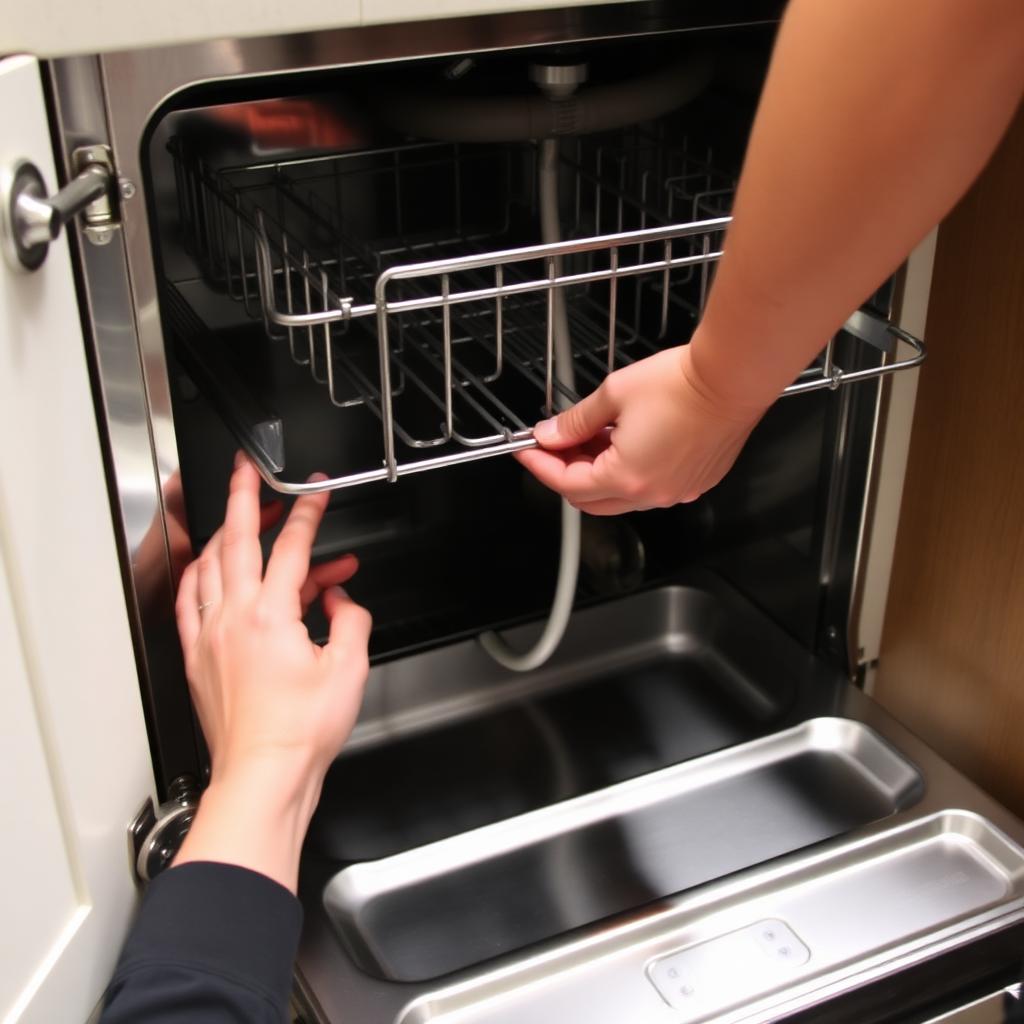
What You Need
- New dishwasher (built-in models are standard 24 inch wide).
- Stainless steel braided supply line with 3/8 inch compression fitting.
- New drain hose (most ship with the unit).
- Air gap or high loop, depending on local code.
- Adjustable wrench, channel-locks, screwdrivers, level, towels.
- Voltage tester if the unit is hard-wired.
Remove the Old Unit
- Turn off the breaker for the dishwasher circuit. Confirm with the voltage tester.
- Shut the hot water supply valve under the sink.
- Disconnect the drain hose from the garbage disposal or air gap. Have a towel ready, water will spill.
- Disconnect the supply line at the dishwasher's brass elbow.
- Unscrew the two mounting brackets at the top of the dishwasher tub from the underside of the counter.
- Adjust the leveling feet down so the unit drops, then walk it out.
Pre-Install the Connections
Tip the new dishwasher onto its back on a moving blanket. Three connections live on the underside:
- Power: either a 3-prong cord (most modern units) or a hard-wired junction box. If hard-wired, install the supplied cord first using strain relief.
- Supply: screw the brass 90 degree elbow into the inlet valve, use Teflon tape on the threads. Connect the braided supply line.
- Drain: attach the new drain hose to the pump outlet with a hose clamp.
Doing these on the floor first saves 20 minutes of contorted under-counter work.
Slide It In
Stand the unit upright. Feed the drain hose through the cabinet hole into the sink cabinet first. Walk the dishwasher into the opening. Adjust the leveling feet (use a level on the door) so the door closes evenly and the top sits 1/8 inch below the counter.
Connect Drain Properly
This is the most common failure point. The drain hose must rise to at least 32 inches above the floor before dropping to the disposal or drain tailpiece, OR pass through an air gap fitting on the counter. The "high loop" prevents dirty sink water from siphoning back into the dishwasher.
California, Minnesota, Hawaii and several other states require an air gap by code, not just a high loop. Check the IRC P2717.2 amendment for your jurisdiction.
Power and Water
- Plug into the existing dishwasher outlet under the sink (or connect at the junction box).
- Open the supply valve, check for drips at the elbow.
- Restore the breaker.
Secure and Test
Screw the mounting brackets to the underside of the counter (some side-mount to the cabinets instead, granite counters always side-mount). Run a short rinse cycle and watch every connection for 10 minutes.
When You Need Pros
- No existing dishwasher circuit (needs a new 15 amp dedicated circuit with GFCI, permit required).
- No existing hot water stub under the sink (needs a new tee and shutoff).
- Cabinet opening is the wrong size (will need cabinet modification).
Bottom Line
Like-for-like dishwasher swap is a solid DIY project that saves real money. New installation crosses too many trades to do confidently as a first DIY. Get the high loop or air gap right, and budget for a new braided supply line every time, never reuse the old.
Common Questions About DIY Dishwasher Installation
Do I need a separate junction box?
Only if the new dishwasher is hardwired and the existing one was plug-and-cord (or vice versa). The local code dictates which is allowed. Most modern installs use a plug into an outlet in the sink cabinet.
What size circuit?
Dedicated 15 amp circuit, 14/2 wire, with a GFCI breaker under NEC 2023. Some older homes have a shared 20 amp circuit with the disposal, code-compliant only if the combined draw stays under 80 percent of the breaker.
Do I need a hot or cold supply?
Hot (120 F max). Hot supply lets the dishwasher's internal heater preheat faster and use less energy.
Air gap or high loop, which?
Air gap is required in California, Minnesota, Hawaii and parts of Washington and Texas. The high loop is allowed everywhere else. The high loop is invisible, the air gap is a small chrome cylinder on the counter.
How do I level it?
Use a level across the top edge. Turn the front leveling feet to raise or lower. Rear feet adjust from the front through a small screw access on most modern units.
Should the door fall open or hold its position?
Stay open at any angle. If it falls, the door springs need adjustment (often a setscrew at the bottom side of the door).


