

Quick Answer
Yes, installing a ceiling fan in an existing fan-rated electrical box is a DIY project. It takes 1 to 2 hours and a basic toolkit. Replacing a standard light fixture with a fan, however, requires upgrading the box to a fan-rated one because a standard ceiling box cannot support 35 to 80 pounds of vibrating weight.
That box swap is the line that separates a 1-hour project from a 3-hour one, and a permit-exempt project from one that may need an inspection.
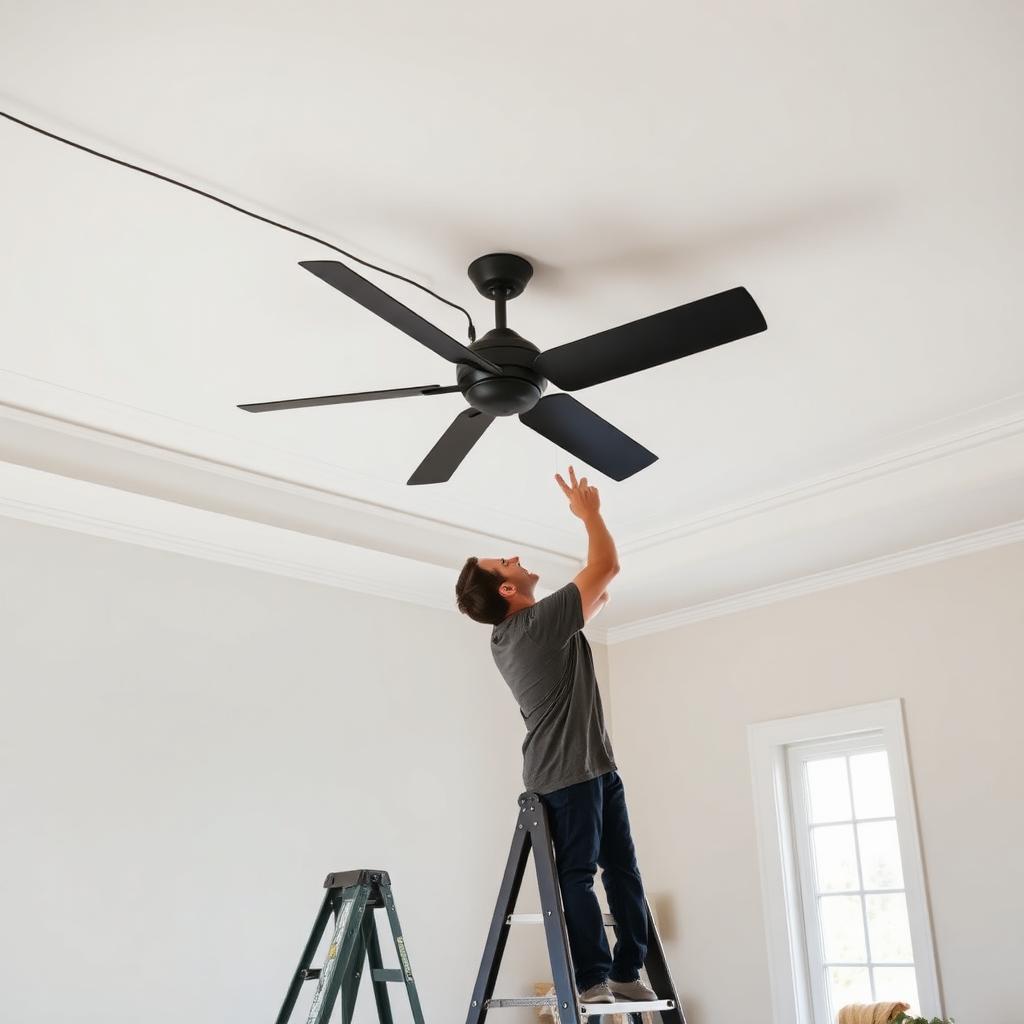
When It Is Truly DIY
- You are replacing an existing ceiling fan with a new one.
- The existing box already says "Listed for Ceiling Fan Support" on it.
- You have a switched hot wire at the location (otherwise you need pull-chain only).
When to Hire Out
- No existing electrical box at the spot you want the fan.
- The ceiling joists are inaccessible (no attic above, no easy patch).
- You want a separate wall switch for fan and light (third wire).
- Cathedral or sloped ceilings over 14 feet (working at that height is the actual hazard).
The Fan-Rated Box
UL standard 514A requires a ceiling fan box to support 50 pounds static and resist 90 pounds of dynamic load. Standard "old work" plastic boxes do not qualify. The fix is a metal "saddle" box that braces between two joists, available at any hardware store for 15 to 25 dollars. Install from inside an attic if you can, or use a "pancake" retrofit kit from below.
Tools and Materials
- Voltage tester (non-contact pen is fine).
- Wire strippers, lineman's pliers.
- Phillips and flat screwdrivers.
- Wire nuts (the fan kit usually includes them, keep extras).
- Step ladder rated to your weight.
- A second person to hold the fan while you wire (this is the safety step everyone skips).
The 8-Step Install
- Switch off the breaker, then double-check with the voltage tester.
- Remove the old fixture, disconnect wires, note which is hot, neutral and ground.
- If the box is not fan-rated, swap it now. Do not "hope it holds".
- Mount the new ceiling bracket to the box with the screws the fan brand provides.
- Hang the fan motor on the bracket hook (every modern fan has one) so your hands are free.
- Connect black to black (hot), white to white (neutral), green or bare to ground. If the fan has a separate blue wire for the light, cap it together with the black for one-switch control.
- Push wires gently into the box, lift the motor up, screw the canopy on.
- Attach blades, light kit, and balance the fan with the included balance clip if it wobbles.
If the Fan Wobbles
Cheap fans wobble. Run the fan on high, find the worst blade, attach the balance clip 1/3 from the tip, run again, and slide the clip until the wobble stops. Then peel-and-stick the included weight at the same spot.
Downrod Length
You want at least 7 feet of clearance from the floor to the bottom of the blades, and 8 to 10 inches of clearance from the blades to the ceiling. For an 8 foot ceiling use a flush mount. For a 9 foot ceiling use a 6 inch downrod, for 10 foot use 12 inch, for 12 foot use 24 inch.
Bottom Line
Installing a ceiling fan in an existing fan-rated location is a 2-hour DIY job. Adding a fan where none existed crosses into permit and electrician territory because of the box and the new switched circuit. Pay the 15 dollars for a fan-rated box and never bypass the breaker step.
Common Questions About DIY Ceiling Fan Installation
How do I know if my existing box is fan-rated?
Pull the existing fixture and look at the box. A fan-rated box says "Listed for Ceiling Fan Support" on the metal. If it does not say that, it is not. Plastic "old work" boxes are almost never fan rated.
What if I want a fan-with-light combo on a single switch?
Connect the fan motor's black wire and the light kit's blue wire to the same hot from the wall. A pull chain on the fan controls each independently.
Do I need a remote or wall control?
Optional. Modern fans usually include a basic remote in the box. Hardwired wall controls (fan speed plus light dimmer) cost 25 to 80 dollars more.
Are smart ceiling fans worth it?
Brands like Hunter SimpleConnect, Big Ass Fans Haiku and Hampton Bay add Wi-Fi for 50 to 150 dollars more. Useful if you want voice control or scheduling.
What size fan for what room?
36 to 44 inch for rooms up to 144 sq ft, 50 to 54 inch for rooms up to 225 sq ft, 56 inch and up for great rooms. Bedrooms benefit from a quieter DC motor.
Why does my fan hum?
Either an incompatible dimmer (most fans cannot be on a standard incandescent dimmer), or a loose canopy. Tighten first, swap the dimmer for a fan-rated speed control second.


