

Quick Answer
To sterilize canning jars, wash them in hot soapy water, set them upright on a rack inside a deep stockpot, cover with at least one inch of water, and bring it to a full rolling boil for 10 minutes (add 1 extra minute for every 1,000 feet above sea level).
Lift the jars out with rubber-coated tongs, drain them onto a wooden board or thick cotton towel, and fill them with your hot preserves within 60 minutes. Never put a hot glass jar on cold stone or bare steel; the thermal shock will crack it.
Why Sterilization Actually Matters
A clean jar is not a sterile jar. Wild yeasts, mold spores, and Clostridium relatives drift through every kitchen, and they will happily colonize jam or pickles that sit on a shelf for months. Heat above 100 degrees Celsius for 10 continuous minutes kills the bacteria that cause spoilage and most of the spores that produce toxins.
For low-acid foods like green beans or meat, water bath sterilization is not enough on its own (you need pressure canning), but for high-acid jams, pickles, chutneys, and fruit syrups it is the gold standard.
Sterilization Parameter Table
| Parameter | Standard |
|---|---|
| Target temperature | 100 C (full rolling boil) |
| Minimum duration | 10 minutes (add 1 min per 1,000 ft of elevation) |
| Cooling surface | Wooden board or thick cotton towel |
| Fill window | Within 60 minutes of extraction |
Step 1: Inspect and Wash
Run your finger around the rim of every jar. Even a hairline chip will shatter under heat, so any flawed jar goes to recycling, not the boil pot. Wash all jars, bands, and lids in hot soapy water and rinse thoroughly so no detergent film remains.
Modern two-piece canning lids should be warmed in hot (not boiling) water just before use; boiling damages the sealing compound on most current generation lids.
Step 2: The Rolling Boil
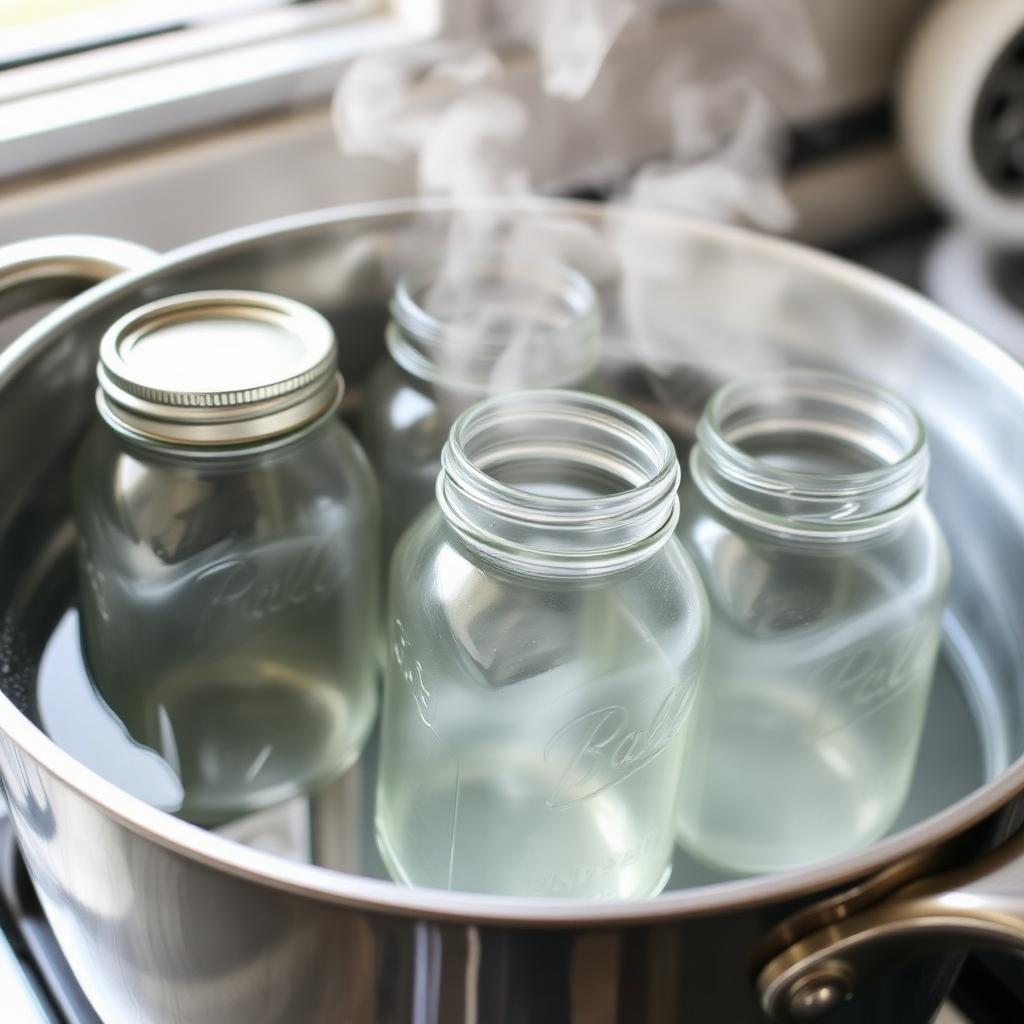
Place a wire canning rack or a silicone trivet in the bottom of a tall stockpot. The rack matters: glass resting directly on the burner-heated metal base will fracture from a localised hot spot.
Stand the jars upright on the rack, fill the pot with warm water, and keep adding water until it covers the jar rims by at least one inch. Bring it to a hard rolling boil and start your timer at 10 minutes. Add a minute per 1,000 feet of elevation; water boils cooler at altitude, so it needs longer to do the same work.
Step 3: Safe Extraction
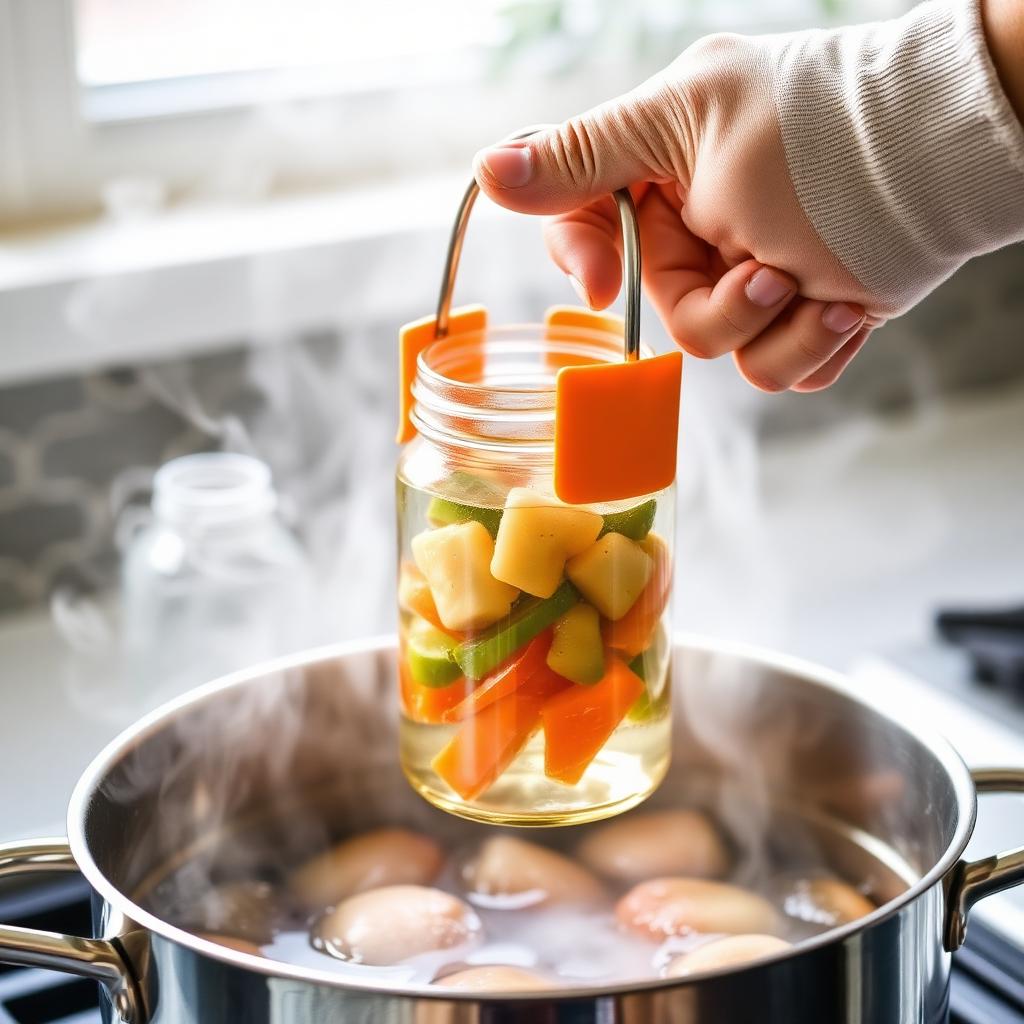
When the timer ends, switch off the heat. Lift each jar straight up with rubber-coated jar tongs, tilt to drain the boiling water back into the pot, and place the jar upright on a wooden board or a folded cotton towel.
Do not place the hot jars on a cold granite worktop or a bare stainless table. The temperature gap will crack the base. Keep the workspace clean and free of fan drafts; cold air on hot glass is just as risky.
Step 4: Fill Within the Sterile Window
Your sterile jars stay sterile for roughly 60 minutes. Fill them with hot preserves promptly, leave the recommended headspace for the recipe (usually a quarter inch for jams, half an inch for chunky pickles), wipe the rim with a clean damp cloth, and apply the warmed lid plus the screw band.
If you are doing a full water bath process, return the filled jars to the boiling pot for the time your recipe specifies. As they cool you will hear the satisfying "ping" of each lid pulling down. A lid that flexes when pressed has not sealed and must go in the fridge.
The Dishwasher Shortcut
A dishwasher set to the sanitize cycle (most modern machines hit 70 degrees Celsius for several minutes) is fine for storage-only jars holding fridge pickles or vinaigrettes. For shelf-stable canning, stick to the boiling water bath. Dishwasher heat does not reach a full sterilization.
The Takeaway
Sterilizing jars is the foundation of safe home canning. Boil clean jars in covered water for 10 minutes, adjust for altitude, lift them onto wood or cloth, and fill within an hour. Master that ritual and your pantry will reward you with year-round colour and flavour.


