

Quick Answer
To remove carpet, pull a corner away from the tack strip with pliers, cut the carpet into 3 to 4 foot strips with a utility knife, roll and tape each strip for easy disposal, then peel up the padding the same way. Finally, pry the wooden tack strips off the perimeter with a pry bar and pull every staple from the subfloor. A 200 square foot room takes 1 to 2 hours.
Wear gloves, knee pads, and a dust mask. Old carpet hides 20 years of dust mites, pet dander, and broken staples that love to find bare hands.
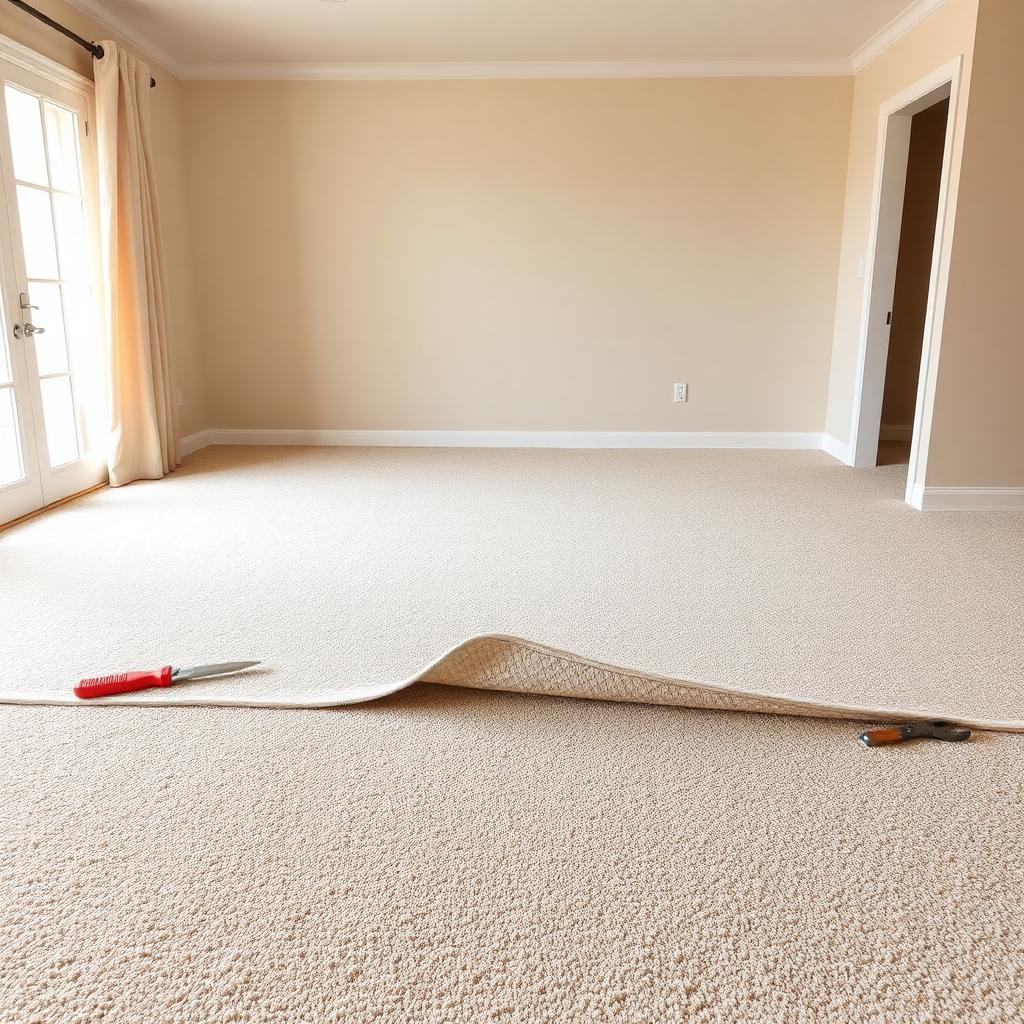
Tools You Need
- Heavy work gloves and knee pads
- Utility knife with extra hooked blades
- Pliers or vice grips for grabbing the corner
- Pry bar, flat bar, hammer
- Needle-nose pliers and a staple puller for staples
- Duct tape for rolling strips
Step-by-Step
- Clear the room and remove baseboards if you also plan to swap floors.
- Pull a corner with pliers. The carpet should release from the tack strip with steady upward pull.
- Cut into strips. 3 to 4 foot wide rolls fit through doorways and into a contractor bag.
- Roll, tape, label each strip. Heavy but manageable.
- Peel the padding. Same method, smaller rolls. Padding is usually stapled, not glued.
- Pull staples. Every single one. Missed staples telegraph through every floor that comes after.
- Pry tack strips off the perimeter with a flat bar, working from the wall inward. Save them only if you plan to re-carpet in the same room.
- Sweep, vacuum, and inspect the subfloor before the next product goes down.
Disposal
Most municipal curbside programmes accept rolled, taped carpet at no extra cost. Some bigger cities (Seattle, Portland, NYC) run carpet-recycling drop-offs. The CARE programme (carpetrecovery.org) lists US recyclers; the Carpet Recycling UK (CRUK) directory covers the British Isles.
Frequently Asked Questions
What flatness does the subfloor need?
The industry default is 3/16 inch deviation over a 10 foot span (about 5 mm over 3 metres). Floating floors, rigid-core LVP, and engineered hardwood all share that spec. Tile is stricter at 1/8 inch over 10 feet because thinset cannot bridge a wavy slab.
How long should materials acclimate on site?
48 hours for laminate and LVP, 7 to 14 days for solid and engineered hardwood (until plank moisture content is within 2 to 4 percent of the subfloor). Skip it and you risk gapping in winter or cupping in summer.
Does this work over radiant heat?
Most rigid-core LVP, engineered hardwood, and porcelain tile are radiant-heat rated up to about 82F (28C) at the subfloor. Solid hardwood and bamboo usually are not. Always confirm the manufacturer spec before laying.
Is it the same in the UK?
The product categories and installation rules are nearly identical. UK retailers like B&Q, Wickes, Carpetright, and Topps Tiles carry the same Shaw / Mohawk / COREtec equivalents with British Standard labelling (BS EN 13329 for laminate, BS EN ISO 10874 for resilient flooring).
Pro Tips From the Trade
- Order 10 percent waste. Bump to 15 percent on diagonal layouts, herringbone, or rooms with lots of cutouts. Future repair planks need the same dye lot.
- Photograph the install. Subfloor, vapour barrier, expansion gaps, transitions. Warranty claims hinge on documentation.
- Keep one full carton. Same production run, stored flat in conditioned space. It is the only colour-true repair source you will ever have.
- Run planks toward the light. Parallel to the longest wall or toward the main window so seams disappear instead of catching shadows.
- Test moisture. Tape a 2 ft square of plastic to a concrete slab for 72 hours; condensation underneath means a moisture problem to solve before any flooring goes down.
Bottom Line
The product matters less than the prep. A flat, dry, clean subfloor with correct underlayment and proper acclimation will make a mid-priced floor outperform a premium one installed badly. Get those four basics right, follow the manufacturer's spec sheet, and you will not see a single one of the common failure modes (cupping, gapping, lifting, telegraphing) in the first decade.
Quick Buying Checklist
- Confirm the manufacturer's warranty covers your install path (residential vs commercial, DIY vs professional). Most warranties void automatically if you skip moisture testing, acclimation, or the specified underlayment.
- Order 10 to 15 percent extra from the same production lot. Future repair planks have to match the dye and texture exactly, and lot-to-lot variation is real even within a single brand.
- Match the underlayment to the product. The wrong foam (too thick, too soft, or wrong density) is the most common reason click joints fail in year two.
- Plan transitions early. Reducers, T-mouldings, stair nosings, and undercut door casings cost three times more if you order them after the install.
- Photograph the prep work. Subfloor, moisture readings, vapour barrier, expansion gaps. Most warranty claims get denied for lack of documentation.
Cross-reference the manufacturer's installation guide against the National Wood Flooring Association (NWFA) install best practices before you start. Mismatches happen, and the manufacturer guide wins for warranty purposes while the NWFA guide wins on long-term durability. When both agree, follow them to the letter and the floor will outlive its written warranty.


