

Quick Answer
To install tile flooring, start with a flat, structurally sound subfloor (deflection of L/360 or better for ceramic, L/720 for natural stone), bond a cement backer board or an uncoupling membrane like Schluter DITRA, dry-lay tiles to confirm the layout, then set each tile in modified thinset with a notched trowel, using spacers for consistent grout joints. Let the thinset cure 24 hours before grouting, 72 hours before walking on it.
A 100 square foot bathroom is a long weekend for a confident DIYer with a wet saw rental. Budget $4 to $14 per square foot for materials and another $5 to $12 per square foot if you hire it out.
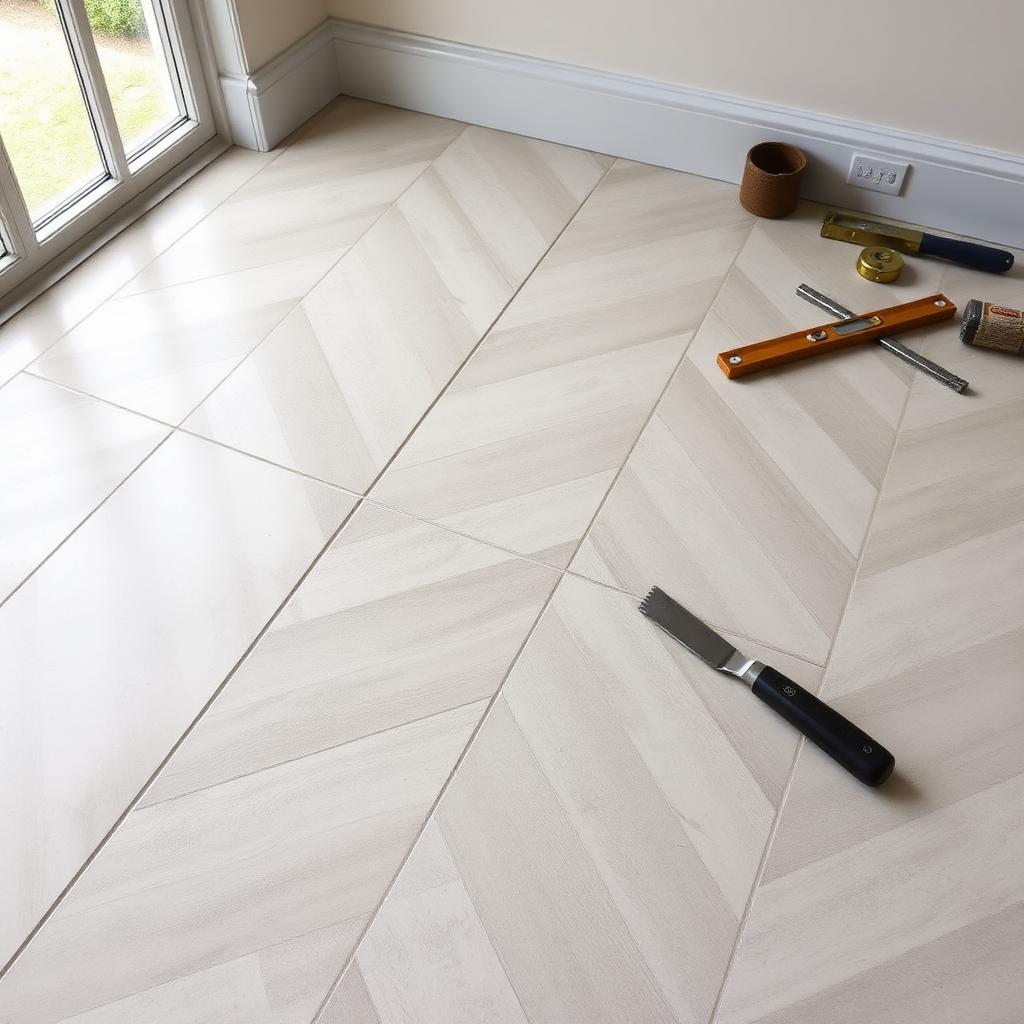
Tools and Materials
- 1/4 inch cement backer board (HardieBacker, Durock) or uncoupling membrane (Schluter DITRA)
- Modified thinset mortar (unmodified if pairing with DITRA per spec)
- Notched trowel sized to the tile: 1/4 inch square notch for 12x12, 1/2 inch for 12x24 and larger
- Tile spacers, levelling clips (recommended for any tile 15 inches or longer)
- Wet saw with a diamond blade, rubber float, grout sponge
- Sanded or unsanded grout (unsanded only for joints under 1/8 inch)
Step-by-Step Install
- Check subfloor deflection. Bounce on every joist bay. Anything that flexes will crack tile and grout within a year.
- Install backer or membrane. Screws every 8 inches in the field, 6 inches at edges. Tape and skim every seam with thinset.
- Snap layout lines. Find the centre of the room, dry-lay one row in each direction, then adjust so end cuts are at least half a tile.
- Mix thinset to peanut-butter consistency. Slake 10 minutes, mix again, use within 30 minutes.
- Comb thinset in one direction with the flat side then the notched side. Back-butter large-format tiles to hit 95 percent coverage.
- Set each tile with a slight wiggle perpendicular to the trowel lines to collapse the ridges. Insert spacers immediately.
- Cure 24 hours before pulling spacers and grouting. Cure another 48 to 72 hours before normal traffic.
- Grout diagonally to the joints with a rubber float, wipe with a damp sponge in clean circular motions, haze-wipe once dry.
- Seal grout after 72 hours (penetrating sealer for cement grout, none needed for epoxy or single-component urethane).
Common Mistakes
- Tile-over-vinyl shortcut. Almost never holds; the vinyl flexes and the tile cracks.
- Skipping back-buttering on large tiles. Causes hollow spots that crack underfoot.
- Walking on it too soon. 24 hours thinset, 24 hours grout. Resist the urge.
- Wrong thinset under DITRA. Schluter requires unmodified above the membrane, modified below.
Frequently Asked Questions
What flatness does the subfloor need?
The industry default is 3/16 inch deviation over a 10 foot span (about 5 mm over 3 metres). Floating floors, rigid-core LVP, and engineered hardwood all share that spec. Tile is stricter at 1/8 inch over 10 feet because thinset cannot bridge a wavy slab.
How long should materials acclimate on site?
48 hours for laminate and LVP, 7 to 14 days for solid and engineered hardwood (until plank moisture content is within 2 to 4 percent of the subfloor). Skip it and you risk gapping in winter or cupping in summer.
Does this work over radiant heat?
Most rigid-core LVP, engineered hardwood, and porcelain tile are radiant-heat rated up to about 82F (28C) at the subfloor. Solid hardwood and bamboo usually are not. Always confirm the manufacturer spec before laying.
Is it the same in the UK?
The product categories and installation rules are nearly identical. UK retailers like B&Q, Wickes, Carpetright, and Topps Tiles carry the same Shaw / Mohawk / COREtec equivalents with British Standard labelling (BS EN 13329 for laminate, BS EN ISO 10874 for resilient flooring).
Pro Tips From the Trade
- Order 10 percent waste. Bump to 15 percent on diagonal layouts, herringbone, or rooms with lots of cutouts. Future repair planks need the same dye lot.
- Photograph the install. Subfloor, vapour barrier, expansion gaps, transitions. Warranty claims hinge on documentation.
- Keep one full carton. Same production run, stored flat in conditioned space. It is the only colour-true repair source you will ever have.
- Run planks toward the light. Parallel to the longest wall or toward the main window so seams disappear instead of catching shadows.
- Test moisture. Tape a 2 ft square of plastic to a concrete slab for 72 hours; condensation underneath means a moisture problem to solve before any flooring goes down.
Bottom Line
The product matters less than the prep. A flat, dry, clean subfloor with correct underlayment and proper acclimation will make a mid-priced floor outperform a premium one installed badly. Get those four basics right, follow the manufacturer's spec sheet, and you will not see a single one of the common failure modes (cupping, gapping, lifting, telegraphing) in the first decade.


