

Quick Answer
The simplest routine for luxury vinyl plank: sweep or vacuum daily, damp-mop weekly with a pH-neutral floor cleaner diluted per the label. Never use steam mops, ammonia, bleach, oil-based soaps, wax, polish, or abrasive scrubbing pads. They void most LVP warranties.
Most major brands (COREtec, Shaw, Mohawk, LifeProof) recommend their own branded cleaner, but any pH-neutral cleaner like Bona for LVT, Better Life Floor Cleaner or a few drops of dish soap in warm water works.
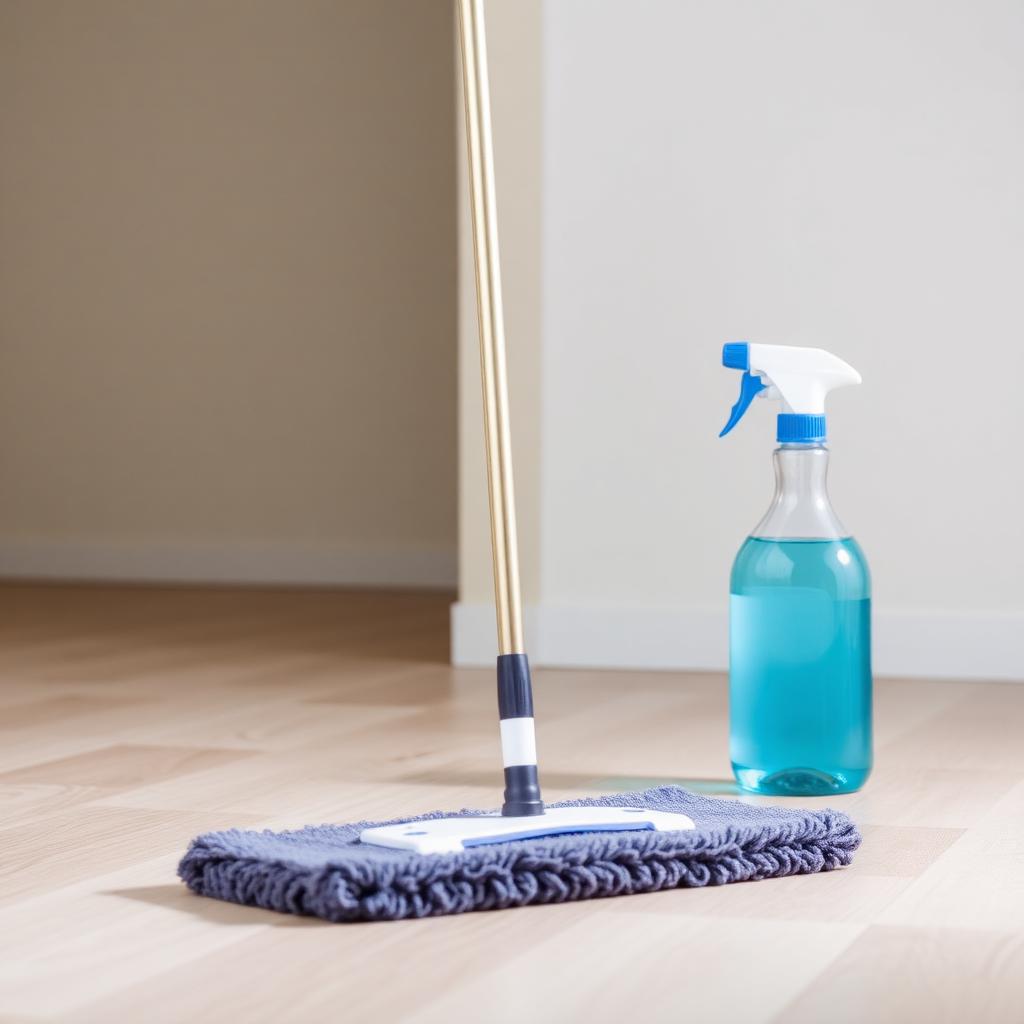
The Weekly Routine
- Sweep or vacuum. Use the hard-floor setting (beater bar off). Sand and grit are what scratch the wear layer.
- Spot-treat stains. A drop of dish soap on a damp cloth handles most marks. Goo Gone or rubbing alcohol on tougher residues.
- Damp-mop. A microfiber pad lightly dampened (not dripping) with pH-neutral cleaner. Work in 4x4 ft sections, follow the grain.
- Dry. A clean microfiber buffs out streaks.
What Not to Do
- No steam mops. Heat softens vinyl and forces moisture into click joints.
- No wax or polish. LVP has a factory urethane finish; wax builds up and yellows.
- No abrasive scrubbers. Steel wool and Magic Erasers will dull the wear layer.
- No ammonia, bleach, or oil soap. They degrade the urethane top coat.
- No vinegar in heavy concentration. Diluted (1/4 cup per gallon) is fine; straight vinegar is too acidic.
Stain Reference
- Crayon, lipstick, ink: rubbing alcohol on a cloth.
- Paint, nail polish: non-acetone polish remover; test in a corner first.
- Wine, juice, coffee: warm water + dish soap.
- Rust: a paste of baking soda and water, scrub gently with a soft cloth.
Real-World Notes
Field experience matters more than spec sheets here. Installers who do this work week-in week-out will tell you the same things: the substrate is everything, the acclimation step is non-optional, and a single missed prep detail will show up six months later when the seasons change.
Climate also plays a bigger role than most homeowners expect. A floor that performs perfectly in coastal Florida might cup in dry Denver winters. Match the product to the climate zone, and your warranty terms to your actual indoor humidity range.
Insurance and resale considerations are worth a mention too. Document the install with photos, keep the receipts, and save the lot numbers. Future buyers ask, and future repairs need them. Clean vinyl plank flooring the right way is a long-term decision, treat it like one.
One last note from the trade: cheap is rarely cheap. The lowest-priced product on the shelf usually has the thinnest wear layer, the loosest click, and the worst warranty terms. A mid-priced product from a known brand will outlast the budget option by 50 percent or more on average, which works out cheaper per year of service.
Frequently Asked Questions
Does the answer change for rental properties?
The general guidance holds, but landlords usually optimise for durability over aesthetics, so they lean to the cheapest waterproof option that will survive turnover after turnover.
What about radiant heat?
Always confirm your flooring choice is rated for radiant heat (most rigid-core LVP is, solid hardwood usually is not). Manufacturers publish a maximum subfloor temperature, typically 82°F (28°C).
How long should I let the materials sit before installing?
48 hours in the room of installation is the safe default for laminate and LVP. Engineered hardwood needs longer, often 7 to 14 days, until its moisture content is within 2 to 4 percent of the subfloor.
Does the same answer apply in the UK?
Mostly yes. UK retailers like B&Q, Wickes and Carpetright sell the same product categories with similar specs, though pricing and brand names differ.
Pro Tips From the Trade
- Buy 10 percent extra. You will cut waste at every wall and inside every doorway. Pros budget 10 percent overage on rectangular rooms and 15 percent on rooms with diagonals or lots of cutouts.
- Keep a few planks aside. Future repairs need a colour and lot match. Stash at least one full carton in the garage or basement, ideally from the same production run.
- Photograph the install. Snap pictures of the subfloor, vapour barrier, expansion gaps, and any transitions before the baseboards go on. Warranty claims often hinge on documentation.
- Save the receipts and lot numbers. Almost every flooring warranty requires proof of purchase and the production lot to be honoured.
If you take just one thing from this guide, take this: prep work decides 80 percent of the outcome. Spending an extra hour on subfloor inspection, moisture testing, acclimation, and laying out a dry run pays back ten times over the life of the floor. Skipping prep to save an afternoon almost always costs a weekend later.
And when in doubt, call a flooring contractor for an hour-long paid consult. A pro walking your room will spot issues you might miss, and the fee is trivial compared to a botched install.
Bottom Line
Flooring decisions sit at the intersection of budget, lifestyle and resale value. Get the prep right (flat, dry, clean subfloor; correct underlayment; proper acclimation) and even a mid-priced product will look and perform like a premium one. Cut corners on prep and even the most expensive plank will telegraph every flaw underneath.


