Quick Answer
To install off-road lights on a Jeep Wrangler, mount the brackets to factory windshield or bumper bolts, route wiring inside the fender well away from heat and moving parts, and always wire high-current lights through a fused 12V relay controlled by a cabin switch. Never run a high-power light bar straight to a dashboard toggle.
Modern JK and JL Wranglers are designed for this modification. With basic hand tools, a plug-and-play relay harness, and a couple of hours, I can install auxiliary lights cleanly and safely.
Tools and parts
- Metric socket set plus T40 or T50 Torx bits for the factory windshield cowl bolts
- Wire strippers, crimpers, and heat-shrink tubing with a small heat gun or torch lighter
- Waterproof zip ties, split-loom tubing, and a panel-clip removal tool
- A 12V automotive relay harness with an inline fuse (20A or 30A depending on the light's rated draw)
- The light pod or bar with vehicle-specific brackets from a reputable brand (KC Hilites, Rigid, Baja Designs, Diode Dynamics)
Step 1: Mount the lights to steel, not plastic
Auxiliary lights need to bolt to structural sheet metal. Plastic grille shells and trim panels flex and crack under trail vibration. On a Wrangler, the two easiest structural mounts are the windshield lower cowl bolts (for A-pillar or ditch lights) and the factory bumper bolts (for a bumper-mounted bar).
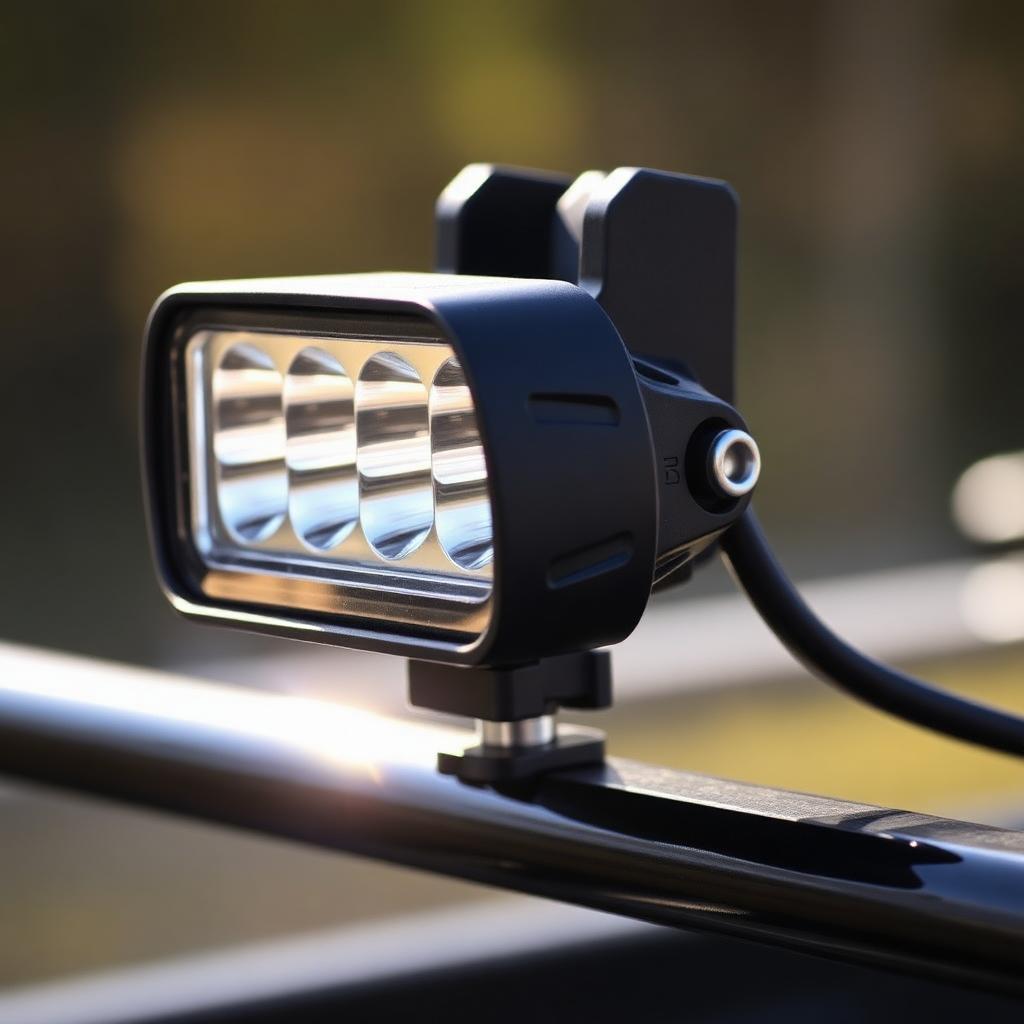
For A-pillar ditch lights
- Remove the factory Torx bolts at the base of the windshield hinge, one at a time so the windshield never loses both fasteners simultaneously.
- Slot the aftermarket bracket over the hole, thread the factory bolt back in by hand to avoid cross-threading, then torque to the manufacturer's spec.
- Mount the pod to the bracket, snug but not final-torqued, so you can aim it later.
Step 2: Route wiring cleanly through the engine bay
Loose wires under a Wrangler hood get caught on branches, melt on the exhaust manifold, or chafe against the steering shaft. Take the extra ten minutes to route wiring right.
- Feed the light's pigtail down behind the windshield cowl or through the bumper opening into the engine bay.
- Follow the inner fender lip toward the battery. Stay well clear of exhaust, radiator fans, and the steering column.
- Wrap the run in split-loom tubing and secure with UV-rated zip ties every 6 to 8 inches.
Step 3: Wire through a relay, never through a switch alone
A 40-watt light bar can pull 15 amps or more. That much current running through a 20-gauge dash switch is a real fire risk. A standard automotive relay lets a small switch trigger a heavy-duty circuit.
| Relay pin | Wire goes to | Notes |
|---|---|---|
| 30 | Battery positive, through an inline fuse within 6 inches of the post | Main power source |
| 87 | Positive lead of the LED light | Load side |
| 86 | Chassis or a factory ground stud on the inner fender | Ground; scrape paint to bare metal |
| 85 | Cabin switch, then to an ignition-switched fuse tap | Trigger; ignition-switched keeps lights from draining the battery when parked |
Step 4: Pass the switch wire through the firewall
Every Wrangler has a rubber grommet on the driver-side firewall, usually under the brake booster, where factory wiring passes through. Push a stiff wire (a coat hanger works well) through from the engine bay into the driver footwell, tape your switch lead to the tip, and pull it back through. Route it up the A-pillar to your chosen switch location. Add-a-fuse taps that pull ignition-switched 12V from the interior fuse box make the low-current switch feed simple.
Step 5: Aim, test, and cover
Reconnect the battery, turn the ignition to accessory, and flip the switch. If nothing happens, the two usual suspects are a poor chassis ground or a blown inline fuse. Fix those before you rebuild the wiring.
Park the Wrangler facing a garage or wall at dusk. Loosen the pod mounting bolts, aim each light for its purpose (ditch lights fan outward to the shoulders, bar lights throw long down the trail), and torque the hardware. Finish by fitting the opaque covers most states legally require whenever the lights are on public roads.
Common questions about off-road lights
Do I need a switched relay for every light?
One relay can drive one high-power circuit. If you have a light bar and a pair of ditch lights, run two independent relay circuits with separate switches so you can control them independently.
Are LED bars street legal?
Auxiliary off-road lights are almost never legal to use on public roads in the United States. Most states additionally require an opaque cover over the lens whenever the vehicle is on a highway.
Can I tap into the factory high-beam circuit?
You can, using a low-current signal wire to trigger the relay, but never draw the light bar's high current through the factory harness. Use the factory wire as a trigger only.
Bottom line
Installing off-road lights on a Jeep Wrangler is a rewarding weekend project when I follow three rules: bolt only to steel, wrap and route every wire, and always run a fused relay circuit. Do that and the lights will hold up trail after trail, and the Jeep's factory electrical system stays untouched.