Quick Answer
To carve a pumpkin, pick a firm one with a sturdy green stem, cut a lid at an angle around the stem, and scoop out the seeds and stringy pulp.
Thin the front wall to about 1 inch, tape or trace a pattern, then cut it out slowly with a small serrated saw instead of a big kitchen knife.
Carve no more than a few days before Halloween, keep it out of direct sun, and light it with an LED candle so it lasts longer and stays safe.
How Do You Pick the Best Pumpkin for Carving?
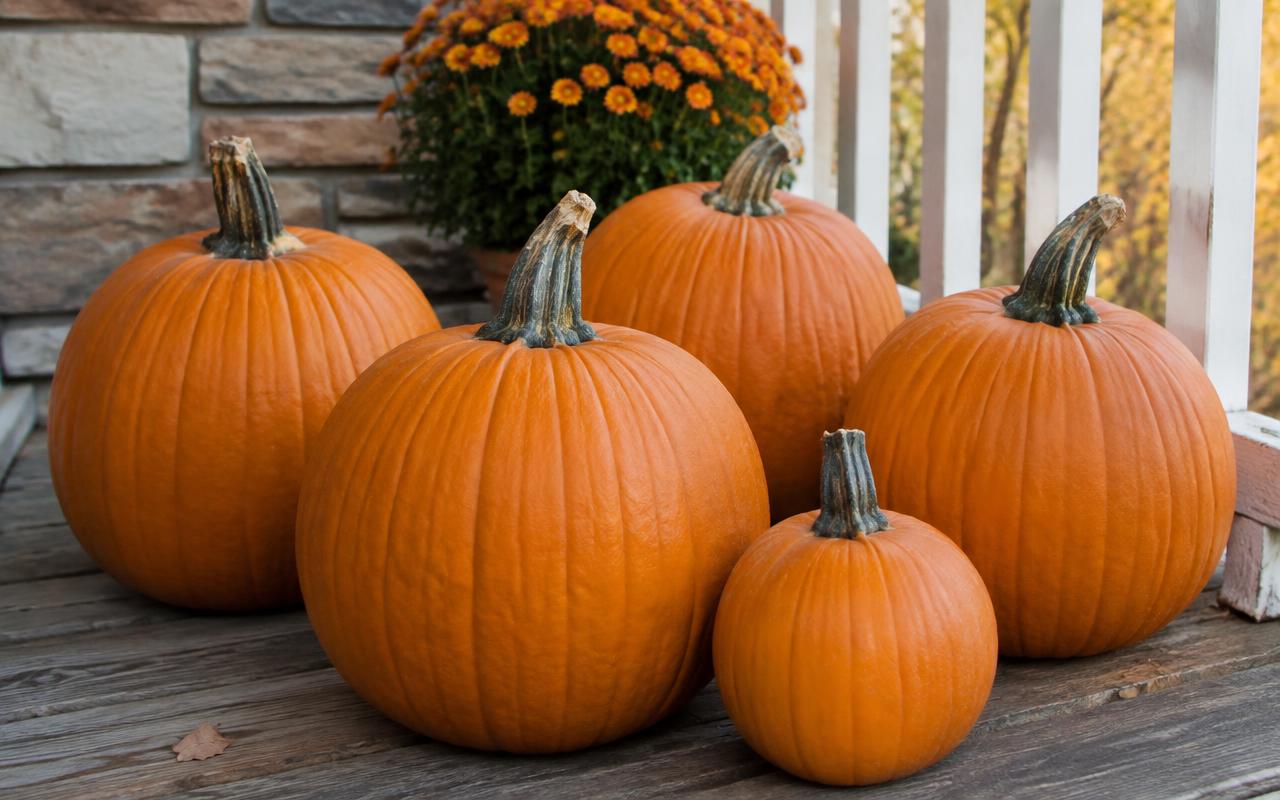
Look for a pumpkin with a flat bottom so it sits level, a firm rind with no soft spots, and a stem that is green and attached tightly.
Never lift a pumpkin by the stem. Iowa State Extension notes that stems may not hold the weight of the fruit and can snap off, which opens a spot for rot.
Larger pumpkins are easier to carve because you have more surface to work with. Tall oval pumpkins suit faces, while wide round ones suit scenes.
What Tools Do You Need?
- A small serrated pumpkin saw or carving kit
- A large metal spoon or a pumpkin scoop with a scraping edge
- A washable marker or a printed pattern and tape
- A poke tool, a pushpin or a toothpick for transferring patterns
- Newspaper or a plastic tablecloth to catch the mess
- An LED tea light or a battery candle
Carving kit saws are thin and flexible, so they follow curves well and are far less likely to slip than a chef knife. That makes them the better choice whenever kids are helping.
How Do You Carve a Pumpkin, Step by Step?
1. Wash and dry it. Wipe off dirt so it does not drag into the cuts. Work on a covered table at a comfortable height.
2. Cut the lid. Draw a circle about 2 inches out from the stem. Angle the saw toward the center as you cut so the lid sits on a ledge and does not fall in.
3. Cut a notch. A small notch in the lid edge shows you exactly how to line it back up.
4. Scoop it out. Pull out the seeds and strings by hand, then scrape the inside wall with the spoon. Save the seeds for roasting.
5. Thin the front. Scrape the face side until the wall is about 1 inch thick. Thin walls make cutting much easier and let more light through.
6. Transfer the design. Draw freehand with a washable marker, or tape a paper pattern on and poke dots along the lines every quarter inch.
7. Cut from the center out. Start with the small details in the middle and finish with the large shapes. Saw with short up and down strokes and hold the saw straight.
8. Push the pieces out. Gently press each cut piece from the inside. If one sticks, cut again instead of forcing it, which can crack the wall.
Can You Carve a Pumpkin From the Bottom or Back?
Yes. Cutting the opening in the bottom instead of the top keeps the stem whole, so the pumpkin looks neater and the top does not cave in as it softens.
You can also cut the opening in the back. That makes it easy to drop a light inside and keeps the front design clean.
What Are Some Easy Carving Ideas for Beginners?
- Classic face: triangle eyes, a triangle nose and a jagged grin.
- Polka dots: use a drill bit or apple corer to punch neat round holes.
- Single shape: a cat, bat, moon or star in the center.
- Surface etching: peel away only the skin with a linoleum cutter so the design glows softly without cutting through.
If you are new to carving, choose a design with thick connecting pieces. Thin bridges between cutouts are the first parts to snap.
Is It Safe to Carve With Kids?
Let kids draw the design, scoop the pulp and sort the seeds while an adult does the cutting. Carve away from your body and keep the pumpkin steady on a flat surface.
Use battery lights instead of open flames, especially on a porch where costumes brush past. If you do use a real candle, never leave it unattended.
How Do You Make a Carved Pumpkin Last Longer?
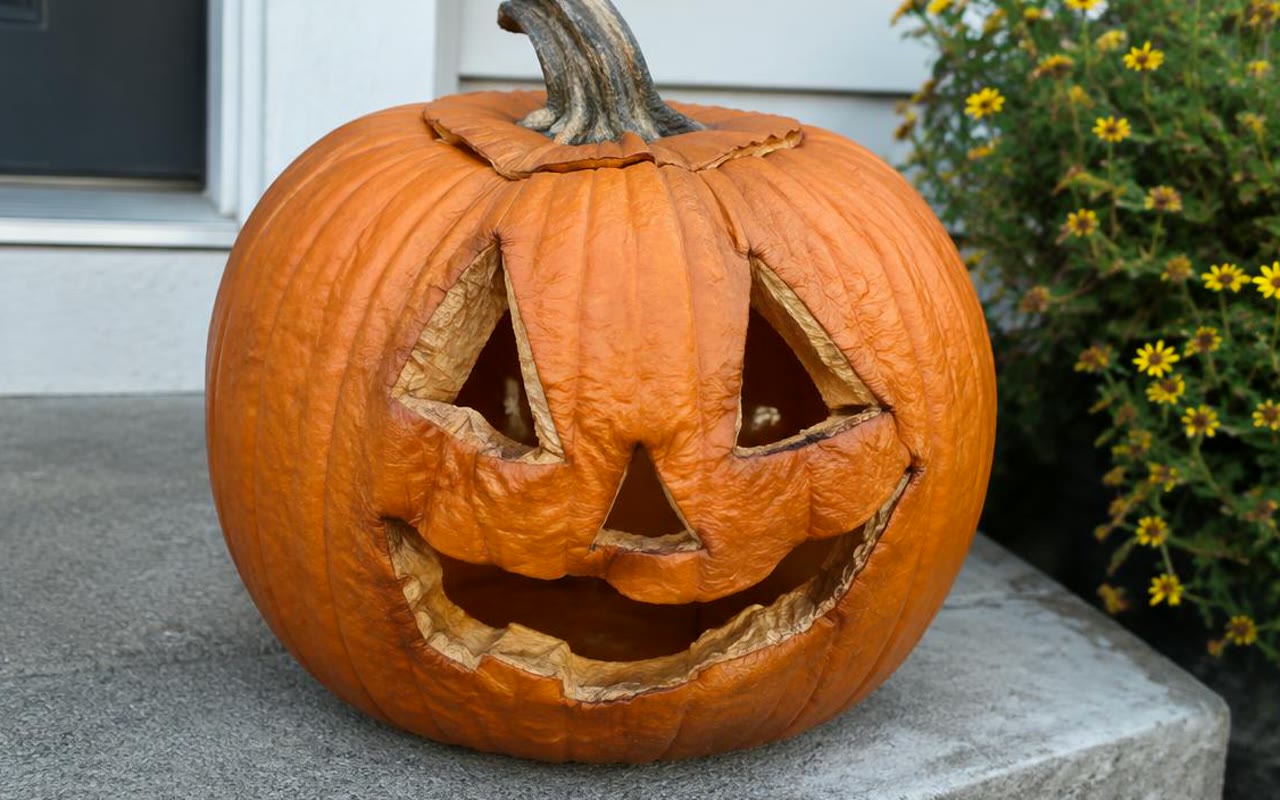
A carved pumpkin usually lasts about 3 to 5 days outdoors before it starts to sag, and less in warm weather. These steps help:
- Carve two or three days before Halloween, not two weeks before.
- Rub petroleum jelly or vegetable oil on the cut edges to slow drying.
- Spritz the inside with a mild vinegar and water mix to slow mold.
- Keep it in shade and bring it indoors to a cool spot overnight on warm nights.
A shriveled pumpkin can sometimes be revived by soaking it face down in cold water for an hour or so.
Can You Eat a Carved Pumpkin?
I do not. Michigan State University Extension explains that once a pumpkin is carved it becomes a perishable food, and after more than two hours at room temperature it sits in the temperature danger zone where bacteria can multiply.
If you want pumpkin for pie or soup, buy a separate small pie pumpkin. Scoop the seeds right after carving and roast them the same day.
What Do You Do With the Pumpkin After Halloween?
Compost it if you have a pile, since the soft flesh breaks down quickly. Remove any candle wax first.
Some towns run pumpkin collection days that turn old jack o lanterns into compost. Check your local waste service in early November.
Frequently Asked Questions
How early can I carve a pumpkin?
About 2 to 3 days before you want to display it, or up to 5 days in cool weather.
Why is my pumpkin moldy inside?
Leftover pulp and warm days speed up mold. Scrape the walls clean and keep it cool.
What size pumpkin is easiest to carve?
A medium to large pumpkin, roughly 10 to 15 pounds, gives the most room for a design.
Do I need a carving kit?
Not strictly, but the small saws are safer and more precise than kitchen knives.
The Bottom Line
Carving a pumpkin is mostly about prep: a firm pumpkin, an angled lid, a well scraped wall and a slow, steady saw.
Carve close to Halloween, seal the cut edges, use LED lights, and save the seeds. You will get a jack o lantern that looks sharp on the night that matters.