

Quick Answer
Winterize a garden in four steps: clear out spent annual debris, give beds one deep soak before the ground freezes, prune perennials back to 2 to 3 inches, then blanket the soil with 3 to 4 inches of organic mulch.
Keep mulch 2 inches clear of woody stems to stop bark rot, and bag any diseased material instead of composting it. Done in an afternoon, this preserves soil structure, suppresses weeds, and shields roots from frost heave through the coldest months.
Why bother winterizing at all?
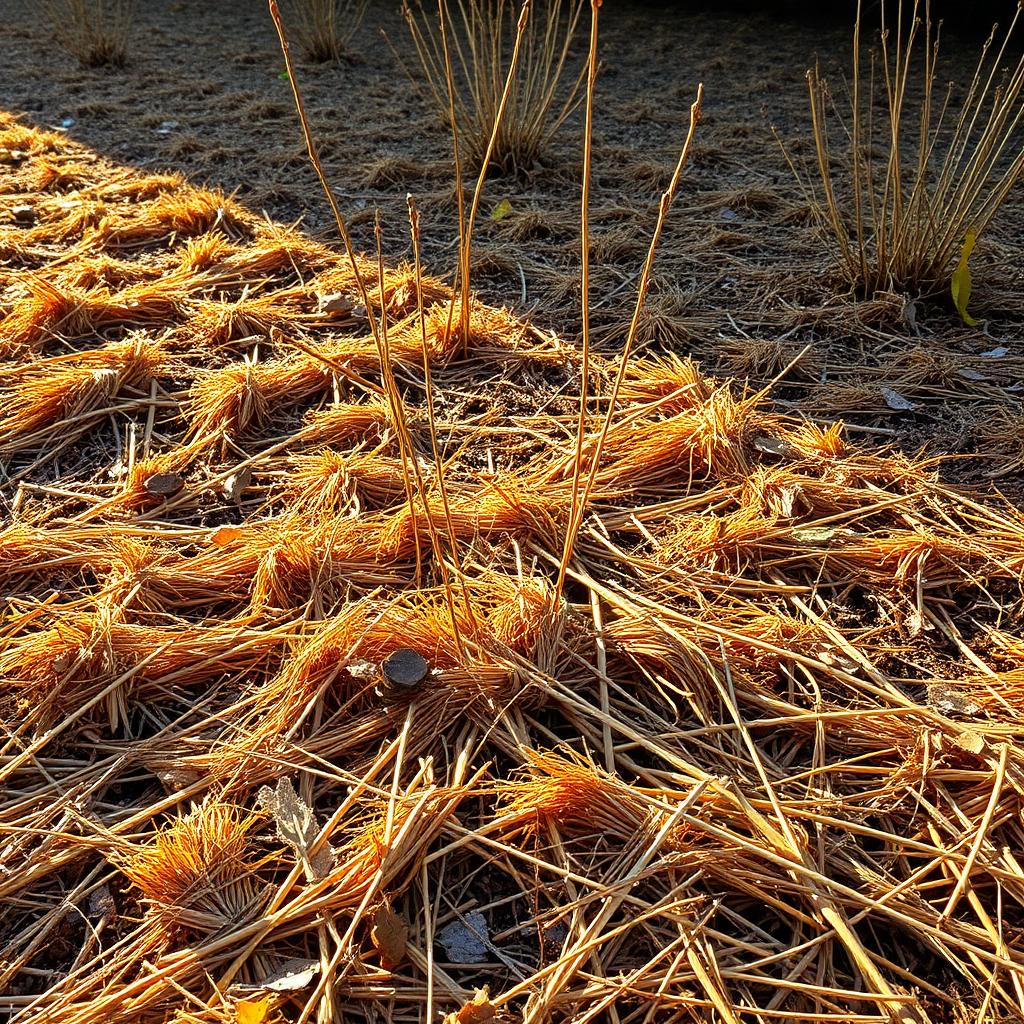
Once the first hard frost flattens the tomato vines, it is easy to assume the gardening year is finished and walk away until April. That passive approach quietly costs you. Bare soil cracks under freeze and thaw cycles, beneficial soil microbes get scoured by wind, and any spent vines left in place become five-star hotels for overwintering pests.
A few hours of late autumn cleanup protects everything you spent the growing season building: enriched soil, healthy perennial crowns, and a clear weed-free seedbed for next spring. Think of it as tucking the garden in rather than abandoning it.
Step 1: Clear the beds and stop disease in its tracks
Pull every exhausted annual plant out by the roots. That means tomatoes, peppers, cucumbers, squash, beans, and any flowering annuals that have collapsed. Shake the loose soil off the roots so it stays in the bed where it belongs.
- Healthy debris: chop into 6 inch pieces and add to your compost pile or feed it through a shredder for mulch.
- Diseased debris: any leaves with blight, mildew, rust, or visible fungal spots go straight into the municipal bin in a sealed bag. Backyard compost almost never reaches the sustained 55 to 65 C needed to kill fungal spores.
- Hollow stems: stalks from squash, sunflowers, and brassicas often shelter borer larvae over winter. Cut, bag, and dispose offsite.
This single sanitation pass interrupts the lifecycle of dozens of pests and pathogens that would otherwise emerge with the first warm spring day.
Step 2: Hydrate deeply before the ground freezes
Watering in late autumn feels counterintuitive, but it is one of the most protective things you can do. Wet soil holds and slowly releases ambient ground heat far better than dry, pocketed earth. When a cold snap arrives, that moisture freezes into a stable thermal block around the roots instead of letting freezing air punch straight down to the rhizosphere.
Give every bed, every shrub, and especially anything planted within the last 12 months a slow, deep soak. Move the hose around so water actually penetrates 6 to 8 inches down rather than running off the surface. Do this on a mild day before your outdoor taps get shut off for the season.
Step 3: Prune perennials with restraint
Wait until a hard frost has clearly turned the foliage of your perennials yellow or brown. Pruning earlier interrupts the plant's natural process of pulling sugars and nutrients back down into the crown for winter storage.
Once the stalks are dormant, use clean bypass pruners to cut them back to 2 to 3 inches above the soil line. Short stubs help you locate the plants in spring and stop winter winds from rocking the crown loose.
Two important exceptions:
- Ornamental grasses: leave intact. The fronds catch snow and act as natural insulation for the crown.
- Seed heads: coneflowers, rudbeckia, sedum, and teasel feed goldfinches, juncos, and chickadees through the lean winter months. Leave them standing.
Step 4: Layer the mulch barrier correctly
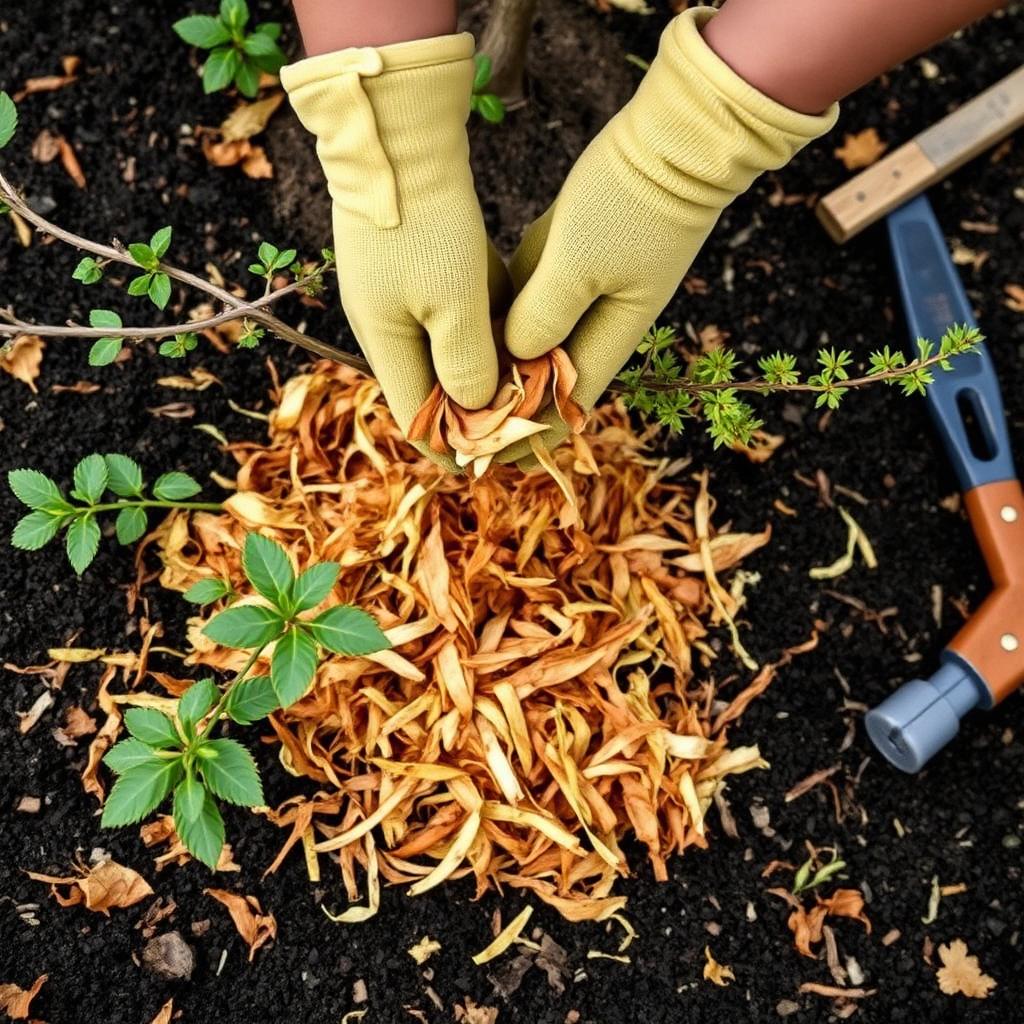
Apply 3 to 4 inches of organic mulch across every cleared bed. Good options include clean wheat straw, shredded hardwood bark, chopped autumn leaves, or pine needles. Avoid dyed bark, which often comes from recycled construction wood treated with preservatives.
The most important rule when mulching around woody plants, perennial crowns, and young trees: keep the mulch 2 inches clear of the main stem. Piling mulch against the bark in a volcano shape traps moisture against the wood, softens the bark, invites voles, and shortens the life of the plant.
Container and tender plant moves
Ceramic, terracotta, and concrete pots crack when the water inside the soil freezes and expands. Either empty pots and store them indoors, or move planted containers into an unheated garage, shed, or against a south-facing wall where the temperature stays steadier.
For tender shrubs like young Japanese maples or fig trees in cold zones, wrap the trunk and lower branches with burlap or hessian. The wrap blocks winter wind burn and protects the bark from sun scald during cold sunny days when frozen tissue can split under sudden warming.
Tool and irrigation shutdown
- Drain every garden hose, coil it loosely, and store it indoors. Water left inside expands when frozen and splits the rubber lining.
- Disconnect and shut off outdoor taps at the indoor isolator valve, then open the outside tap to drain the pipe.
- Empty rain barrels or leave the spigot open so freezing water has somewhere to expand without splitting the barrel wall.
- Clean, oil, and sharpen pruners, loppers, spades, and forks. Wipe metal with a thin film of oil to prevent winter rust.
What to skip this season
Do not till the soil in autumn. Tilling exposes weed seeds, destroys earthworm tunnels, and breaks up the fungal networks your soil spent the year building. Leave the structure intact and let the mulch protect it.
Do not fertilize woody plants in late autumn either. A fresh shot of nitrogen pushes tender new growth that gets killed by the first hard freeze, weakening the plant. Save feeding for early spring.
Spring payoff
A garden winterized in October or November wakes up in March with soft, workable soil, intact root systems, and far fewer weeds. You skip the spring sanitation panic, plant earlier than your neighbours, and pull bigger harvests because the bed is already balanced and biologically alive. The 2 or 3 hours you invest now buy back days of work in spring.
The takeaway
Winterizing comes down to clearing diseased debris, feeding the soil with compost and a dynamic mulch layer, and protecting tender crowns before the first hard freeze. Do those three things and the garden wakes up healthier in spring.


