Quick Answer
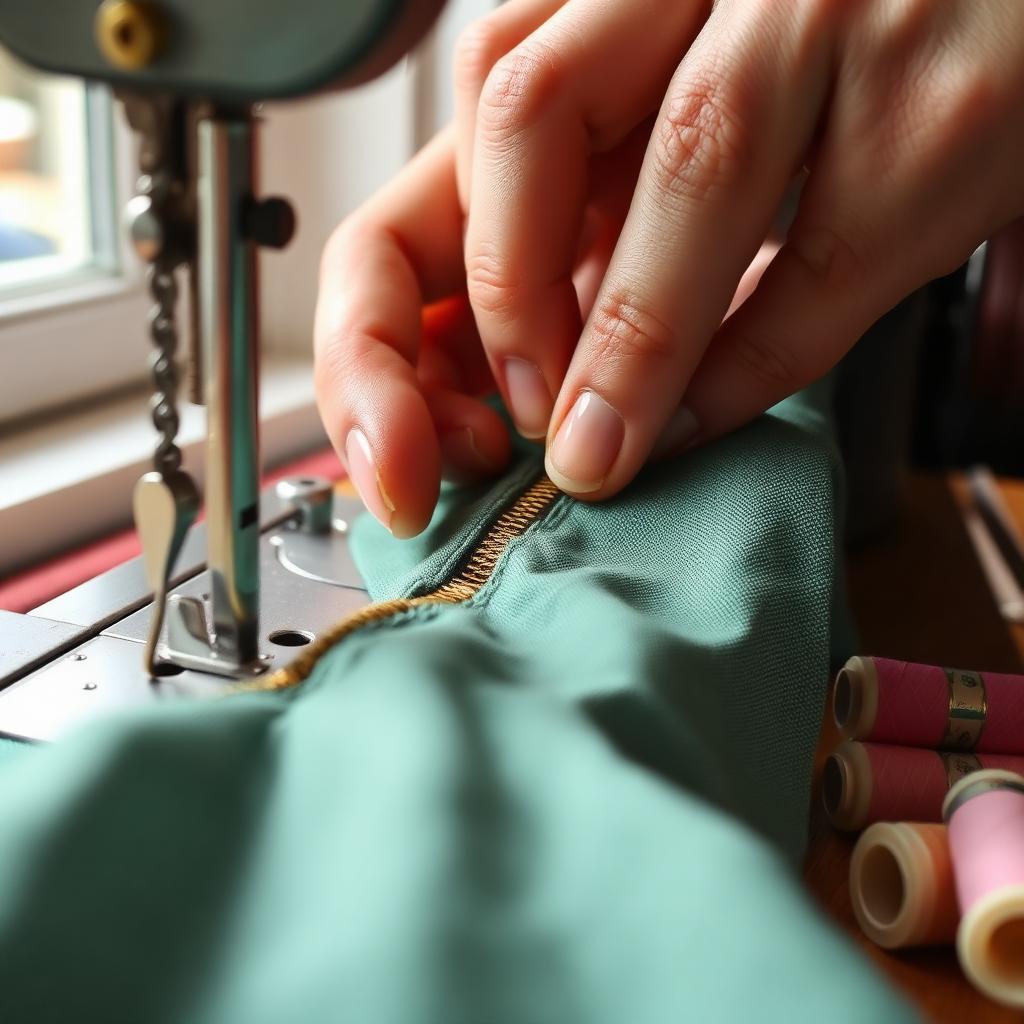
The easiest zipper to sew as a beginner is a centred zipper. The process is: baste the seam closed with a long machine stitch, press the seam open, pin or tape the zipper face down behind the seam, attach a zipper foot to your machine, top stitch down each side from the top to about an inch past the zipper stop, pivot, sew across the bottom, then unpick the basting stitches to reveal the working zipper.
The single most important tool is a zipper foot (the narrow foot that lets the needle stitch right next to the zipper teeth). Most machines ship with one.
The three zipper types
Before you sew anything, know which kind of zipper your pattern asks for:
- Centred (also called regulation): two parallel stitching lines, one on each side of the zipper teeth, with the teeth visible down the middle. The easiest to learn and very common on cushion covers, skirts and tote bag pockets.
- Lapped: one side of the fabric overlaps the zipper, hiding it from view. Traditional on dress shirts and the side seam of fitted skirts.
- Invisible (concealed): the zipper teeth sit inside the seam and are completely hidden. Standard on dresses, formal skirts and high end home decor. Requires a special invisible zipper foot.
Start with centred. The other two are easier once you have one centred zipper under your belt.
What you will need
- A sewing machine with a zipper foot attachment.
- A zipper at least 1 inch shorter than your seam opening.
- Matching all purpose polyester thread (top and bobbin).
- An iron and ironing board.
- Wash away basting tape (Wonder Tape) or 6 to 8 fine pins.
- A seam ripper.
- Tailor's chalk or a fabric marking pen.
The centred zipper, step by step
Step 1: prepare the seam
Place your two fabric pieces right sides together. Mark the bottom of the zipper opening on the seam with a small dot of chalk: this is the point below which you will sew a normal seam, and above which the zipper goes.
Set your machine to a long basting stitch (4 to 5 mm). Stitch from the top of the seam down to the chalk mark using the basting stitch. Then switch to a normal stitch length (2.5 mm) and continue from the chalk mark to the bottom of the seam.
The top of the seam is now basted (loosely held closed) and the bottom is permanently sewn.
Step 2: press the seam open
Press the entire seam allowance flat to one side, then open. A well pressed seam gives the zipper a clean guideline to follow. This step matters more than it looks.
Step 3: position the zipper
With the wrong side of the fabric facing up, place the closed zipper face down so the teeth sit exactly over the pressed open seam. The zipper pull should be at the top, the bottom stop should be a quarter inch below your chalk mark.
Hold the zipper in place with either fine pins through the zipper tape only (not through the teeth) or strips of wash away basting tape. Tape is faster and stops the zipper drifting under the foot.
Step 4: attach the zipper foot
Snap on the zipper foot. The foot has a narrow profile that lets the needle stitch right beside the zipper teeth. Move the needle to whichever side of the foot keeps it next to the teeth (most machines have a needle position adjustment).
Step 5: top stitch
Flip the work right side up. You should see the basting seam down the middle and the zipper hidden underneath.
Starting at the top right of the zipper, stitch down about 3/8 inch from the seam line. Stop when you reach a point 1 inch below the zipper bottom stop. Lower the needle, lift the foot, pivot the fabric 90 degrees and stitch across the bottom. Pivot again, stitch up the other side at the same 3/8 inch distance until you reach the top.
Tip: when you near the zipper pull, stop, lower the needle into the fabric, lift the foot, slide the zipper pull behind the needle, lower the foot and continue. This avoids the messy bump beginners get around the pull.
Step 6: unpick the basting
Use the seam ripper to gently remove the long basting stitches that were holding the seam closed. The zipper is revealed and ready to use. Trim any loose thread tails.
Common beginner problems
Wavy top stitching
Caused by stretching the fabric while sewing. Let the feed dogs pull the fabric; do not push or pull.
Sewing over the zipper teeth and breaking a needle
The zipper foot is positioned wrong. Stop, raise the needle, and slide the needle position one notch over.
Puckered fabric
Tension is too tight, the thread is too thick for the fabric, or you have the wrong needle. Try a fine 70/10 universal needle and reduce tension slightly.
Zipper shifts while sewing
Switch from pins to basting tape. The tape holds the zipper rigid throughout the stitch.
How to shorten a zipper
Need a 7 inch zipper but only have a 9 inch in your drawer? With the zipper closed, hand stitch a tight bar tack across the teeth at the 7 inch mark using strong thread (about 8 passes). Cut the excess zipper an inch below the bar tack. The bar tack becomes the new bottom stop.
Practice on scraps first
Cut two 8 inch by 5 inch rectangles from inexpensive cotton and sew a centred zipper into one of the long edges. You will go through the entire process in 15 minutes and any mistakes are throwaway. Two or three practice runs is usually enough to feel confident on the real project.
FAQs
Can I sew a zipper without a zipper foot?
You can technically use a regular foot but the stitch line will sit too far from the teeth and look loose. A zipper foot costs 5 to 15 dollars and is the single best beginner investment.
What thread do I use for jeans zippers?
Heavy duty all purpose polyester in the bobbin, topstitch thread (thicker, gold or contrast colour) in the needle, and a denim 90/14 or 100/16 needle.
Are invisible zippers really harder?
Slightly. The trick is the invisible zipper foot, which uncurls the teeth so the needle stitches right next to them. Once you have the right foot, the process is no more difficult than a centred zipper.
The takeaway
Zippers feel scary until you sew one. Start with a centred zipper on scrap fabric, use basting tape instead of pins, attach the zipper foot, and remember to pivot the fabric (not the zipper) around the pull. Within an afternoon you will have the muscle memory for the next decade of sewing projects.