

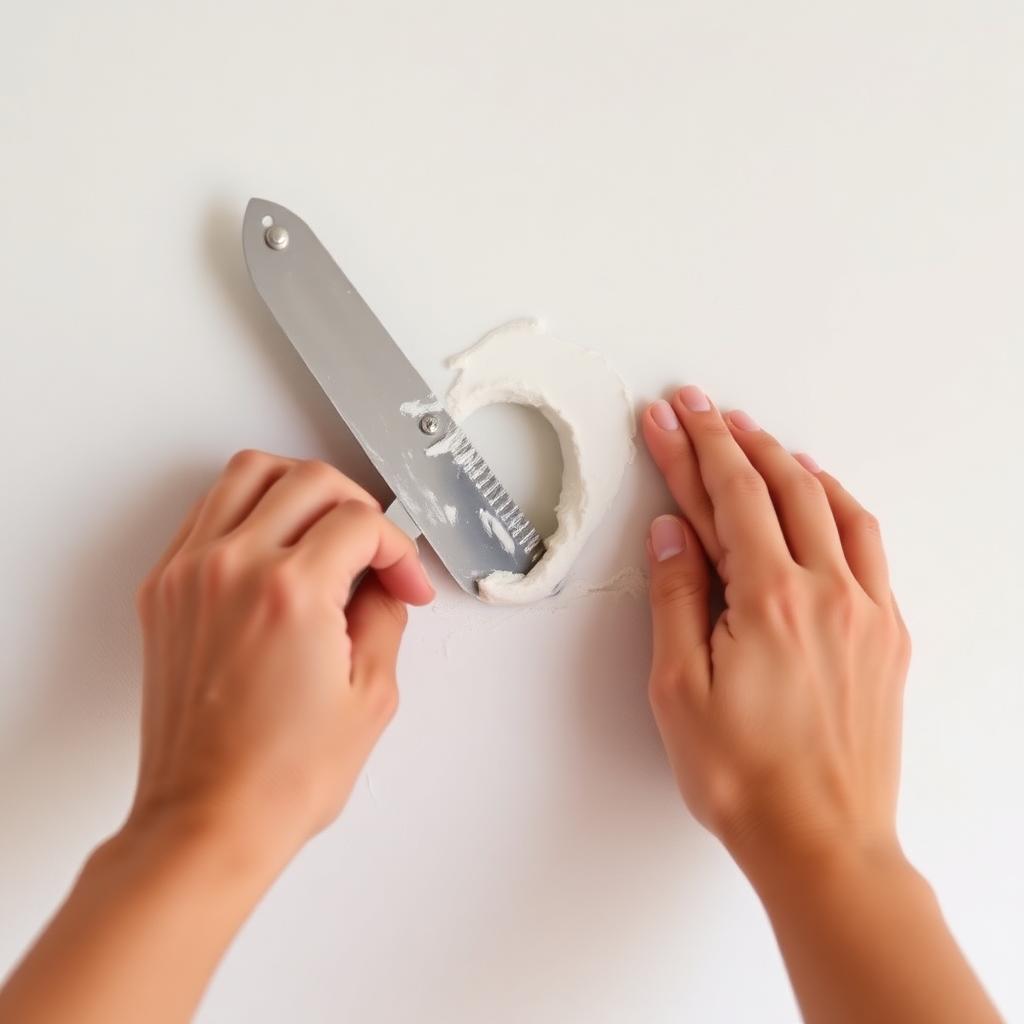
Quick Answer
For nail holes, dab on lightweight spackling and scrape flush. For dings under three inches, cover with a self adhesive mesh patch and feather two coats of joint compound. For holes larger than three inches, cut a clean square, screw a wood backer behind it, fit a replacement drywall piece, tape the seams, and finish with three thin compound coats.
Patience between coats is the difference between an invisible repair and a visible patch. Never rush the dry time.
Pick the right method for the hole size
| Damage | Size | Method | Core supplies |
|---|---|---|---|
| Nail or screw hole | Under 1/4 inch | Direct fill | Lightweight spackling, 3 inch putty knife, 220 grit sanding sponge |
| Doorknob ding, small impact | 1 to 3 inches | Self adhesive mesh patch | Mesh patch, 6 inch joint knife, pre mixed joint compound |
| Large impact, stud cavity | 3 to 8 inches | California (blowout) patch or backer board | Scrap drywall, paper tape, joint compound, drywall saw |
| Big hole (door slam, plumbing) | Over 8 inches | Full backer patch | Drywall sheet piece, 1x3 wood furring strips, drywall screws, joint tape |
Tools you actually need
- 3 inch and 6 inch putty or taping knives
- Pre mixed lightweight joint compound
- Lightweight spackling for small holes
- Self adhesive fiberglass mesh patch
- 220 grit sanding block or sponge
- Drywall saw or sharp utility knife
- Paper or mesh joint tape for larger seams
- Primer and matching wall paint
Method 1: nail and screw holes
- Tap any loose paper edges inward with the back of the putty knife handle.
- Scoop a quarter sized blob of lightweight spackling onto a 3 inch knife.
- Press it firmly into the hole with an upward stroke so the cavity fills completely.
- Hold the knife at 45 degrees and scrape across the hole to leave the patch flush.
- Let it dry one to two hours, then sand smooth with 220 grit.
- Spot prime, then paint.
For walls with texture, dab a wet sponge or stipple brush into the wet spackling before it sets to match the surrounding pattern.
Method 2: medium holes with a mesh patch
Anything bigger than a thumb but under three inches needs structural support so the compound does not sag into the wall cavity.
- Wipe the area clean with a damp cloth and trim any loose paper.
- Centre a self adhesive fiberglass or aluminium mesh patch over the hole. The patch should overlap solid wall by at least one inch on every side.
- Press the adhesive backing down firmly so the mesh sits flat.
- Load a 6 inch joint knife with pre mixed compound and apply a thin first coat in a plus sign pattern over the mesh.
- Feather the edges. Press harder at the outer boundary so the compound thins out gradually and blends into the flat wall.
- Let dry overnight (usually six to eight hours; longer in humid rooms).
- Sand the ridges off with 220 grit and apply a second wider coat, again feathering the edges.
- Sand smooth, prime, and paint.
Why feather? The eye picks up a patch by the shadow line at its edge. Feathering eliminates that ridge, so once the wall is painted the repair disappears.
Method 3: large holes with a backer board
Use this when the hole is bigger than your hand or anywhere there is no stud nearby.
- Use a square and a pencil to draw a neat rectangle around the damage. Cut along the lines with a drywall saw.
- Cut two pieces of 1x3 wood furring strip about four inches longer than the rectangle height.
- Slip each strip vertically inside the wall behind the cut edges, hold tight, and drive drywall screws through the existing wall into the wood. The strips become a hidden frame.
- Cut a replacement drywall piece (same thickness as the wall, usually 1/2 inch) to fit the rectangle.
- Screw the new piece into the furring strips.
- Apply paper joint tape over each seam, bedded in a thin coat of joint compound.
- Once dry, apply two more wider coats, feathering each edge.
- Sand, prime, and paint.
Common rookie mistakes
- Loading the knife with too much compound. Thin coats dry faster, sand easier, and blend better than thick ones.
- Sanding while wet. Compound smears instead of dusting off. Always wait for full dry.
- Skipping primer. Bare joint compound absorbs paint differently than the surrounding wall and flashes a visible matte ring.
- Wrong knife size. Trying to feather a wide patch with a 3 inch knife leaves visible tracks. Use 6 inch and 10 inch knives for larger work.
- Painting the patch only. Always repaint corner to corner or the patched area shows in raking light.
Drying and painting timing
- Lightweight spackling: 1 to 2 hours per coat.
- Joint compound: 6 to 24 hours per coat depending on thickness and humidity.
- Primer: 1 to 2 hours.
- Topcoat: 2 to 4 hours between coats.
If the patch still feels cool to the touch, it is not dry. Wait longer.
Matching the texture
Most newer homes have a light orange peel or knockdown texture. After the patch is dry but before painting:
- Spray a fine layer of aerosol texture from a can (sold at any home centre).
- For knockdown, wait 10 minutes, then drag a wide knife lightly across the spray to flatten the peaks.
- Practice on cardboard first to dial in the spray distance.
FAQs
Can I paint over wet spackling?
No. The paint will crack and peel. Wait for the patch to dry, sand, and prime first.
What is the best compound for beginners?
A pre mixed lightweight joint compound such as USG Sheetrock Plus 3 sands easily, dries lighter, and shrinks very little.
Do I need to remove wallpaper before patching?
Yes. Strip wallpaper from the patch area before applying compound or the seam will lift again later.
Why does my patch keep cracking?
Cracks usually mean the coats were too thick or you did not use joint tape over a butt seam. Sand back, embed paper tape in a fresh skim, and recoat.
The takeaway
Match the method to the hole size, build the repair in thin feathered coats, give it real dry time, and prime before paint. Done that way, drywall repair is genuinely DIY and the finished wall looks like nothing ever happened.


