

Quick Answer
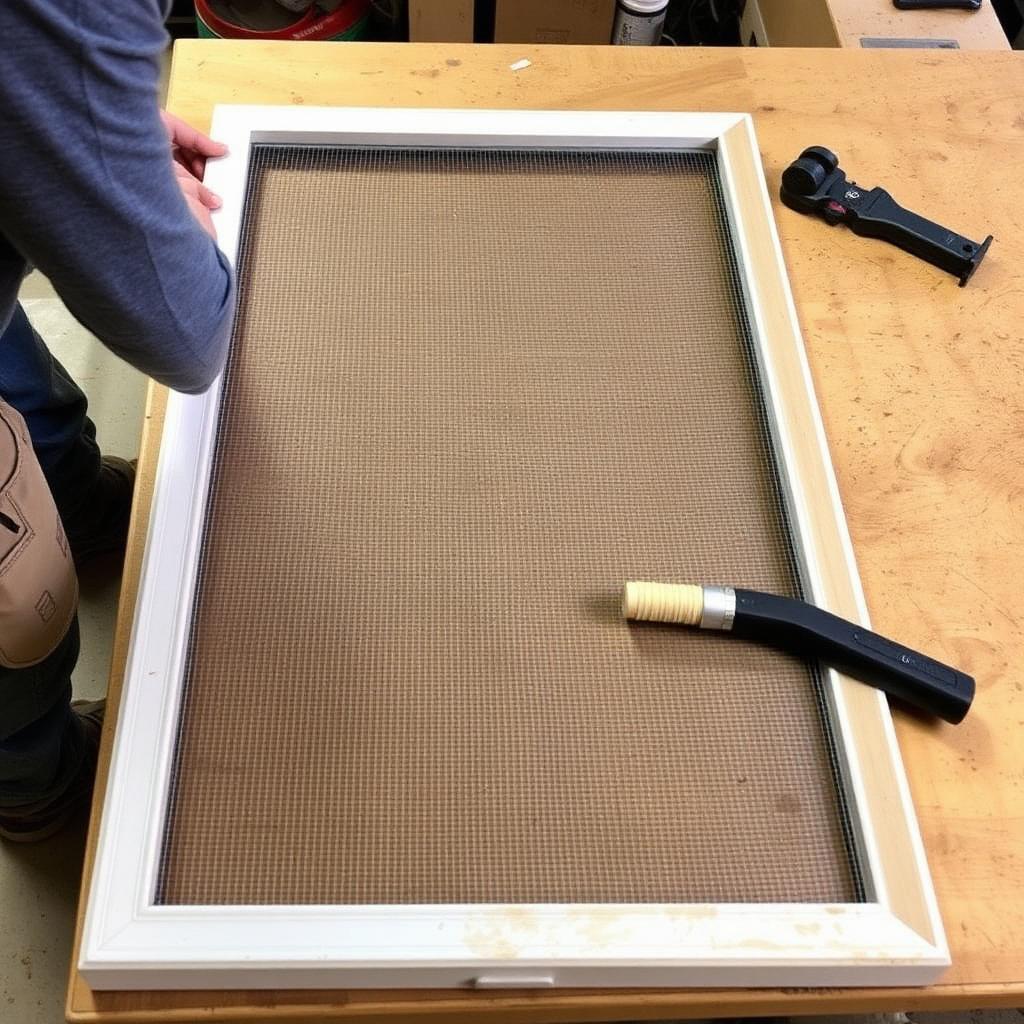
To repair a torn or sagging screen door, lift the frame out of its track, pry out the old rubber spline, lay fresh fiberglass mesh over the channel, and roll new spline in with a spline roller tool. Trim the excess mesh with a razor knife and rehang the door.
The whole job takes 20 to 30 minutes once you have the materials and costs less than 20 dollars. You do not need to replace the whole frame.
Tools and Materials You Need
- A roll of replacement screen mesh, usually charcoal fiberglass for visibility and durability. Choose a roll wider than your door.
- A length of vinyl spline cord. Match the diameter of the old spline, usually 0.140 to 0.175 inch.
- A spline roller with two wheels, one convex and one concave.
- A sharp razor utility knife with a fresh blade.
- A small flathead screwdriver or awl for spline removal.
All five items are sold together as a kit at most hardware stores for about 15 dollars.
Step 1: Remove the Door From the Track
Sliding screen doors lift up into the upper track and tilt out at the bottom. Push the door up firmly, swing the bottom rollers free of the lower track, and pull the door out.
Lay the frame flat on a clean workbench or across two sawhorses. Working flat is the single biggest reason DIY screen replacements come out smooth instead of warped.
Step 2: Pull Out the Old Spline
Find a corner of the old spline, the rubber cord pressed into the channel around the perimeter. Slide a flathead screwdriver or awl underneath and lift it up.
Pull the entire length out in one continuous strip. Discard the old mesh and inspect the channel. Brush out any dirt or debris with a stiff brush so the new spline seats fully.
Step 3: Lay Out the New Mesh
Unroll your new mesh over the frame so it overlaps every edge by at least 2 inches. Trim it roughly to size with utility shears.
Do not pull the mesh tight by hand. Frames will torque inward and form an hourglass warp that prevents the door from rolling in its track later. Let the mesh sit loose and flat over the channel.
Step 4: Crease the Mesh Into the Channel
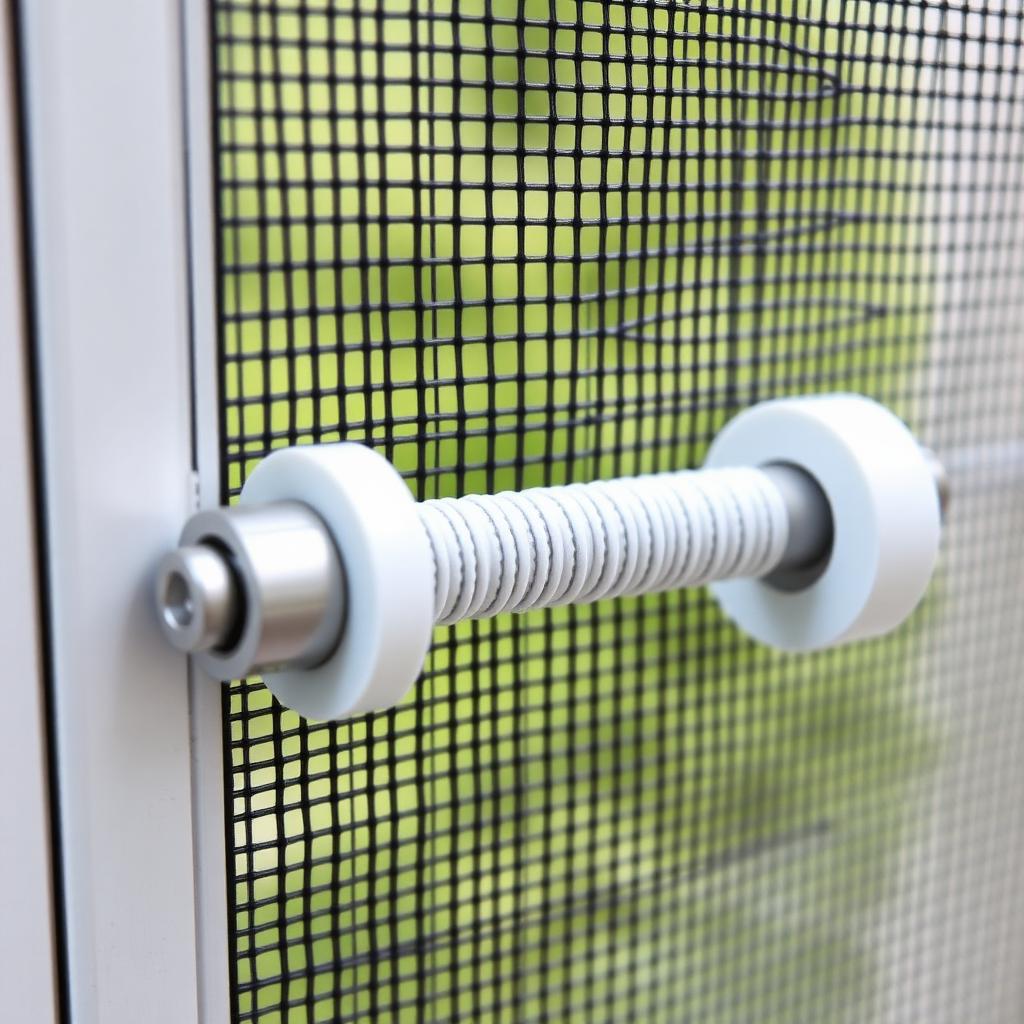
Use the convex wheel of your spline roller, the one with the pointed edge. Run it lightly along the mesh directly over the empty channel groove on all four sides.
This creates a clean crease that pre seats the mesh at the right depth. The trick keeps the screen flat and free of bubbles when you install the spline next.
Step 5: Roll In the New Spline
Start at one long side. Press an inch of fresh spline into the corner of the channel by hand. Switch to the concave wheel of the roller, the one with the groove, and roll the spline firmly down into the channel.
Move slowly and keep light outward tension on the mesh ahead of the roller. At each corner, gently work the spline down with the tip of your screwdriver, then continue with the roller along the next side.
Finish back where you started, trim the spline cleanly, and tuck the cut end into the channel.
Step 6: Trim the Excess Mesh
Hold your razor knife at a 45 degree angle pointing outward, with the blade riding along the outer edge of the spline. Pull the blade in a smooth steady motion all the way around the frame.
Take your time. Rushing or stopping mid cut causes the blade to slip and slice into the new mesh. If the blade drags, change to a fresh edge.
Reinstall and Inspect
Carry the door back to the opening, lift the top into the upper track, and drop the bottom rollers into the lower track. Slide the door open and closed a few times to check for binding.
Check the mesh from both sides. It should look flat, even, and slightly taut. Small ripples will tighten as the mesh relaxes in the sun.
The Takeaway
A torn screen door looks like a job for a contractor but is actually one of the easiest home repairs you can do. Pop out the old spline, roll in fresh fiberglass mesh, trim the edges, and your door is bug proof again for a tiny fraction of replacement cost.


