

Quick Answer
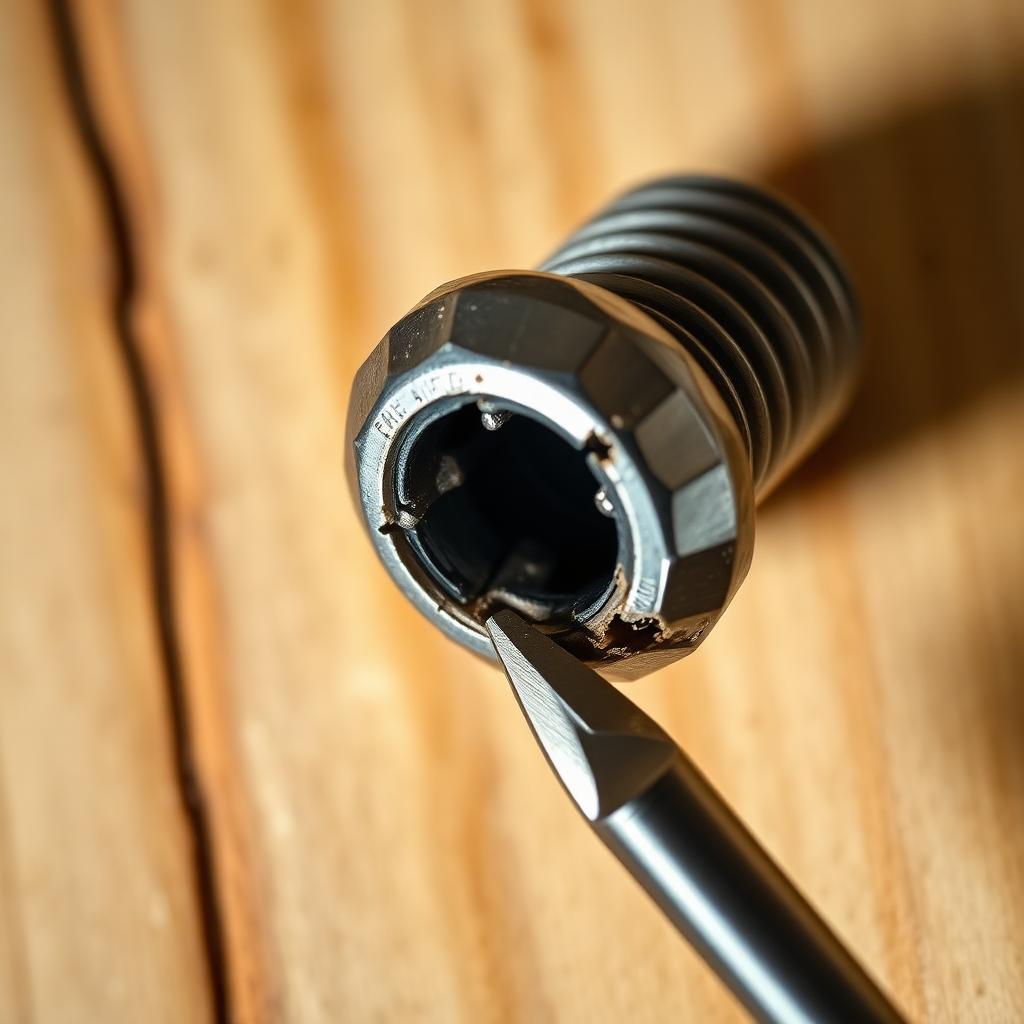
Try the methods in order of escalating damage. Start with a wide rubber band laid over the head as friction filler. If the head sits proud of the surface, clamp it with locking pliers and turn the whole tool. If the head is flush and stuck, cut a single fresh flathead slot across it with a rotary tool. If nothing else works, use a screw extractor bit (a reverse-threaded bit) in a drill set to reverse.
One rule above the others: stop pressing once you feel the bit slip. Every extra slip widens the crater and makes the next method harder. Move to a different technique the moment the current one is not biting.
The escalation ladder
| Method | What it does | Best for |
|---|---|---|
| Rubber band | Fills the worn slot with grippy material | Mildly stripped screws in soft wood |
| Locking pliers | Grips the outside of the head | Heads that protrude above the surface |
| Rotary cut slot | Creates a new flathead slot | Flush screws with hollow heads |
| Extractor bit | Cuts reverse threads into the head | Severely seized or sheared screws |
Method 1: the rubber band hack
Cost: zero. Damage: none. Success rate on lightly stripped screws: surprisingly high.
Take a wide, thick rubber band (a stationery band or a slice from a bicycle inner tube). Lay it flat over the screw head. Press your driver tip into the slot through the rubber. Push down hard, harder than feels reasonable. About 80 percent of your weight needs to be on the driver to stop the next slip. Slowly turn counter-clockwise. The rubber compresses into the worn cam-out lobes and gives the driver something to bite. This works on Phillips, Pozidriv, and Torx heads that are mildly chewed.
If the rubber tears or the driver still slips after two or three attempts, move on. Do not keep trying. Each failed attempt deepens the crater.
Method 2: locking pliers on the head
If the screw head is sitting at least a millimetre or two proud of the surface, you can bypass the slot entirely. Grab a pair of locking pliers (Vise-Grip is the original brand). Adjust the jaw screw until the jaws clamp the head with bone-crushing force. Lock the handles closed. Rotate the entire tool counter-clockwise.
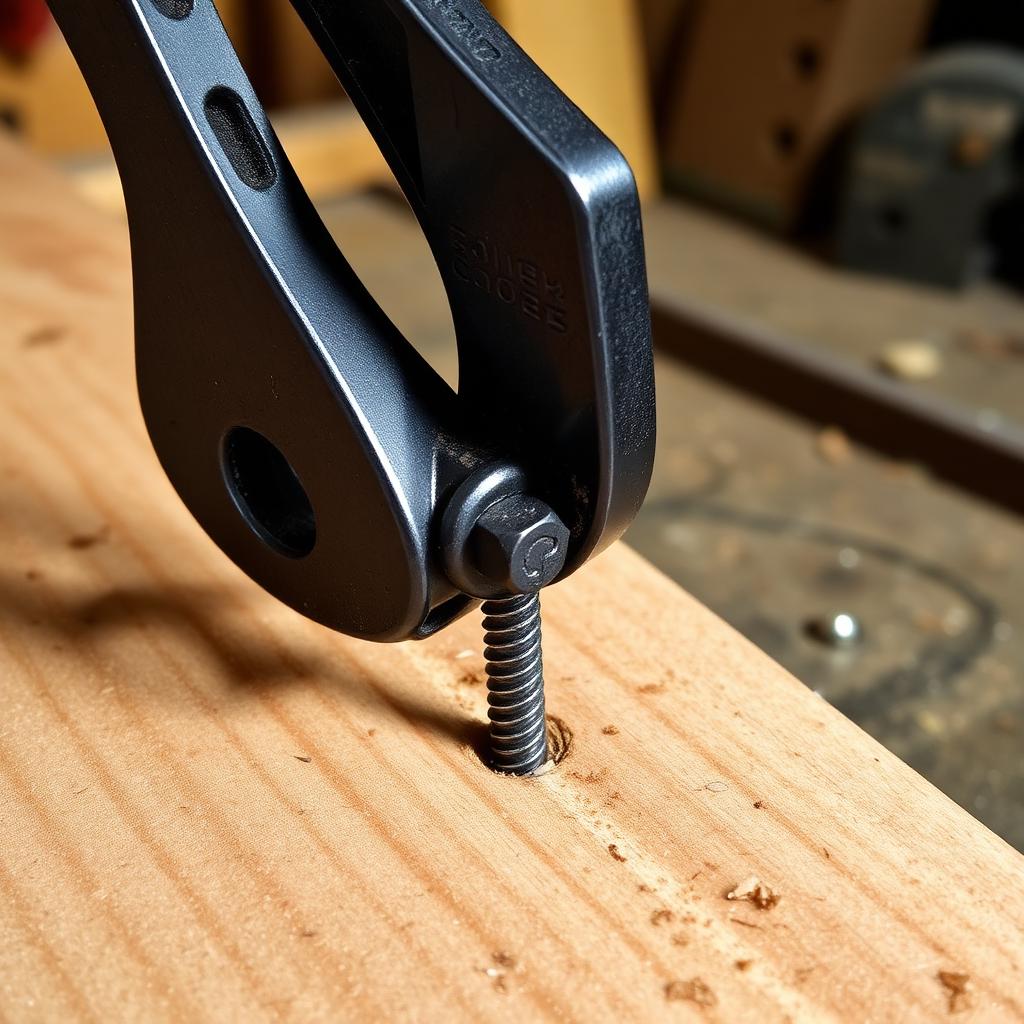
This method is ideal for furniture screws backed out part-way, deck screws holding a board down, and exposed bolt-style fasteners. It does not work for any screw sitting flush with or below the surface. Trying to grip a flush screw with pliers usually results in marring the wood and gaining no purchase.
Method 3: cut a new slot with a rotary tool
If the screw is flush, the slot is wrecked, and the screw is still firmly seated, the next step is to convert it into a flathead. Mount a thin abrasive cut-off wheel on a Dremel or similar rotary tool. Wear eye protection; small disc fragments are common.
- Mark the centre line of the screw head with a sharpie if you cannot see it clearly.
- Cut a single horizontal slot straight across the head, going about a third of the way into the metal.
- Brush out the metal dust.
- Use a large, thick flathead screwdriver (the largest that fits the slot) and turn counter-clockwise with steady pressure.
This works because a freshly cut slot has crisp, sharp walls that a flathead can grip. It is best on screws that are not flush against a delicate finish, because the cutting wheel will scuff the surrounding surface.
Method 4: a screw extractor bit
The last resort for genuinely stuck screws is a screw extractor set (also sold as "easy out" bits). The set includes a pilot drill bit and a reverse-tapered extractor. The process:
- Use the included drill bit to drill a small pilot hole straight down into the centre of the screw head, about three to five millimetres deep. Run the drill in forward at low speed.
- Switch the drill to reverse.
- Mount the extractor bit. Place its tip into the pilot hole.
- Apply firm downward pressure and run the drill in reverse at low speed. The extractor's reverse-cut threads dig into the metal as it spins; once they bite, continued reverse rotation backs the entire screw out.
Two cautions. First, extractors are made of hardened steel and they can snap if you twist them sideways. If a snapped extractor lodges in the screw, the only fix is drilling it out with a carbide bit, which is a much harder repair. Apply only straight-down pressure. Second, extractors do not work in plastic, very soft aluminum, or any material that strips before the screw moves. For those situations, you may have to drill the entire screw out and re-tap the hole.
Prevention is cheaper than extraction
Most stripped screws are caused by three avoidable mistakes:
- Wrong driver size. A PH2 bit in a PH1 head will strip the head in one rotation. Match the number stamped on the bit to the screw.
- Wrong driver type. Phillips and Pozidriv look almost identical but have different angle geometries. A Phillips bit in a Pozidriv screw cams out almost immediately. Look for the small radial witness marks between the cross arms on Pozidriv screws.
- Too much torque, not enough downward pressure. Power drills should be set to a low clutch setting for screw driving, and you must press hard enough to keep the bit fully seated. Light pressure with high torque is the recipe for stripping.
If you broke the head off entirely
A sheared screw with no head left is a special case. If the broken shaft sticks out, locking pliers on the shaft work. If it broke flush, you need an extractor as in Method 4, with the pilot hole drilled down the shaft. If the screw broke below the surface, drill it out with progressively larger bits and re-tap the hole or fill it with epoxy and re-drill.
The takeaway
Rubber band first, locking pliers if the head is proud, cut a fresh slot if the head is flush, extractor bit only if nothing else worked. Stop the moment your tool slips. Most stripped screws come out with the first two methods, and most stripping comes from using the wrong bit in the first place. Match your driver to the screw and the problem rarely starts.


