

Quick Answer
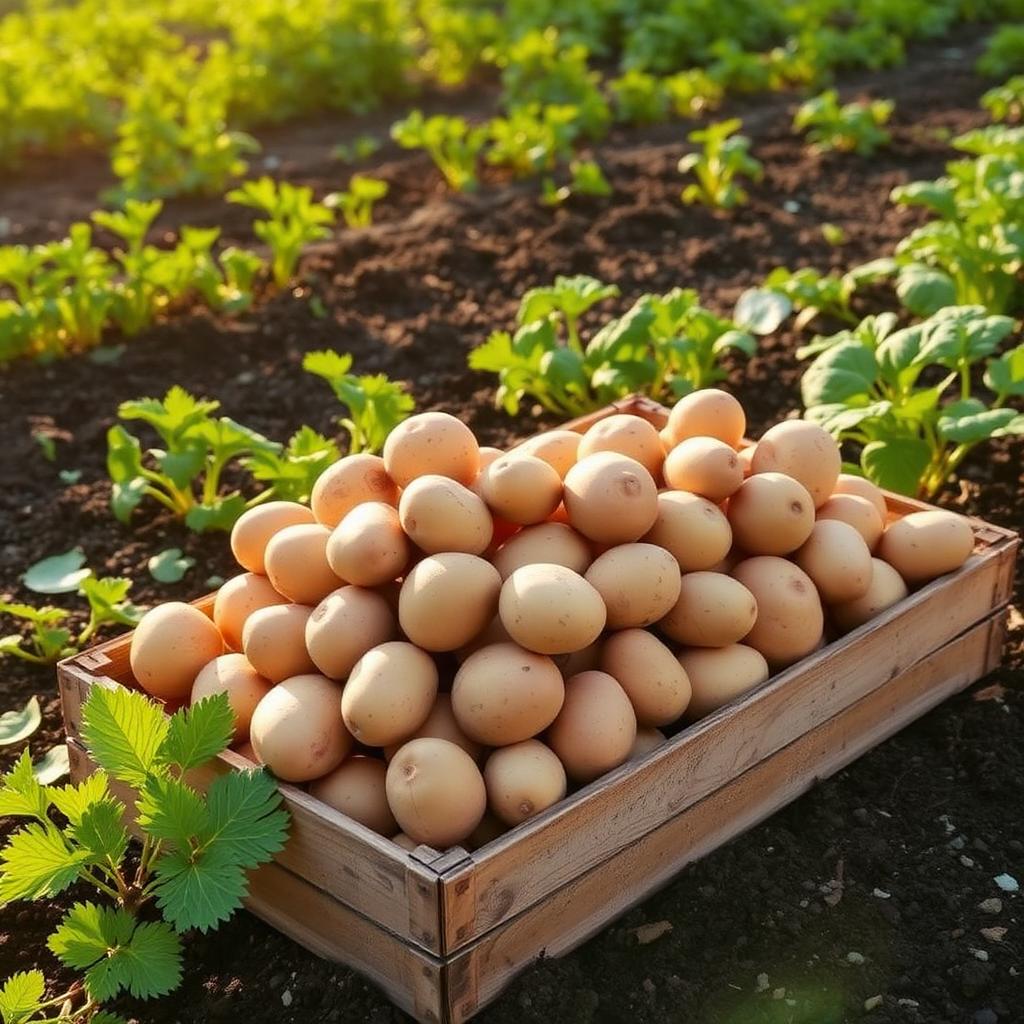
Plant certified seed potatoes 2 to 4 weeks before your last spring frost. Chit them on a bright windowsill for 14 days, drop the sprouted chunks 4 inches deep in a trench with eyes facing up, and space them 12 inches apart in rows 3 feet apart.
The real yield secret is hilling. Every two weeks, pull soil or straw up around the green stems so the new tubers stay buried and never see sunlight.
Why Grocery Store Potatoes Fail
I learned this the hard way. The potatoes I had buried from the pantry sprouted, then collapsed mid summer from a virus that stayed in the bed for the next season. Supermarket potatoes are sprayed with chlorpropham or a similar growth inhibitor to keep them from waking up on the shelf, and many carry latent viral disease that field grown stock is screened for.
Certified seed potatoes cost a few dollars more per bag and pay you back with disease free plants and a much larger harvest.
Chit the Seed Potatoes First
Chitting is just pre sprouting. About two weeks before planting, set the seed potatoes in an open egg carton, rose end up (the end with the most eyes), on a cool bright windowsill. Skip direct hot sun.
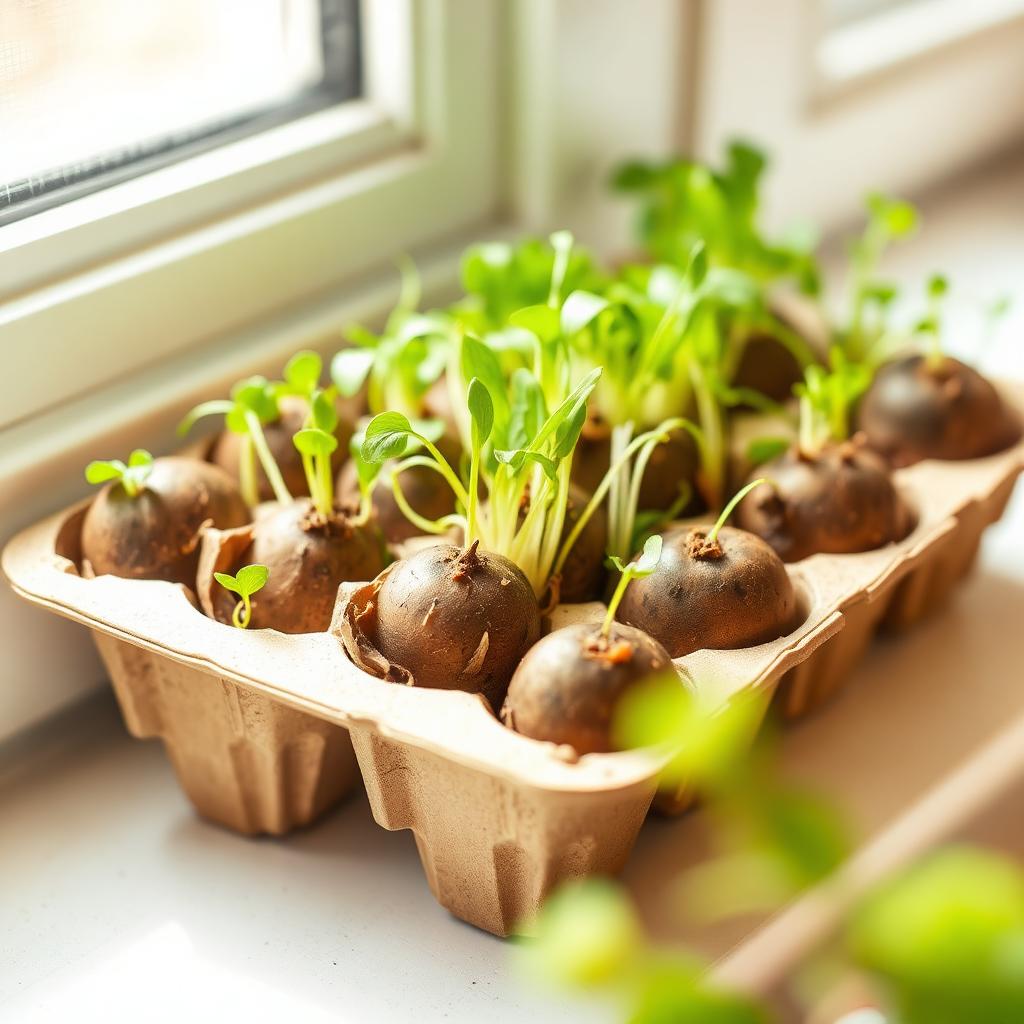
You want short, stocky, dark green sprouts no longer than a centimetre. Long, pale, spindly sprouts mean too little light. Snap those off and start over.
Cut Big Tubers Safely
If a seed potato is golf ball sized or smaller, plant it whole. If it is larger, cut it into chunks with a sterilised knife so each piece has at least two healthy eyes and weighs roughly 50 grams.
Spread the cut pieces on newspaper for 24 to 48 hours so the wounds form a leathery callus. That dry skin shields the cut from soil borne fungi that would otherwise rot the chunk in cold wet ground.
Prepare the Bed
Potatoes love loose, slightly acidic soil. Aim for a pH between 5.0 and 6.0, which keeps the common scab fungus in check. Skip fresh manure (it triggers scabby skin) and skip lime if you applied it that year.
Dig a flat bottomed trench 6 inches deep and 12 inches wide. Mix a generous shovel of finished compost into the bottom of the trench so the new roots dive straight into rich, friable soil.
Set the Seed Pieces
Place the chitted chunks along the bottom of the trench, eyes pointing skyward, spaced 12 inches apart. Rows should sit 30 to 36 inches apart so you have room to hill later.
Cover with only 2 to 3 inches of soil at first. Burying the seed under the full trench depth right away wastes the plant's stored energy reaching the surface. Water once and walk away.
The Hilling Method That Doubles Yield
This is the step most beginners skip. Tubers do not form below the seed. They form on side stolons that branch off the buried portion of the green stem. The more stem you bury, the more tubers you grow.
When the shoots reach 6 to 8 inches tall, hoe loose soil, finished compost, or clean straw up around the plant, burying the bottom half of the stem. Repeat every two weeks until the hill stands about a foot high.
Always keep developing tubers covered. A potato exposed to sunlight builds up chlorophyll and produces solanine, a bitter toxin that turns the skin green and makes the spud unsafe to eat.
Watering and Feeding Through the Season
Potatoes need about an inch of water a week, with the heaviest demand during flowering when tubers are sizing up. Water deeply at the base, not overhead, to keep foliage dry and discourage blight.
A light side dressing of an organic balanced fertiliser at hilling time is plenty. Heavy nitrogen produces lush leaves and tiny tubers, which is the opposite of what you want.
When and How to Harvest
For new potatoes, dig gently around the base about two weeks after flowering. For storage potatoes, wait until the entire vine yellows, dies back, and dries on its own. That signals the skins have set and the tubers are ready to keep.
Stop watering for a week before harvest, then loosen the soil with a fork well outside the hill so you do not spear your prize. Cure the harvested potatoes for 10 days in a dark, humid spot around 15 degrees Celsius before moving them to long term storage.
The Takeaway
The recipe is simple: certified seed, two weeks of chitting, a shallow first cover, and aggressive hilling every two weeks. Add steady water through flowering and patient harvest after dieback, and a single bag of seed will fill a basket with clean, scab free potatoes that taste nothing like the supermarket version.


