

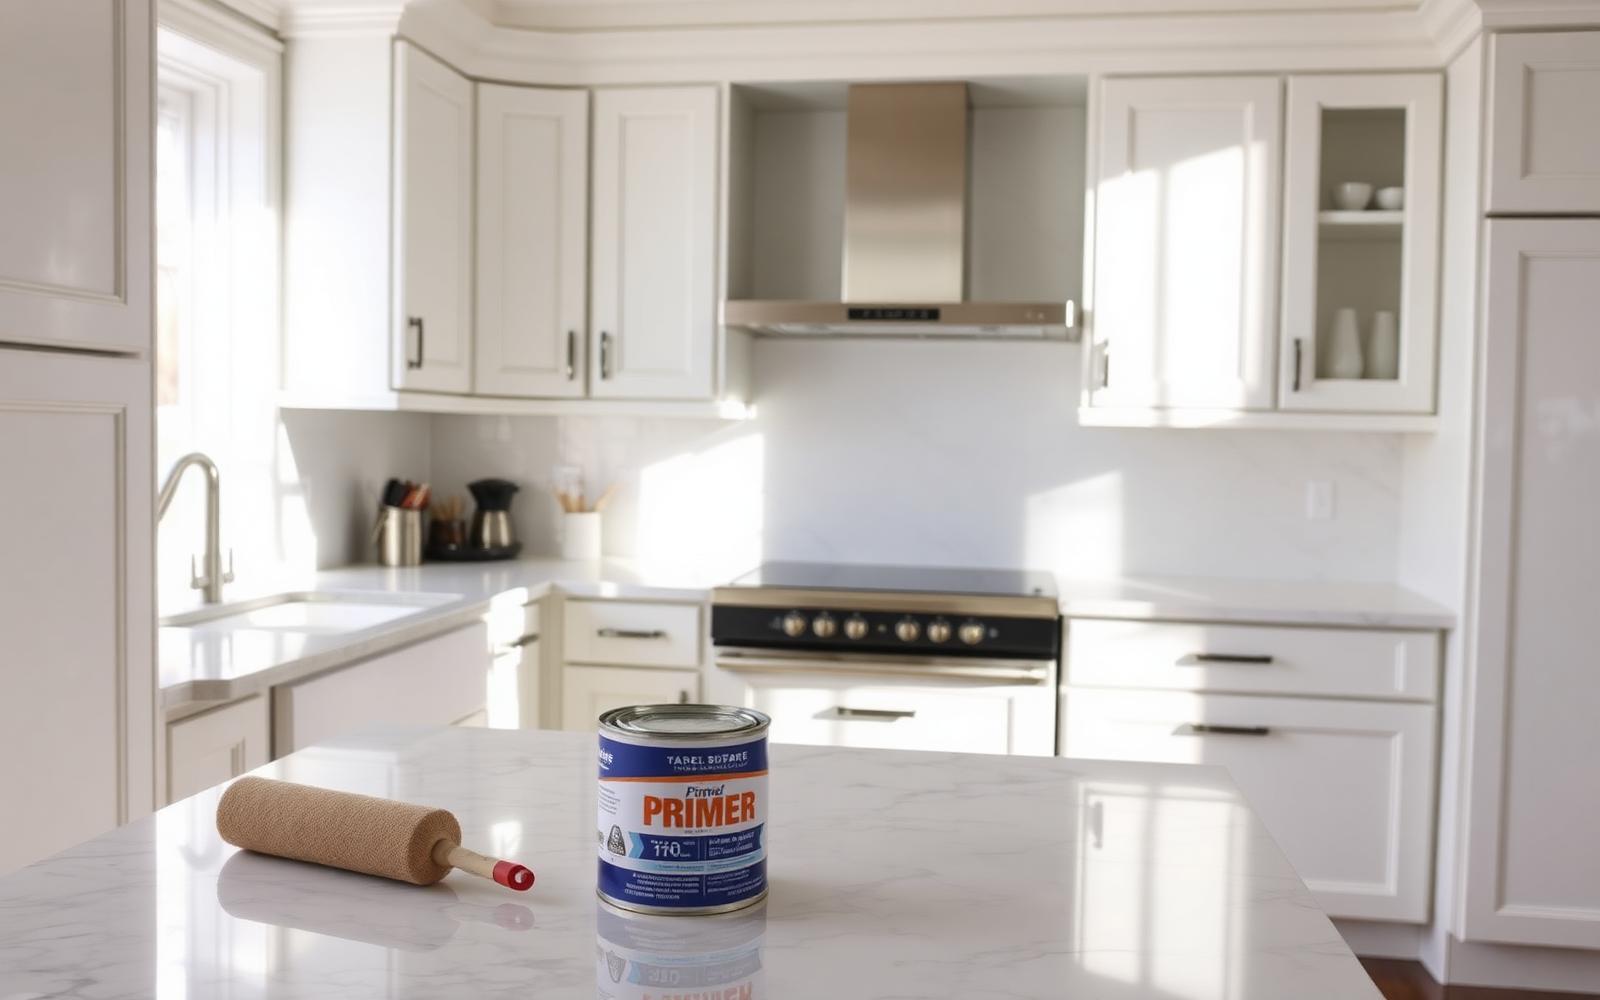
Quick Answer
The reason painted kitchen cabinets peel within a year is almost never the paint, it is the prep. The sequence that actually lasts is: label and remove every door and drawer, degrease every surface with a strong cleaner like TSP, sand to a uniform matte, prime with a bonding primer, then apply two thin coats of a water based alkyd or acrylic urethane enamel, sanding lightly between coats. Cure the doors for 48 hours before reassembling.
Wall paint is not good enough. Kitchens get heat, grease, and constant handling, and only a hard curing enamel will hold up.
Why kitchen cabinets are harder than walls
A kitchen cabinet door is touched several times a day, splashed with cooking oil aerosols invisible to the eye, and slammed shut for years. The finish has to be hard, washable, and stuck down to whatever is underneath. Cheap latex on a glossy factory finish will peel from the corners within months because nothing chemically bonded it to the substrate.
Choosing the right paint family
- Water based alkyd or acrylic urethane enamel. The best DIY choice. Cleans up with water, levels almost like an oil based paint, and cures into a hard, washable shell over a few weeks.
- Pre catalysed lacquer. The factory standard. Tougher than enamel, but only practical with spray equipment and a ventilated booth.
- Traditional oil based enamel. Beautiful finish, yellow shifts over time, and most regions now restrict the high VOC formulas that made it durable.
For a homeowner with a brush and a small roller, the water based urethane enamel is the right answer almost every time.
Prep is 80 percent of the job
1. Label and remove everything
Number every door on the hinge edge with masking tape, and write the same number inside the cabinet frame where the door belongs. Bag the hinges, screws, and handles with the same number. This step looks fussy and saves hours when you put it all back together.
2. Degrease with TSP or a strong substitute
Cabinets above the cooktop carry years of aerosolised oil even if they look clean. Mix trisodium phosphate (TSP) or a TSP substitute according to the label, wipe every surface twice with a fresh cloth, and rinse with clean water. Skipping degrease is the number one cause of peeling cabinets, full stop.
3. Sand to matte
Use 120 to 150 grit sandpaper to scuff every face of every door and the visible parts of the frames. The goal is to break the glossy factory finish so the primer has something to bite into. You are not stripping the wood, you are dulling the sheen. Wipe the dust off with a tack cloth, then a slightly damp microfibre.
4. Fill and repair
Now is the time to fill any dings or screw holes you do not need, with a non shrinking wood filler. Let it cure fully, sand flush, dust off.
The primer that actually sticks
Use a bonding primer designed to grip slick surfaces. Stain blocking shellac based primers (the classic white pigmented shellac) are excellent on oak because they seal the open grain and lock down tannins that would otherwise bleed yellow through your topcoat. For maple or MDF, a quality acrylic bonding primer is fine.
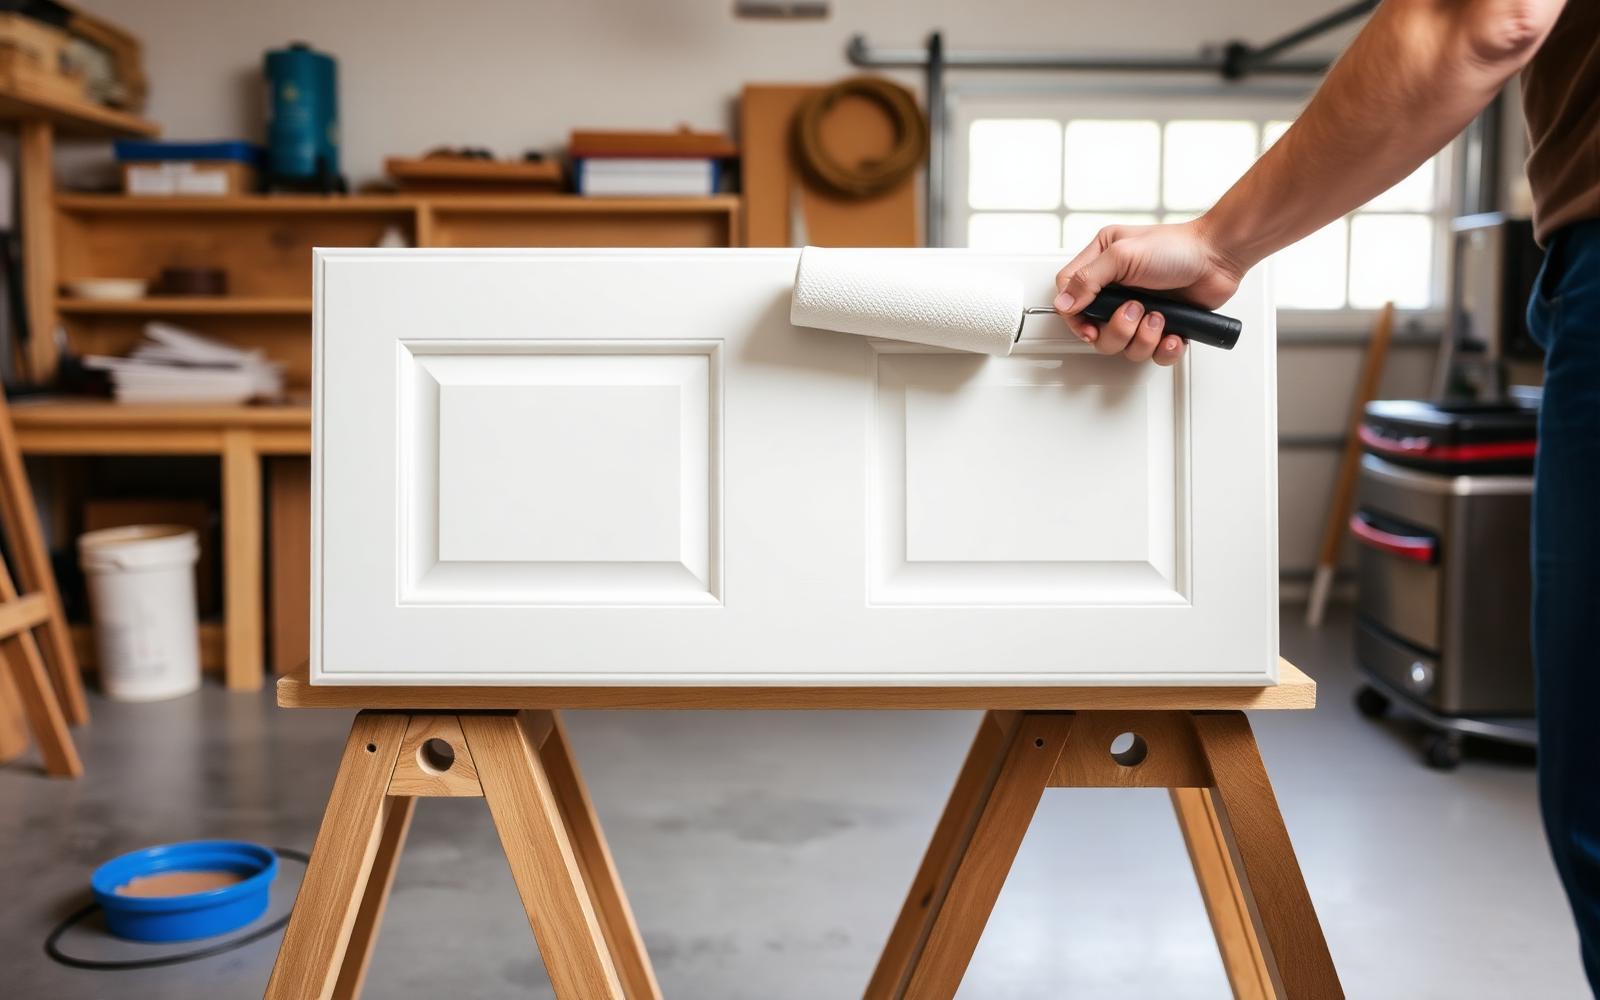
Apply one even coat with a high density foam roller for the flat panels and a fine bristle brush for the profile edges. Let it cure for the time on the can, usually 4 hours, then sand lightly with 220 grit and dust off.
Applying the topcoat without brush marks
This is where patience pays. Stir the paint, never shake it. Pour a small amount into a tray. Use a microfibre or high density foam roller on the panels, and a quality angled sash brush only for the profile and inner edges. Roll in long single passes, then lightly "tip off" with the brush across the still wet panel to even out any roller texture.
Two thin coats beats one thick coat every single time. Thick coats sag, dry slowly, and stay soft for weeks. Wait the full recoat time on the can, usually 4 to 6 hours, sand lightly with 320 grit between coats, and dust off.
Curing, reassembly, and the first week
The paint may feel dry to the touch in an hour. It is not cured. A water based urethane reaches full hardness in about 21 to 30 days. Treat the cabinets gently for the first week: do not slam doors, do not stack heavy items, do not wipe with anything stronger than warm soapy water.
Reassemble after about 48 hours, taking care not to drag the door faces against each other when you carry them. Reinstall hinges first, then the doors, then the handles last.
Common mistakes that wreck the finish
- Painting in a humid garage. Anything above about 70 percent relative humidity will trap moisture in the film.
- Using a fluffy nap roller. It leaves orange peel texture that no amount of sanding will rescue.
- Skipping the sand between coats. Without it, the next coat does not key in.
- Rehanging doors before the paint has cured. They will stick to the bumpers and lift the finish.
The takeaway
A painted kitchen can look factory finished and survive years of daily use, but the work happens before the topcoat ever touches a panel. Degrease, sand, prime, then two thin coats of a hard curing enamel. Give the finish 48 hours before reassembly and a few weeks before you treat it like normal cabinetry. Done that way, you can get a decade out of a weekend of work.


