

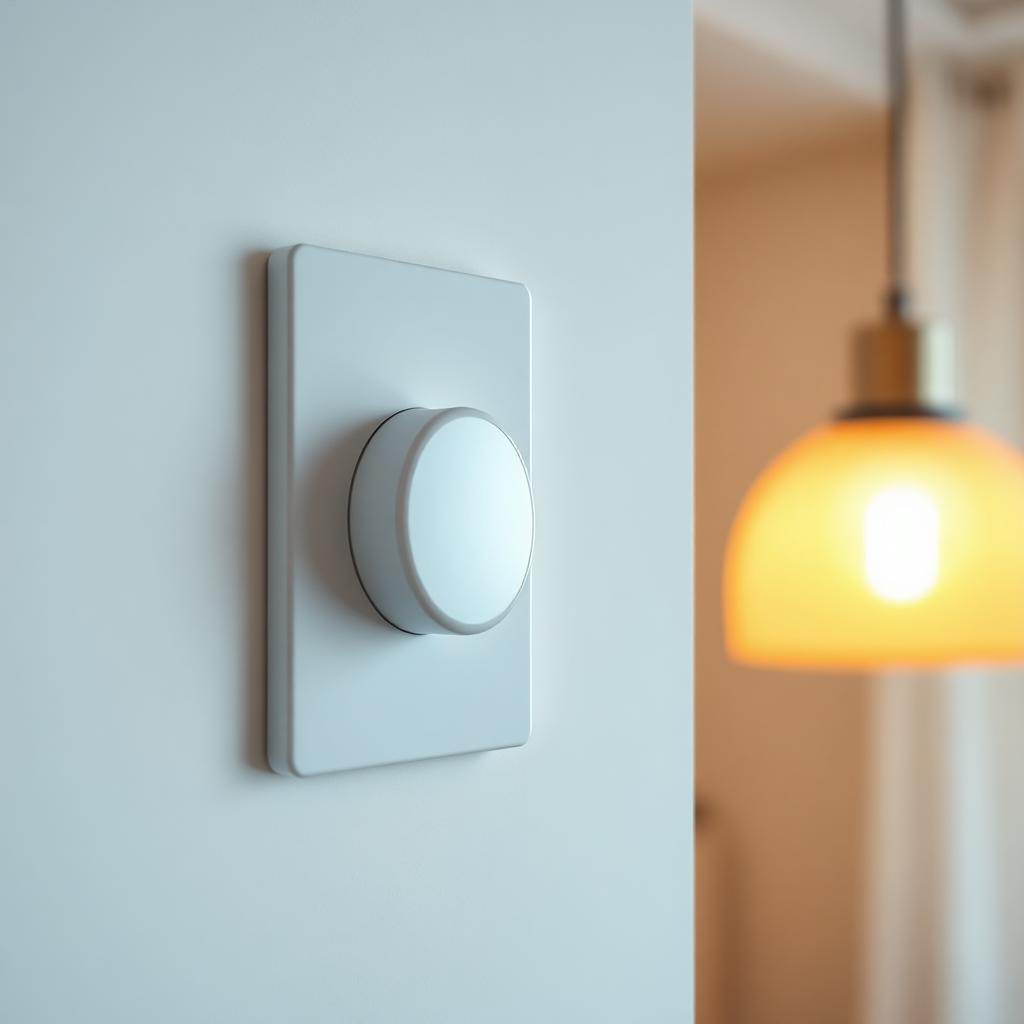
Quick Answer
Kill power at the breaker, confirm with a non contact voltage tester, unscrew the old switch and pull it out, match wires by color (bare copper to green, hot black to black, switched black to red), cap each pair with a wire nut, fold the wires back into the box, screw the dimmer in, attach the faceplate, restore power, and calibrate the low end trim if your dimmer is LED rated.
If you see more than two black wires plus the ground, or if a white wire is present and active, stop. That is a three way or neutral required circuit and needs a different dimmer and wiring plan.
Before you start: confirm it is a single pole circuit
This guide covers a single pole switch, which means one switch controls one light or set of lights from one location. If two switches in different rooms both control the same light, that is a three way circuit and requires a three way compatible dimmer. The label on the old switch will say "single pole" or "3 way." If there is no label, count the screw terminals. Two brass screws plus a ground screw is single pole. Three brass screws plus a ground is three way.
Tools and materials
- A non contact voltage tester pen (do not skip this; it is the cheapest piece of life insurance in the kit).
- Insulated Phillips and flathead screwdrivers.
- Wire strippers.
- A small handful of wire nuts in the size your dimmer's instructions specify.
- A single pole, LED compatible dimmer switch with faceplate.
Kill power and verify twice
- Walk to the breaker panel and flip the breaker labeled for the room. If labels are missing, turn on the light, then have a helper watch it while you flip breakers one at a time until it goes dark.
- Flip the wall switch a few times to confirm the light stays off.
- Remove the faceplate. Hold the non contact tester pen near each terminal on the old switch. The tester should stay silent. If it beeps or lights up, you killed the wrong breaker; stop, go back, and find the right one.
Test the tester first against a known live outlet so you know it is working before you trust it on the switch.
Remove the old switch
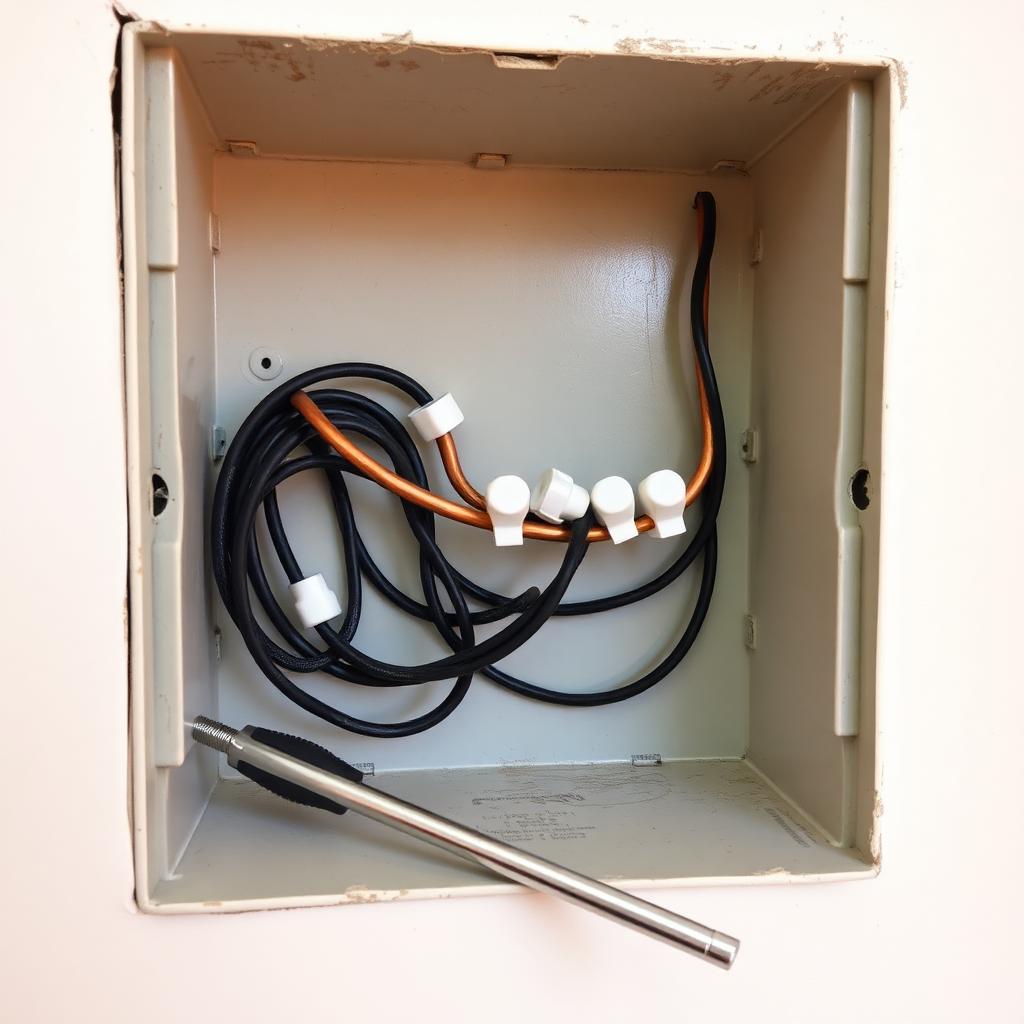
Unscrew the two screws holding the switch in the box, grasp the metal mounting tabs (not the wires), and pull the switch straight out two to three inches. You should see two black wires looped under two brass screws on the side of the switch, and a bare copper or green wire attached to a ground screw at the bottom or back. Loosen each screw and slip the wires off. Note that the two black wires are interchangeable on a single pole switch; one is line and one is load, but the switch does not care which is which.
Connect the new dimmer
Most modern dimmers come with pigtail leads rather than screw terminals. Color match each pair:
- Ground. Twist the bare copper from the box together with the green lead on the dimmer. Cap with a wire nut. The cap should not unscrew with a moderate pull.
- Line (hot in). Twist one of the two black box wires with the black dimmer lead. Cap.
- Load (out to the fixture). Twist the remaining black box wire with the red dimmer lead. Cap.
Trim any exposed copper that sticks out past the wire nut and wrap the nut and joint with a single turn of electrical tape for an extra margin of safety. Many electricians skip the tape because a properly seated nut does not need it; both approaches are accepted.
Fold, screw, and faceplate
Fold the wires into the box in a small accordion so the switch slides back without pinching anything against the metal tabs of the box. Secure the dimmer with the two mounting screws, attach the faceplate, and double check that nothing protrudes through the wall opening.
Restore power and test
Walk back to the panel and flip the breaker on. Return to the room and flick the dimmer. With LEDs, you may notice a slight flicker at the very low end of the range. Most LED rated dimmers have a hidden trim adjustment, usually a small dial or slider behind the faceplate, that sets the minimum brightness. Turn the dimmer to its lowest setting, then adjust the trim wheel slowly upward until the bulb glows steadily with no flicker. Lock it there.
LED compatibility, the failure mode nobody warns you about
Old style incandescent dimmers cut the AC waveform by chopping it on the trailing edge. LED bulbs need a leading edge phase cut to dim cleanly. Pair a modern LED bulb with an old incandescent dimmer and you get visible flicker, audible buzz, or both. Always pair an LED dimmer with LED bulbs labeled "dimmable," and ideally check the bulb manufacturer's compatibility chart. Lutron, Leviton, and Eaton publish maintained lists.
When to stop and call an electrician
- You see more than the expected three wires in the box and you cannot identify the extras.
- You see a white wire that is actively switched, which means a neutral required configuration.
- The box itself is metal and has no ground wire; this is a 1960s and earlier configuration that needs evaluation.
- The breaker labels are wrong and you cannot reliably kill power.
- You are not 100 percent sure the circuit is dead after testing.
A licensed electrician charges $100 to $200 for a swap like this in most US metros. That is a small price next to an electrical fire or a shock.
The takeaway
A single pole dimmer install is a beginner friendly job because the wiring is symmetric and the failure modes are obvious if you stop and look. Kill the power, verify the kill, match colors, cap firmly, and calibrate the LED trim. Do not work around an unknown wire; identify it first or call for help. The lights you live with should look the way you want them to, and the room transforms once you can dial the brightness down to candlelight on demand.


