

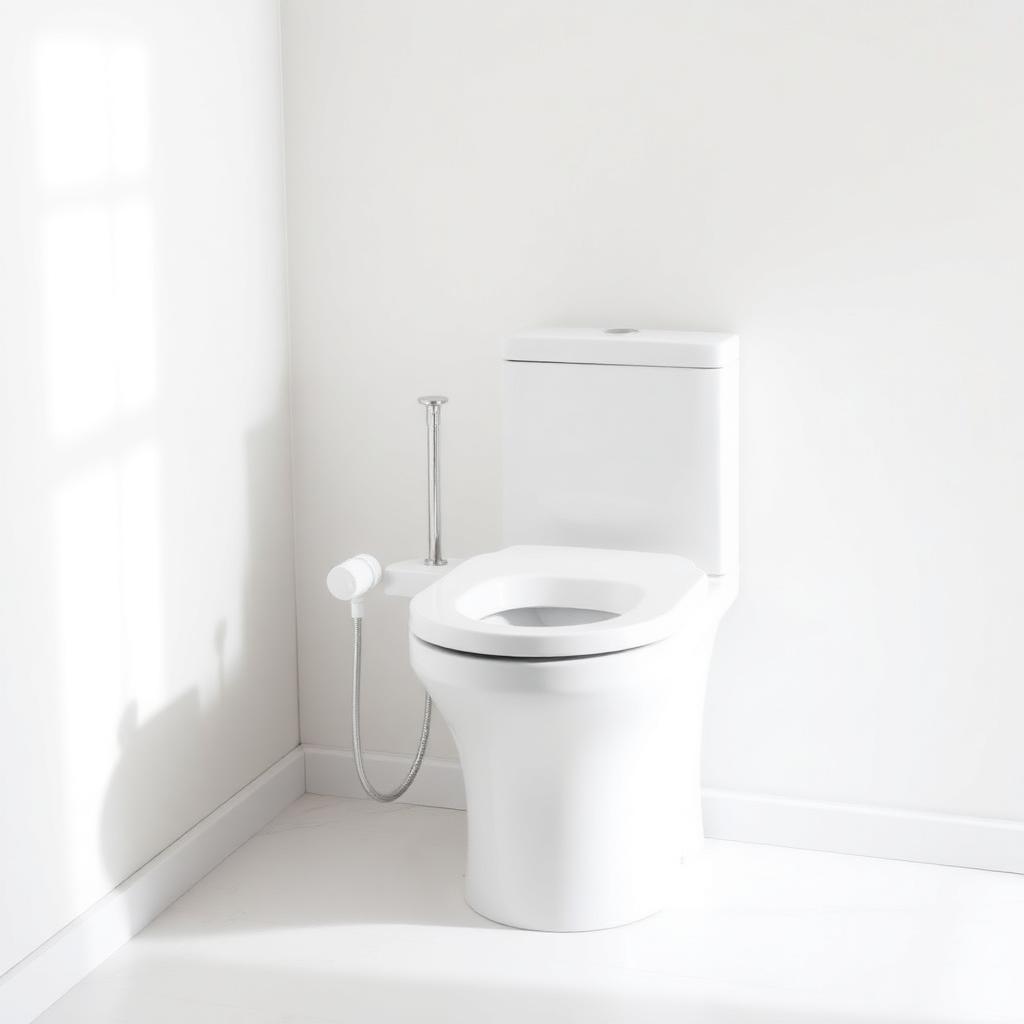
Quick Answer
Installing a non electric bidet attachment takes 15 to 30 minutes and needs no plumber. Shut off the toilet water supply, flush the tank dry, unbolt the toilet seat, slide the bidet attachment between the seat and the porcelain bowl, install the included T-valve onto the toilet tank fill inlet, wrap the threads with Teflon tape, reconnect the supply hose plus the new bidet hose, re-bolt the seat and turn the water back on. Check for drips before declaring it done.
What you need
- A non electric bidet attachment kit (Tushy, Brondell SimpleSpa, Luxe Neo or similar). All include the same basic parts: a sprayer plate, a T-valve, a flexible braided hose and rubber washers.
- An adjustable wrench.
- A flathead screwdriver.
- Plumber's Teflon thread tape (PTFE tape).
- An old towel.
- Optional: a flashlight to see behind the tank.
Before you start
Confirm your toilet is compatible. Almost every two piece toilet sold in the US, UK, EU and Australia accepts a standard bidet attachment, but check three things:
- The water supply line that runs to the tank uses a standard 7/8 inch (or 15 mm) fitting. If you have an oddball European compression fitting, buy the matching adapter.
- The toilet seat bolts are accessible from the top. Most are; some hidden hinge designs need an adapter plate that ships separately.
- The bowl rim has enough flat surface (about 2 inches) at the back to seat the sprayer plate. Square or angular designer bowls sometimes do not.
Step by step installation
Step 1: shut off the water
Locate the shut off valve on the wall behind the toilet, usually a small oval or football shaped handle. Turn it clockwise until it stops. Flush the toilet once to empty the tank. Hold the flush handle down for a few seconds to drain as much as possible. Place a towel under the supply line; a small amount of water remains.
Step 2: disconnect the supply line
Use the adjustable wrench to loosen the flexible supply hose where it attaches to the bottom of the toilet tank. A trickle of water will come out; the towel catches it. Set the hose aside in the bowl so it does not drip on the floor.
Step 3: install the T-valve
Wrap three or four wraps of Teflon tape clockwise around the threads at the bottom of the toilet tank fill inlet. Screw the new T-valve onto the inlet by hand until snug, then give it a final quarter turn with the wrench. Do not over tighten; plastic fittings crack.
Step 4: reconnect the supply hose
Attach the original supply hose to the bottom of the T-valve. Hand tighten, then quarter turn with the wrench. The branch outlet on the side of the T-valve is where the bidet hose will go.
Step 5: remove the toilet seat
Lift the plastic caps at the back of the seat hinges to expose the bolts. Unscrew the bolts (most are wing nuts; some need a screwdriver). Lift the seat off and set aside.
Step 6: place the bidet sprayer plate
The bidet attachment looks like a thin plastic plate with a sprayer arm tucked underneath. Position it on the bowl rim so the bolt holes line up with the seat holes. The control knob (or knobs) sits to the right or left depending on your preference.
Step 7: reattach the toilet seat
Place the toilet seat on top of the bidet plate. Push the bolts down through both layers and tighten the wing nuts underneath. The plate should be snug and not slide.
Step 8: connect the bidet hose
Attach one end of the bidet's braided hose to the branch outlet on the T-valve and the other end to the inlet on the bidet attachment. Wrap Teflon tape on any metal threaded fittings; hand tighten then quarter turn with the wrench. Most plastic hose connections are hand tight only.
Step 9: turn the water back on
Open the shut off valve slowly. Watch every connection for drips for at least 30 seconds. Listen for hissing.
Step 10: test
Close the toilet lid. Turn the bidet knob toward the spray icon (most knobs control spray pressure and a few include a separate cleaning rinse for the nozzle). Confirm a clean stream. If it sprays sideways, the plate is misaligned; lift it gently and re centre.
If you hit a snag
Leaking at the T-valve
Almost always insufficient Teflon tape or over tightening (which cracks plastic threads). Remove, inspect, add fresh tape and reinstall hand tight plus a quarter turn.
The supply line is too short now
The T-valve adds about an inch of height. If your original braided hose was already taut, buy a 12 inch flexible toilet supply hose (under 10 dollars at any hardware store) and replace it.
The seat now rocks
Some bowls have a rim that is too narrow for the bidet plate plus the seat. Brands like Tushy include a foam bumper kit to level the seat. If your kit does not, slip clear silicone bumpers (the kind sold for kitchen cabinets) under the seat hinges.
Cold water shock
Standard non electric bidets use cold tap water. If that is unacceptable, upgrade to a dual temperature model that includes a separate hose connecting to the hot water under the sink, or move up to an electric bidet seat with a built in heater (75 to 400 dollars).
Maintenance
- Wipe the spray nozzle weekly with a soft cloth. Many models include a self cleaning rinse function; use it before and after each use.
- Check connections monthly for slow drips.
- If water pressure drops, unscrew the nozzle and clean any mineral build up with a vinegar soak.
FAQs
Will a bidet attachment work in a rental?
Yes. Installation is non destructive and reverses in 15 minutes. Keep the original supply hose if you swap it for a longer one.
Is it sanitary?
Bidet attachments use clean municipal water from the same supply that feeds your sink. The spray nozzles are positioned so the water flows away from the inlet, and most include a self cleaning rinse to flush the nozzle before and after use.
How much water does a bidet use?
Roughly 1/8 of a gallon (0.5 litre) per use compared with 37 gallons of water that the EPA estimates goes into producing a single roll of toilet paper.
Important note
If you have older plumbing, hidden shut off valves or any sign of a leak, call a licensed plumber before working on the supply line. Closing a stuck shut off valve too forcefully can break the stem and turn a 30 minute project into a flood.
The takeaway
A non electric bidet attachment is one of the easiest plumbing upgrades you can make. Shut the water, install the T-valve with Teflon tape, sandwich the plate under the seat, and test for leaks. Done correctly, the whole job takes less time than waiting in line at a hardware store.


