

Quick Answer
Slip your hands inside the two top corners with the sheet inside out. Bring your hands together and flip the right corner over the left so both pockets nest in one hand. Reach down, do the same with the two bottom corners, and stack all four pockets together.
Lay the sheet flat. The elastic now forms a neat L-shape along two edges. Fold those edges in to make a rectangle, then fold the rectangle in thirds lengthwise and thirds crosswise. You end up with a flat, tidy square.
Why fitted sheets are so annoying
Flat sheets fold like any other rectangle. Fitted sheets have four pocketed corners with elastic sewn into them. Those rounded pockets refuse to lie flat, so most people give up and shove the sheet into a ball at the back of the closet.
The trick is to give the sheet a flat profile before you start folding. You do that by nesting all four corner pockets inside one another, turning four awkward 3D shapes into a single flat L-shape.
Step one: set up the corner pockets
Hold the sheet so the elastic side faces you. Find the two top corners along the short edge. Put one hand inside each corner pocket like you are wearing a puppet glove. The right side of the fabric (the smooth, finished side) should face you.
Hold your hands roughly shoulder-width apart with the sheet draping between them.
Step two: nest the first two corners
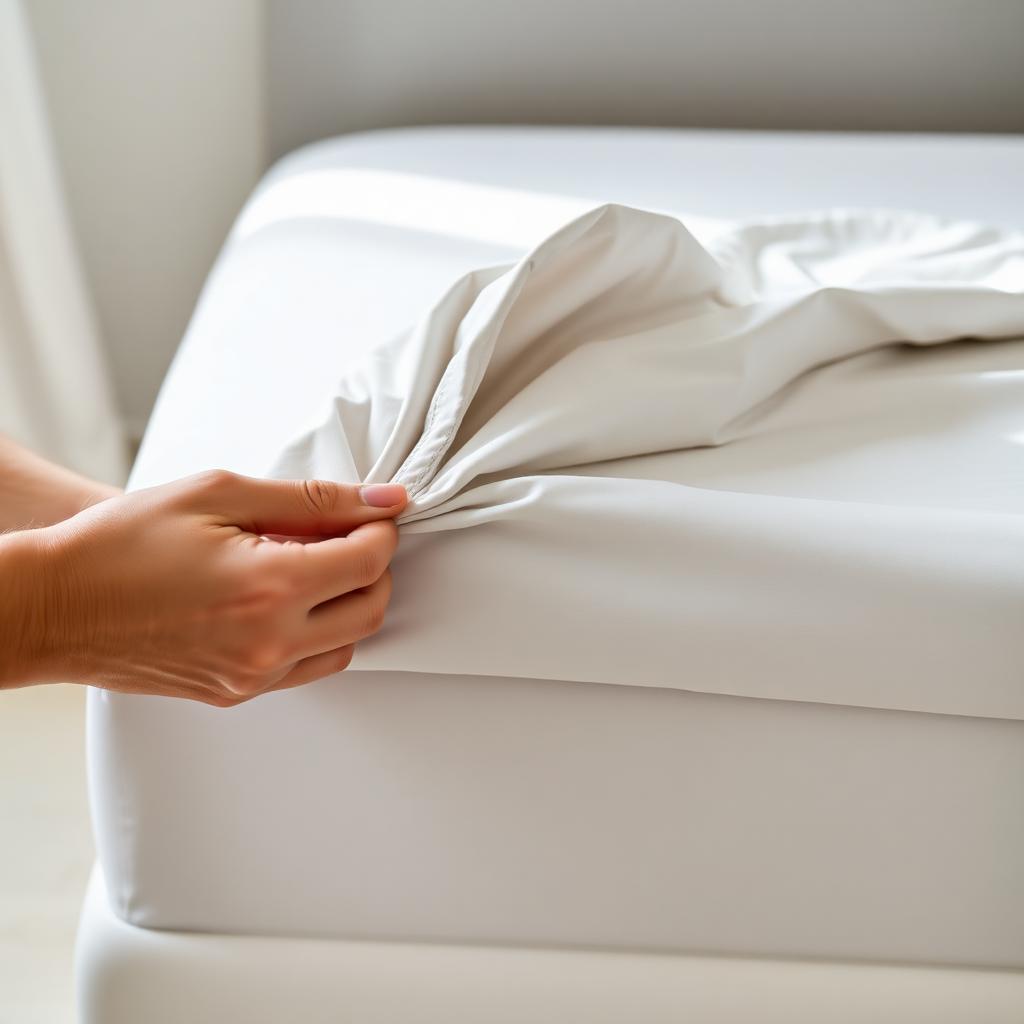
Bring your hands together in front of you. Take the right corner and flip it inside out, sliding it directly over the left corner. Your left hand is now holding both top corners nested into each other. The seam that ran along the top of the sheet now hangs cleanly down.
Step three: pick up the bottom corners
Reach down with your right hand and grab the bottom edge of the sheet. Run your hand along the bottom seam until you find the third corner pocket. Slip your fingers inside and lift it up.
Bring it to your left hand and nest it over the existing two corners. Then find the fourth corner the same way and nest it on top. All four corner pockets are now stacked together over your left hand.
Step four: lay it flat and square the edges
Lay the sheet down on a bed or a large folding surface. Because the corners are nested, the elastic will naturally form an L-shape along two adjacent edges. The other two edges (the seams) should lie straight.
Smooth the fabric with your palms. Tuck the bunched elastic edges inward by about 3 inches so they hide under themselves. You should now be looking at a clean rectangle with no visible elastic.
Step five: fold into thirds
- Fold the rectangle in thirds lengthwise. Bring the left third over the centre, then fold the right third on top.
- You now have a long narrow strip.
- Fold the strip in thirds crosswise the same way: bring one end into the middle, then the other end on top.
The result is a compact square that stacks neatly. Match the size of your folded flat sheet so they pile together at the same dimensions.
The storage trick that saves space
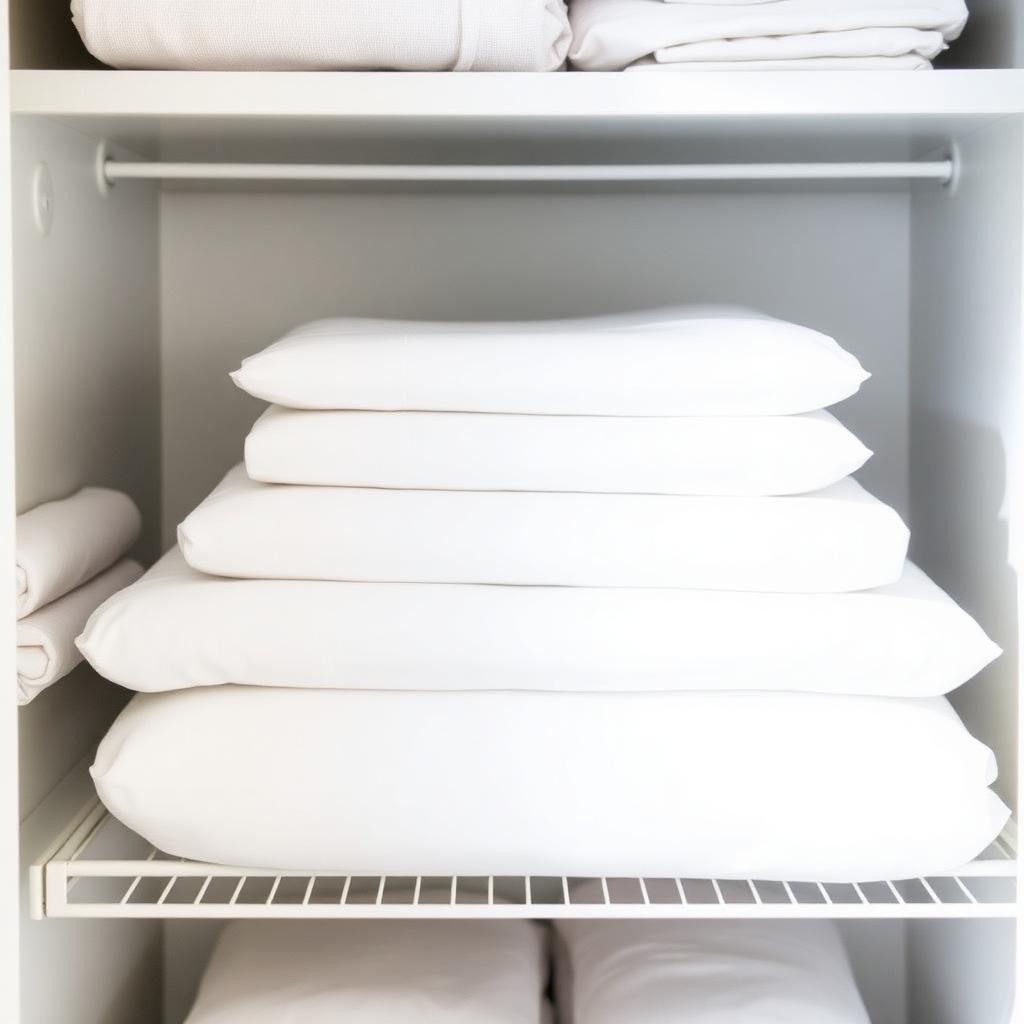
To keep sheet sets together, fold the matching flat sheet and pillowcases first, then slip them inside one of the pillowcases. The whole set becomes one parcel and you never lose track of which pieces match which bed size.
You can also label the front edge of each pillowcase with a small fabric tag or a stitch in coloured thread: one stitch for single, two for double, three for king. Saves digging through the closet looking for queen-size sheets at 11 pm.
Common mistakes
If the corners do not nest cleanly, you are probably holding the wrong edge. The two corners you start with should share a short side of the sheet, not a long side. Long sides leave too much fabric flopping and the geometry gets confusing.
If the final rectangle looks lopsided, you skipped the step where you tuck the elastic edges inward. That tuck is what hides the bunching and gives a clean square fold.
Frequently asked questions
Can I do this alone on a big king-size sheet?
Yes. The corner-nesting works at any size. With a king or super-king sheet, sit on a bed or table so you have a flat surface to lay it on after the nest is formed. Standing up gets awkward with that much fabric.
What if my sheet has elastic all the way around (not just corners)?
Modern "deep-pocket" sheets with continuous elastic still fold the same way. Just smooth the elastic edges inward by a couple of inches more than usual so the rectangle ends up flatter.
My folded sheets are still bulky in the closet. Help?
Compress folded sheet sets inside a vacuum-storage bag for seasonal storage. For everyday use, store each set inside one of its own pillowcases, the bundle is uniform and stacks better than loose folded pieces.
How do I tell sheet sizes apart at a glance?
Stitch a small coloured thread or attach a fabric tape tag to the inside hem of each fitted sheet: green for double, blue for queen, red for king. No more unfolding three sets to find the right one.
How long does this whole process take once you have practised?
About 90 seconds from grabbing the sheet out of the dryer to the finished folded square. The corner-nesting is the only fiddly step, and after a few goes it becomes automatic muscle memory.
Why does my folded sheet still look lumpy?
Usually because the fabric is still slightly damp inside the elastic edge, which makes it bunch unevenly. Let the sheet dry an extra 20 minutes (especially the corner pockets), then fold. Dry fabric folds flat; damp fabric never does.
The takeaway
The whole trick is corner-nesting. Stack all four elasticated corners inside one another, square off the elastic edges, then fold in thirds twice. Once you have done it three or four times, the muscle memory kicks in and a fitted sheet folds in under two minutes.


