

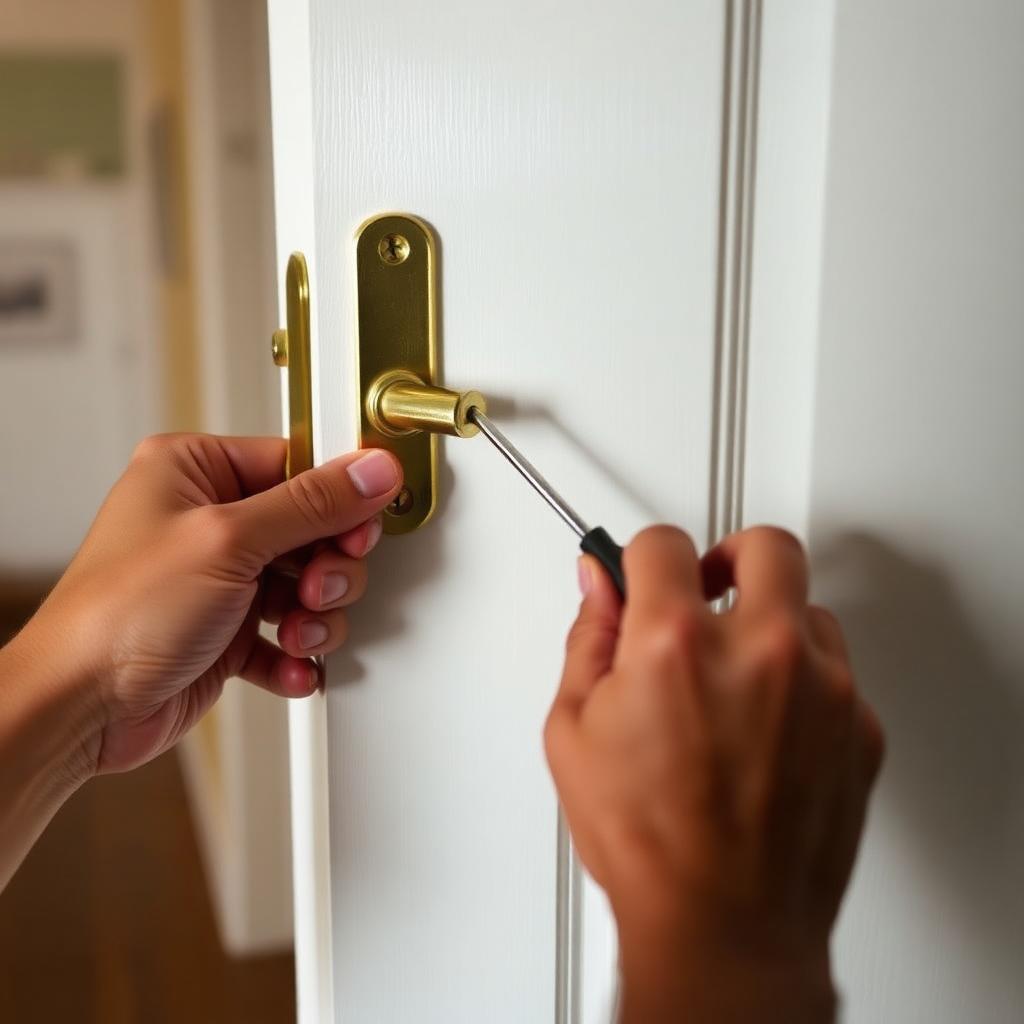
Quick Answer
Open the door so the top hinge is fully exposed. Remove the center screw from the hinge plate on the jamb (wall) side. Drive a 3-inch wood construction screw into that empty hole. As you tighten it, the long screw bites past the thin trim jamb into the structural wall stud behind it, pulling the entire hinge and door back into alignment. The sag usually disappears as you turn the screwdriver.
If the middle or bottom hinges also wobble, pack their stripped holes with wood-glue-soaked toothpicks, let dry 30 minutes, and re-drive the original screws. You do not need to remove the door, plane the wood, or call a carpenter.
Tools you actually need
| Item | Why |
|---|---|
| One or two 3-inch #9 wood construction screws | Long enough to bite through trim into the stud |
| Phillips screwdriver (manual or drill) | For the hinge screws |
| Wooden toothpicks and wood glue | For stripped middle and bottom hinge holes |
| Adjustable wrench (optional) | To bend hinge knuckles back into alignment if needed |
Step 1: diagnose by looking at the reveal
The gap between the door edge and the jamb is called the reveal. Close the door as much as you can and look at the latch-side gap from top to bottom. If the door is sagging:
- The reveal is wide at the top latch edge.
- The reveal is pinched (or rubbing) at the bottom latch edge.
- The top hinge often shows a visible gap of daylight between the hinge plate and the wood mortise pocket. That gap is the proof that the factory screws have stripped loose.
If the reveal is even top to bottom and the door still binds, the issue is paint buildup or seasonal humidity, not a sag. Different fix.
Step 2: the long-screw trick
This is the move that solves most cases without removing the door from the frame.
- Open the door wide so the top hinge plate (the one screwed to the jamb) is fully exposed.
- Look at the three screws on the jamb side of the hinge. The factory screws are almost always 3/4 of an inch long. They bite only into the decorative trim jamb, not into anything structural. Once they strip, the hinge has nothing holding it.
- Use your screwdriver to remove the center screw.
- Drive a 3-inch construction screw straight into that empty hole. Go slowly. As the long screw passes through the trim and bites into the wall stud behind it, it will physically pull the jamb and the hinge back toward the framing.
- Stop tightening when the door visibly lifts back into level alignment and the reveal evens out. Do not overtorque, or you can pull the trim slightly out of plane and cause a new alignment problem.
For an exterior or particularly heavy door, replace all three screws in the top hinge with 3-inch screws. For a standard interior door, one is usually enough.
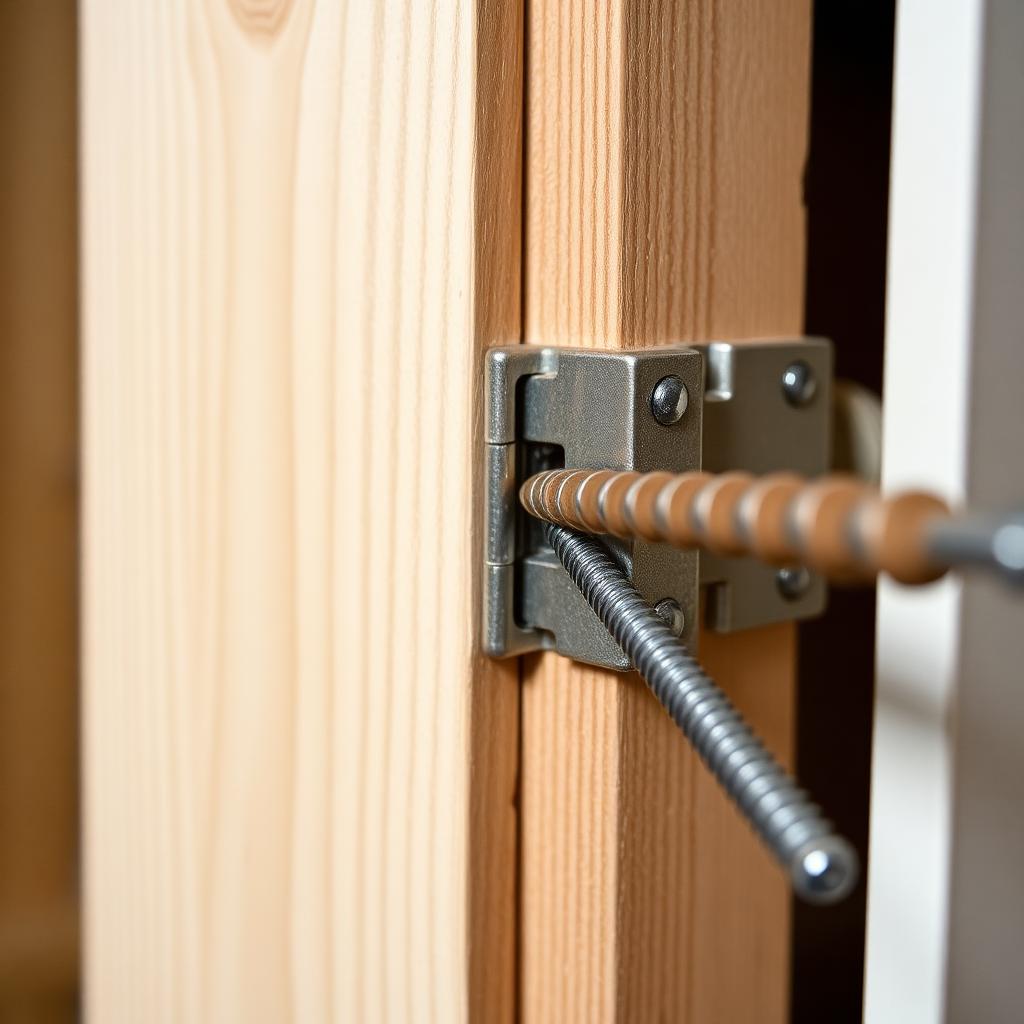
Why this works
A door frame is built in two layers. The visible jamb you see is decorative trim. Behind it is a gap, then the rough framing made of doubled 2x4 studs that support the wall around the door opening. Factory hinge screws only reach the trim. Over time, the weight of the door pulls those short screws loose from the soft trim wood. A 3-inch screw is long enough to skip past the gap and bite into the actual structural lumber, which has the strength to hold the door indefinitely.
Step 3: fix loose middle and bottom hinges
If the top hinge is now solid but a middle or bottom hinge still feels wobbly when you push the door, the screws are spinning in stripped holes.
- Unscrew the loose screw and inspect the hole. If you can see clean wood that wraps a clear screw thread channel, the hole is fine and the screw itself is bad. Replace it.
- If the hole is enlarged and chewed-looking, dip three or four wooden toothpicks in wood glue and pack them into the hole. Snap them off flush.
- Let the glue cure for at least 30 minutes (an hour is better).
- Drive the original screw back into the now-solid wood base. It will bite as if the hole were brand new.
Step 4: the wrench trick for bent hinge knuckles
For doors where the frame itself is structurally warped (older houses, exterior doors that have been kicked, doors that have been slammed for years), the hinge knuckles themselves may need a slight bend to bring the door back to plumb. Place an adjustable wrench over the individual loops (knuckles) of the top hinge and apply gentle pressure to nudge them slightly. A quarter-millimeter is enough. This is a last-resort technique and not needed for the vast majority of sagging doors.
When to actually plane the wood
If you have done the long screws and the toothpick fix and the door still scrapes the carpet or jamb in one specific spot, then and only then, mark the rub line with a pencil while the door is in motion, take the door down, and plane that exact spot with a hand plane. Most homeowners never need this step. The hinge fix solves the underlying cause; planing only addresses the symptom and removes wood you cannot put back.
The takeaway
Sagging doors are almost always a hardware problem, not a wood problem. One 3-inch construction screw through the top hinge into the structural stud realigns the door in five minutes. Toothpick-and-glue handles the smaller stripped holes. Save the plane for the rare door where the hardware fix is not enough.


