

Quick Answer
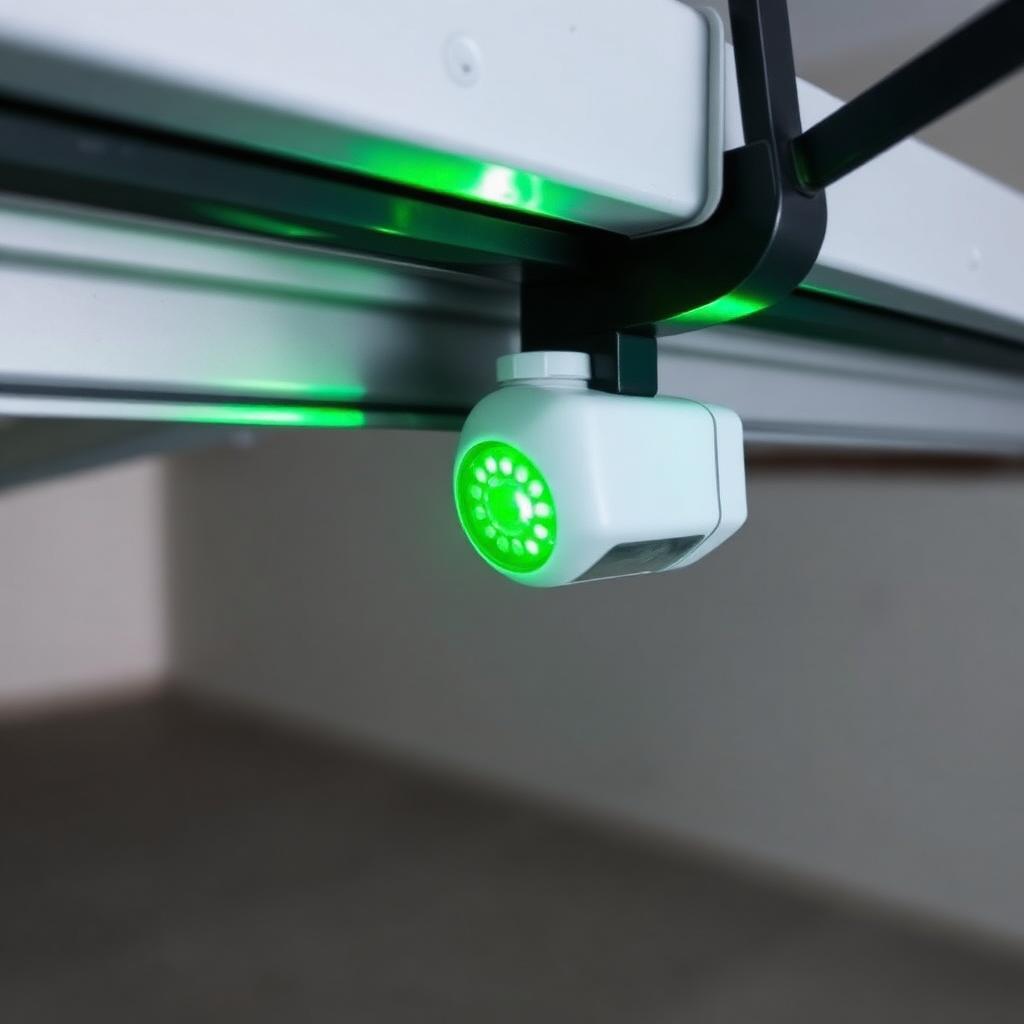
A garage door that opens normally but refuses to close while the opener light flashes is almost always a photo-eye safety sensor problem. Wipe both sensor lenses with a microfiber cloth, then loosen the wing nut on the receiving sensor and pivot it slowly until its LED turns solid green. If the LED stays dead, check the bell wire from the sensor up to the motor head for pinches, cuts, or loose terminal connections.
How the safety sensor system works
Modern residential garage door openers ship with infrared photo-eye safety sensors mounted about 6 inches off the floor on each side of the door track. One sensor transmits an invisible infrared beam, the other receives it. If anything breaks the beam while the door is closing, the opener instantly reverses to fully open. This is the safety system that keeps children, pets, and bumpers from being crushed.
The flip side is that any sensor malfunction blocks the door from closing at all and makes the opener light flash a diagnostic code.
Sensor LED diagnostic chart
| Receiving LED | Status | Fix |
|---|---|---|
| Solid green or amber | Healthy and aligned | Door problem is mechanical, check tracks |
| Blinking or dim | Misalignment | Loosen wing nut, pivot until solid |
| Completely dark | No power | Check wire splices and terminal connections |
On Chamberlain, LiftMaster, and Craftsman systems, the transmitter shows a steady amber or yellow LED and the receiver shows green when aligned. Genie systems sometimes invert that scheme, so check the sticker on your sensor housings.
Step 1: Clean both sensor lenses
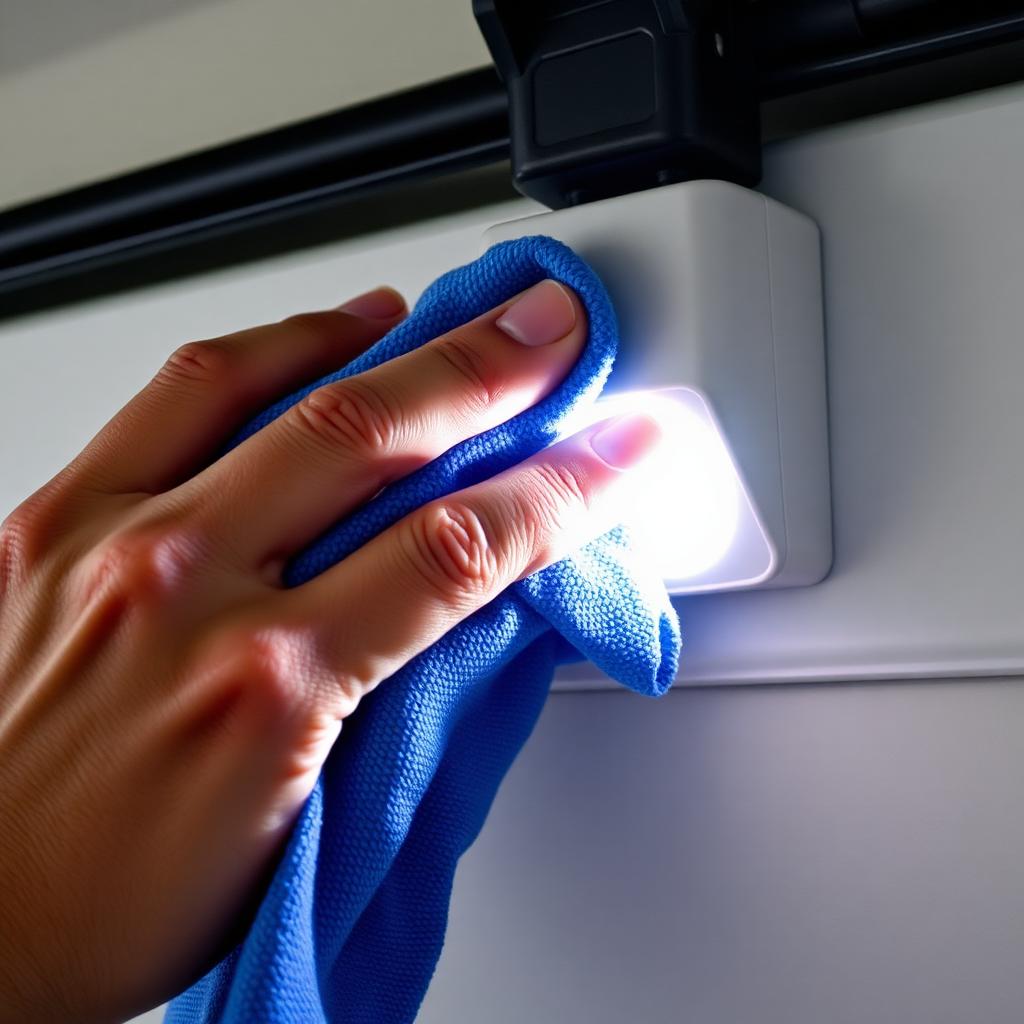
Because both sensors sit just inches above the garage floor, they collect dust, lawn clippings, dried mud, and spider webs constantly. A film on either lens can block the infrared beam.
Use a soft microfiber cloth (lightly dampened with water or glass cleaner if needed) to gently wipe the small curved glass lens on each housing. Sweep away any webs or leaves from around the brackets. About a third of all sensor problems are solved at this step.
Step 2: Realign the sensors
Each sensor mounts to a small metal bracket with a single wing nut. If something has bumped the bracket (a kid's bike, a snow shovel, a leaning ladder), the angle has shifted enough that the beam misses the receiver.
Look at the receiving sensor LED. If it is dim, flickering, or blinking, the two eyes are not seeing each other. Loosen the wing nut by hand, slide the sensor gently up or down, and pivot the angle slowly until the LED locks into a bright solid green. Hold it perfectly still and finger-tighten the wing nut to lock the position.
If you cannot get a solid LED no matter how you pivot, the brackets themselves may be bent. Bend gently back into shape with your hands, or unbolt and remount on the track.
Step 3: Check the low-voltage wiring
If both LEDs are completely dark, the sensors are not receiving power. The thin white and white-with-stripe bell wires run from each sensor up the wall, along the rail, and into low-voltage terminals on the back of the motor head.
- Trace each wire from sensor to motor head.
- Look for pinches at staples, nicks from a shovel handle, or chew marks from rodents.
- Strip damaged sections, twist the copper strands back together, and secure with small wire nuts or solder.
- At the motor head, confirm both wires are pushed firmly into the labeled low-voltage terminals (typically white and white/black).
If the LEDs come back to life after a wiring fix, run the door through a full cycle to confirm the safety reverse still works correctly.
Step 4: Look at the opener diagnostic flashes
Most modern openers flash the opener light bulb a specific number of times to indicate the failure type. Common LiftMaster and Chamberlain codes:
- 2 flashes: sensor wire shorted or disconnected.
- 4 flashes: sensors slightly misaligned.
- 5 flashes: logic board fault.
- 6 flashes: motor overheated.
Match the count to the chart inside your owner's manual or on the manufacturer's site. The diagnostic flash narrows the problem to a sensor, wiring, or board issue in seconds.
When to call a professional
If you have replaced both sensors (they cost about $30 to $50 for a matched pair from any hardware store), rerun the wiring, and the opener still refuses to close, the logic board inside the motor head is likely failing. A new logic board runs $80 to $200, and on an opener older than 15 years it is often cheaper to replace the entire unit.
Anything involving the actual door springs or cables is a different category: those are under enormous tension and should be left to a garage door technician.
Takeaway
A garage door that opens but will not close is almost never a broken motor. Clean the photo-eyes, realign them until both LEDs glow solid, and trace the bell wire for damage. Most homeowners can clear the fault in under 15 minutes without buying a single part.


