

Quick Answer
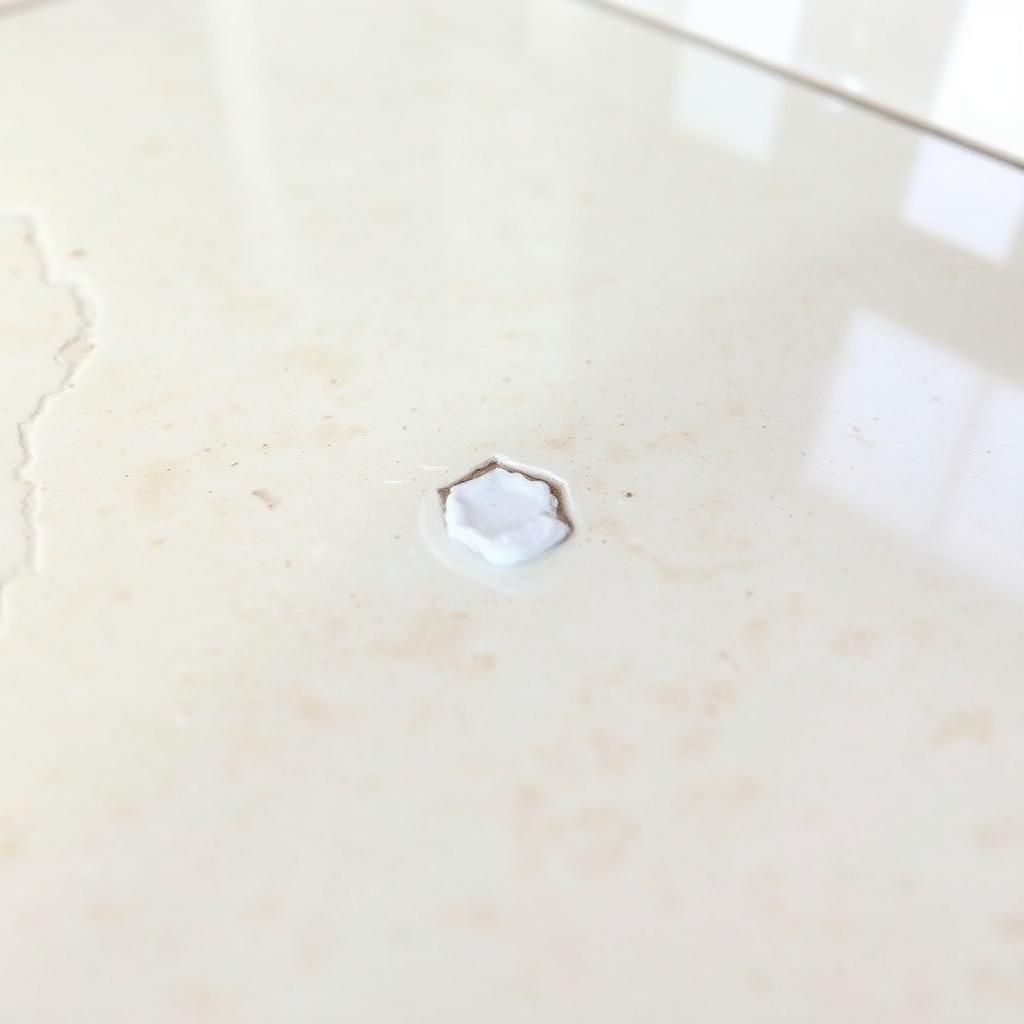
For a small chip in a ceramic or porcelain tile, clean the crater with isopropyl alcohol, fill it with a two-part clear epoxy tinted to match the tile, and let it cure overnight. The next day, shave any high spot flat with a razor blade and buff with a high-grit sandpaper.
You only need to remove and replace the whole tile when the crack runs across the body of the tile, the chip is bigger than a coin or the tile is in a wet shower floor where waterproofing matters. Most kitchen, bathroom wall and hallway chips can be patched invisibly.
When you can patch and when you cannot
A surface chip is fine to patch if it is smaller than a coin, the surrounding tile is still firmly bonded to the floor or wall, and the area does not stay wet (a shower floor or pool surround is a different conversation, because the grout below needs to stay sealed).
If you tap a coin on the tile and hear a hollow drum sound rather than a sharp tick, the tile has come loose underneath and a surface patch will pop out within months. In that case the tile needs to be removed and reset.
What you need
- A small bottle of clear two-part epoxy resin (J-B Weld ClearWeld, Loctite Epoxy Clear or Devcon 2 Ton are all easy to find).
- Powdered or liquid colour pigments. A pack of mica or oxide pigments from a craft shop covers almost any tile colour.
- 99 percent isopropyl alcohol and a few cotton pads.
- Wooden toothpicks for stirring and applying.
- A fresh single-edge razor blade.
- 2000-grit wet and dry sandpaper and a microfibre cloth.
Step 1: clean the chip thoroughly
Use the corner of a utility blade to scrape any loose flakes out of the crater. Soft brush away the dust with an old toothbrush.
Soak a cotton pad in 99 percent isopropyl alcohol and wipe the chip and the surrounding 5 cm of tile. The alcohol cuts kitchen grease and bathroom soap film, then evaporates fully in seconds. Skipping this step is the single most common reason epoxy patches fail.
Step 2: mix and tint the epoxy
Squeeze equal pea-sized blobs of resin and hardener onto a scrap of cardboard, keeping them separate for now. Pick up a tiny speck of pigment on the tip of a toothpick and stir it into the resin side only. Add more in tiny amounts until the colour roughly matches your tile when you smear a test streak on a white surface.
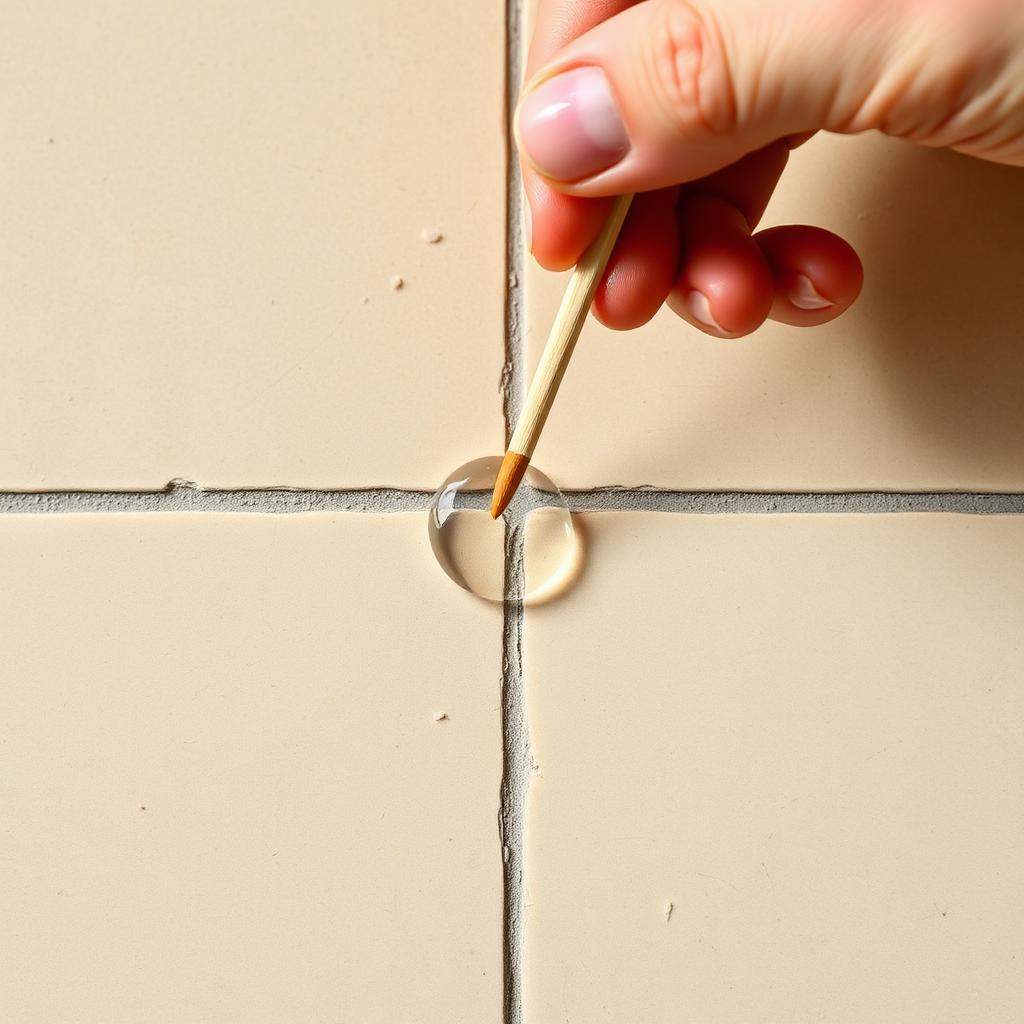
For a glossy white tile, a speck of titanium white is enough. For beige or cream, mix white with a touch of yellow ochre. For grey, use white plus a hint of carbon black. For patterned or marbled tiles, mix two slightly different shades and apply them in tiny dabs to recreate the veining.
Once the colour matches, fold the hardener into the tinted resin and stir for a full 30 seconds. From this point you have roughly 5 minutes of working time before it starts to thicken.
Step 3: fill the crater
Pick up a small bead of epoxy on the toothpick tip and drop it into the centre of the chip. Use the side of the toothpick to spread it into the corners. Build the patch slightly higher than the tile surface; epoxy shrinks by 1 to 2 percent as it cures, so a slight dome now becomes a flat finish later.
Do not stress about a perfectly flat surface yet. The next step takes care of the level.
Step 4: shave the patch level
Walk away for 20 to 30 minutes. The epoxy needs to reach a leathery, firm-but-not-rock-hard state. If you press it with a fingernail and it dents but does not stick to you, it is ready.
Hold a fresh single-edge razor blade flat at about a 15 degree angle to the tile surface, with the cutting edge on the patch. Slide the blade across the patch in one smooth pull. The blade rides on the hard tile glaze on each side and shaves the soft epoxy flush. Two or three passes from different directions is usually all it takes.
Step 5: full cure and polish
Leave the patch alone for a full 24 hours. The epoxy will continue to harden during this time and reach its final clarity and strength.
The next day, wet a small piece of 2000-grit sandpaper and gently buff the patch in tiny circles for about 30 seconds. This blends the patch into the tile glaze and removes any tiny ridge left by the razor. Wipe dry with a microfibre cloth.
For a glossier finish on shiny tiles, follow the 2000-grit pass with a dab of plastic polish (Brasso, Novus 2 or even car headlight polish all work) on a fresh microfibre square.
Mistakes that ruin the patch
Three mistakes account for most failed tile repairs. Mixing the resin and hardener in unequal amounts (the patch stays tacky forever). Skipping the alcohol clean (the patch lifts within weeks). And shaving the patch too early while it is still liquid (the blade just smears the goo around).
Get those three right and the rest is forgiving.
The takeaway
A chipped tile does not need a contractor. Clean it with alcohol, fill it with tinted epoxy slightly proud of the surface, shave it flush with a razor at the leathery stage, then polish it the next day. For most chips the repair is invisible from standing height and lasts as long as the tile around it.


