

Quick Answer
Yes. Rigid-core SPC luxury vinyl plank can install directly over ceramic, porcelain or stone tile as long as the tile is flat (within 3/16 inch over 10 feet), sound and dry. Flexible glue-down LVT, on the other hand, will telegraph every grout line and needs a self-levelling underlayment first.
Vinyl is the most forgiving flooring to lay over tile because it adds the least height, most rigid-core LVP is 5 mm to 8 mm total.
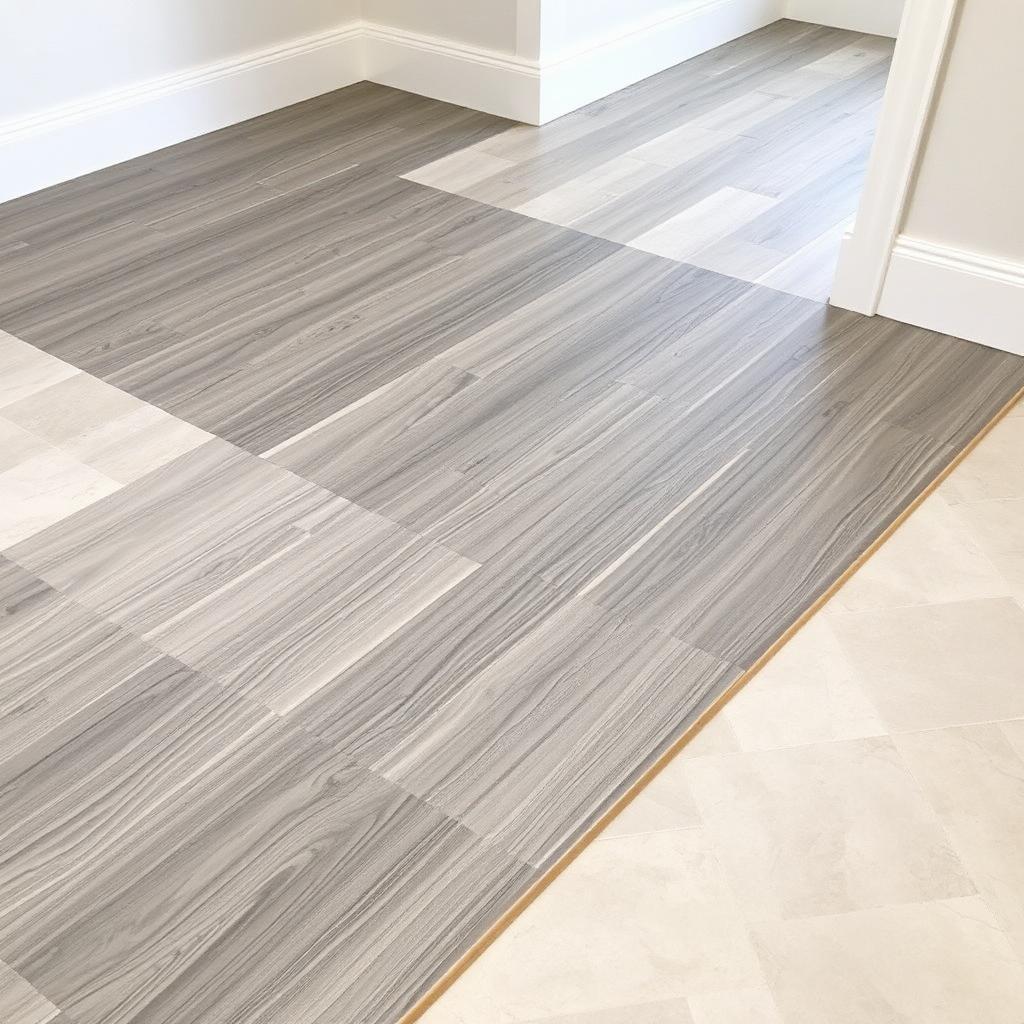
What You Need to Check First
- Grout width. Up to 1/8 inch is fine. Wider grout lines need an embossing leveller.
- Tile bond. Tap every tile with a coin. Hollow tiles must be re-bonded or removed.
- Flatness. 3/16 inch over 10 feet is the standard. Use a long straightedge.
- Moisture. Slab installations should be tested. SPC handles up to 8 lb / 1,000 sq ft / 24 hours of moisture vapour emission.
Rigid Core (SPC/WPC) vs Flexible (LVT)
SPC and WPC are click-lock floating floors with a stone-plastic or wood-plastic core. They are stiff enough to bridge minor surface variation without telegraphing. Flexible glue-down LVT (the 2 mm to 3 mm plank you find in commercial settings) is too thin to hide grout lines, so it always needs a flat, smooth substrate.
The Underlayment Question
Most rigid-core LVP ships with attached IXPE or cork underlayment. Do not add a second underlayment on top of attached pad, it voids the warranty and makes the floor too soft. If you are using a product without attached pad, use a 1 mm to 1.5 mm vinyl-specific underlayment, never a thick foam laminate pad.
Heights and Transitions
A 6 mm SPC plank with attached pad adds roughly 7 mm of height. Most interior doors clear that, but check before installing. Plan transitions to adjacent rooms with a T-moulding or reducer.
Real-World Notes
Field experience matters more than spec sheets here. Installers who do this work week-in week-out will tell you the same things: the substrate is everything, the acclimation step is non-optional, and a single missed prep detail will show up six months later when the seasons change.
Climate also plays a bigger role than most homeowners expect. A floor that performs perfectly in coastal Florida might cup in dry Denver winters. Match the product to the climate zone, and your warranty terms to your actual indoor humidity range.
Insurance and resale considerations are worth a mention too. Document the install with photos, keep the receipts, and save the lot numbers. Future buyers ask, and future repairs need them. Deciding to put vinyl flooring over tile is a long-term decision, treat it like one.
One last note from the trade: cheap is rarely cheap. The lowest-priced product on the shelf usually has the thinnest wear layer, the loosest click, and the worst warranty terms. A mid-priced product from a known brand will outlast the budget option by 50 percent or more on average, which works out cheaper per year of service.
Frequently Asked Questions
Does the answer change for rental properties?
The general guidance holds, but landlords usually optimise for durability over aesthetics, so they lean to the cheapest waterproof option that will survive turnover after turnover.
What about radiant heat?
Always confirm your flooring choice is rated for radiant heat (most rigid-core LVP is, solid hardwood usually is not). Manufacturers publish a maximum subfloor temperature, typically 82°F (28°C).
How long should I let the materials sit before installing?
48 hours in the room of installation is the safe default for laminate and LVP. Engineered hardwood needs longer, often 7 to 14 days, until its moisture content is within 2 to 4 percent of the subfloor.
Does the same answer apply in the UK?
Mostly yes. UK retailers like B&Q, Wickes and Carpetright sell the same product categories with similar specs, though pricing and brand names differ.
Pro Tips From the Trade
- Buy 10 percent extra. You will cut waste at every wall and inside every doorway. Pros budget 10 percent overage on rectangular rooms and 15 percent on rooms with diagonals or lots of cutouts.
- Keep a few planks aside. Future repairs need a colour and lot match. Stash at least one full carton in the garage or basement, ideally from the same production run.
- Photograph the install. Snap pictures of the subfloor, vapour barrier, expansion gaps, and any transitions before the baseboards go on. Warranty claims often hinge on documentation.
- Save the receipts and lot numbers. Almost every flooring warranty requires proof of purchase and the production lot to be honoured.
Bottom Line
Flooring decisions sit at the intersection of budget, lifestyle and resale value. Get the prep right (flat, dry, clean subfloor; correct underlayment; proper acclimation) and even a mid-priced product will look and perform like a premium one. Cut corners on prep and even the most expensive plank will telegraph every flaw underneath.


