

Quick Answer
Yes, you can install most engineered hardwood, rigid-core LVP, porcelain or ceramic tile, and laminate over radiant heat, as long as the manufacturer explicitly rates the product for it and the subfloor surface stays under 82F (28C). Solid hardwood, bamboo, and thick carpet are generally not radiant-compatible because either they cup at temperature swings or they insulate against the heat.
Before you order, pull the spec sheet and find the "radiant heat" line. If it says no, or it is silent, pick a different product.
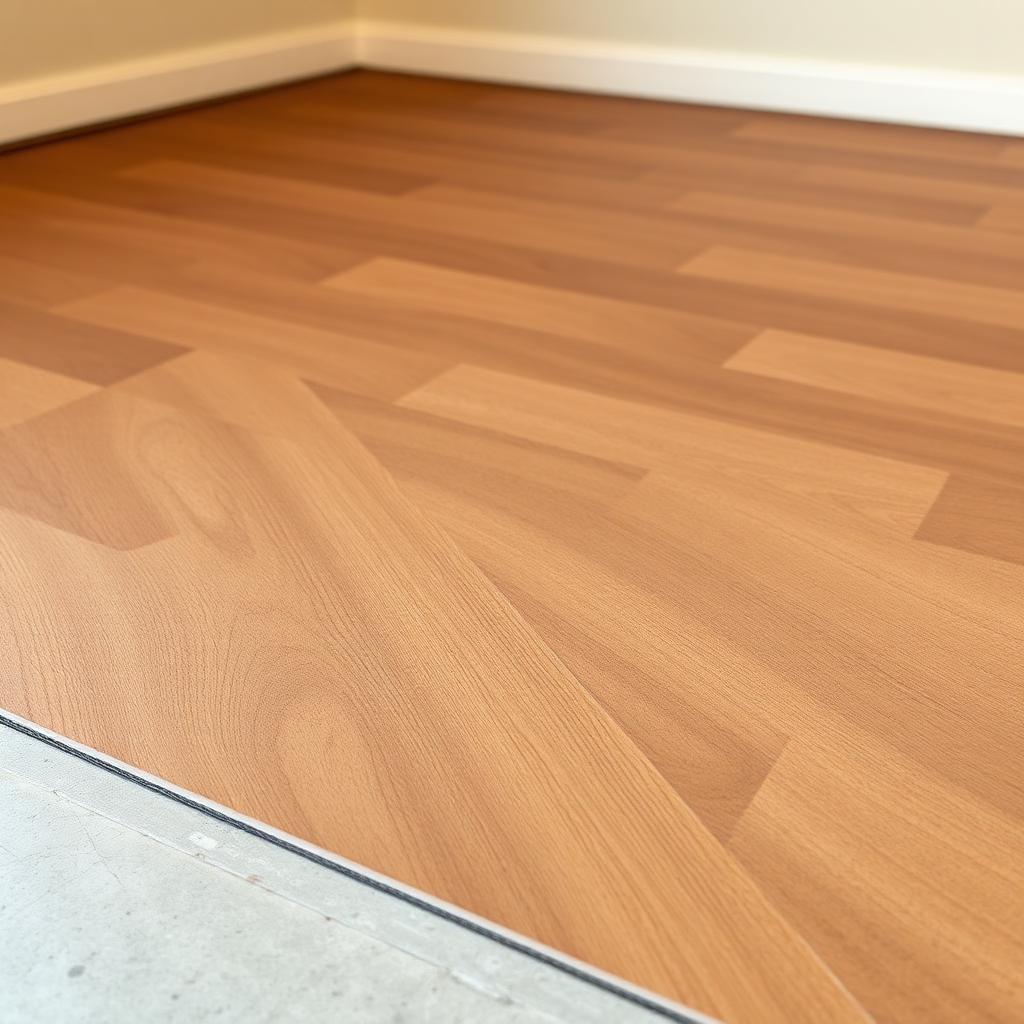
Install Rules That Apply to Every Product
- Pre-warm the system 5 to 7 days before installing wood-based floors so the subfloor reaches operating moisture content.
- Limit surface temperature to 82F (28C) at the subfloor interface. A floor sensor is mandatory.
- Use radiant-rated underlayment. Cork, MP Global QuietWalk, or manufacturer-specified mat. Standard 3 in 1 foam is usually too insulating.
- Acclimate longer. 14 days for solid (if rated) and engineered hardwood over hydronic.
- Ramp slowly. Increase setpoint 5F per day on initial warm-up; same on cool-down.
Product-Specific Guidance
- Engineered hardwood: most rated to 82F. Cross-banded plywood core handles the cycling.
- Rigid-core LVP / SPC: rated to 82F by all major brands (Coretec, Shaw, Mohawk).
- Tile: the best radiant partner. Tile + Schluter DITRA-HEAT is a single-step install.
- Laminate: most modern HDF-core laminates are rated; check the box.
- Solid hardwood: not recommended. A handful of brands rate quartersawn white oak only.
- Carpet: only low-pile loop with a TOG rating under 1.5. Anything thicker insulates the heat away.
Frequently Asked Questions
What flatness does the subfloor need?
The industry default is 3/16 inch deviation over a 10 foot span (about 5 mm over 3 metres). Floating floors, rigid-core LVP, and engineered hardwood all share that spec. Tile is stricter at 1/8 inch over 10 feet because thinset cannot bridge a wavy slab.
How long should materials acclimate on site?
48 hours for laminate and LVP, 7 to 14 days for solid and engineered hardwood (until plank moisture content is within 2 to 4 percent of the subfloor). Skip it and you risk gapping in winter or cupping in summer.
Does this work over radiant heat?
Most rigid-core LVP, engineered hardwood, and porcelain tile are radiant-heat rated up to about 82F (28C) at the subfloor. Solid hardwood and bamboo usually are not. Always confirm the manufacturer spec before laying.
Is it the same in the UK?
The product categories and installation rules are nearly identical. UK retailers like B&Q, Wickes, Carpetright, and Topps Tiles carry the same Shaw / Mohawk / COREtec equivalents with British Standard labelling (BS EN 13329 for laminate, BS EN ISO 10874 for resilient flooring).
Pro Tips From the Trade
- Order 10 percent waste. Bump to 15 percent on diagonal layouts, herringbone, or rooms with lots of cutouts. Future repair planks need the same dye lot.
- Photograph the install. Subfloor, vapour barrier, expansion gaps, transitions. Warranty claims hinge on documentation.
- Keep one full carton. Same production run, stored flat in conditioned space. It is the only colour-true repair source you will ever have.
- Run planks toward the light. Parallel to the longest wall or toward the main window so seams disappear instead of catching shadows.
- Test moisture. Tape a 2 ft square of plastic to a concrete slab for 72 hours; condensation underneath means a moisture problem to solve before any flooring goes down.
Bottom Line
The product matters less than the prep. A flat, dry, clean subfloor with correct underlayment and proper acclimation will make a mid-priced floor outperform a premium one installed badly. Get those four basics right, follow the manufacturer's spec sheet, and you will not see a single one of the common failure modes (cupping, gapping, lifting, telegraphing) in the first decade.
Quick Buying Checklist
- Confirm the warranty covers your install type (residential vs commercial, DIY vs professional). Most manufacturers void the warranty if a non-certified installer skips moisture testing or acclimation.
- Buy 10 to 15 percent extra from the same production lot. Future repair planks have to match dye and texture exactly.
- Match the underlayment to the product. Wrong foam (too thick or too soft) is the #1 reason click joints fail in year two.
- Plan transitions at every doorway. Reducers, T-mouldings, and stair nosings are easy to forget and three times more expensive after the fact.
- Photograph the subfloor before the new floor goes down. Most warranty claims are denied for lack of install documentation.
Cross-reference the manufacturer's installation guide against the National Wood Flooring Association (NWFA) install best practices before you start. Mismatches between the two are common, and the manufacturer guide wins for warranty purposes but the NWFA guide wins for long-term durability.
One final tip from the trade: every flooring product publishes a downloadable installation guide as a PDF on the brand site. Print it, highlight the critical numbers (acclimation time, subfloor flatness, expansion gap, fastener spacing, temperature window), and tack it to the wall while you work. Half of all install failures trace back to a number on that PDF that the installer "remembered wrong".


