

Quick Answer
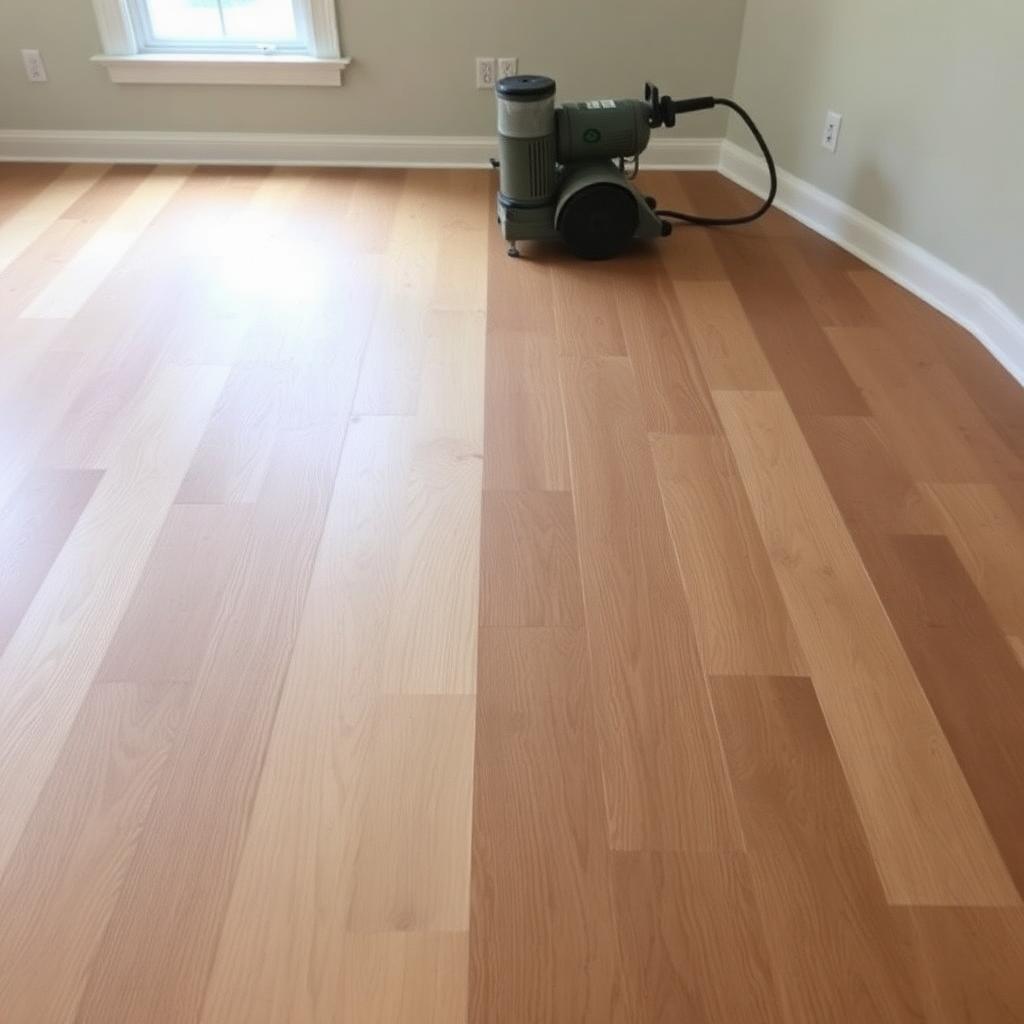
No. Vinyl plank flooring cannot be sanded or refinished. The wood grain you see is a printed photographic film about 0.1 mm thick, protected by a clear urethane wear layer of 6 to 22 mil. Sanding through the wear layer destroys the print. The repair path is plank replacement, not refinishing.
That is by design. The whole point of LVP is that it never needs refinishing in its 15 to 25 year life. When wear shows, you swap the bad plank.
Why You Cannot Sand It
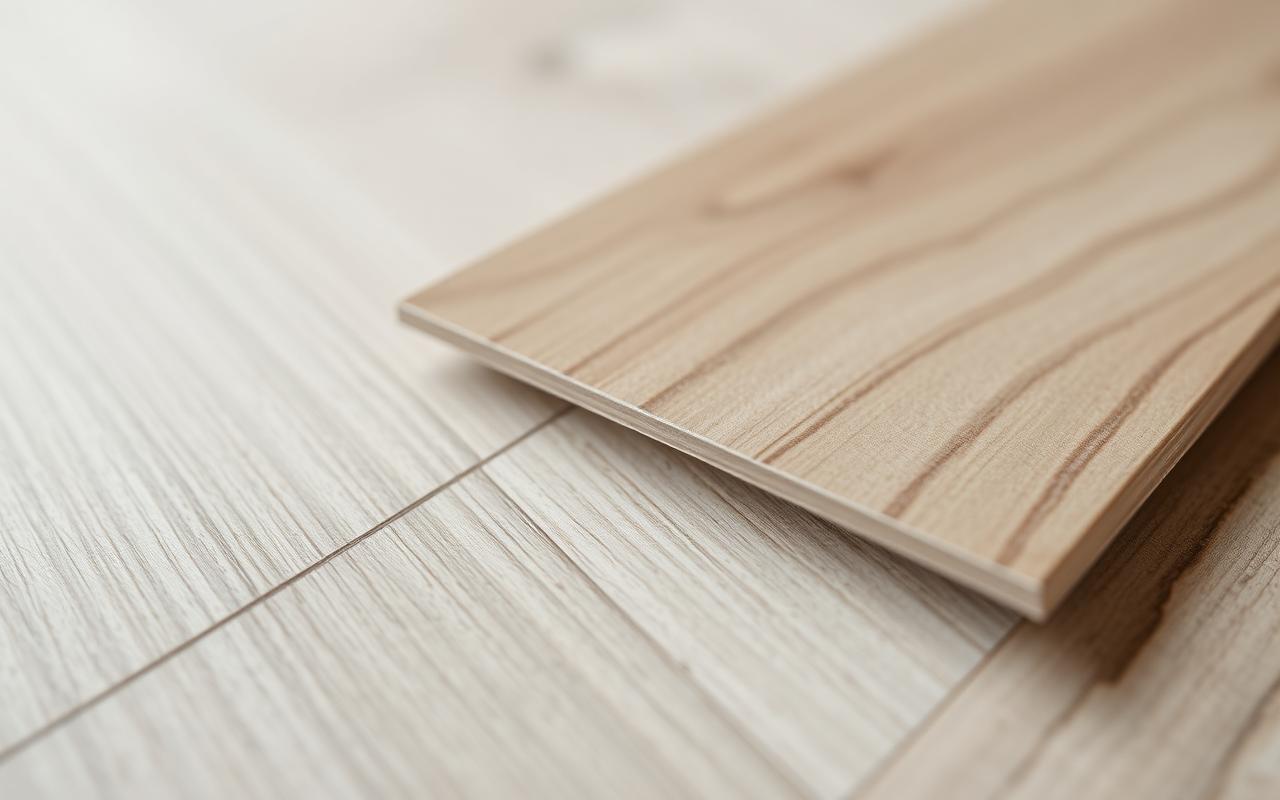
The plank is built in layers: a PVC or SPC core, a printed film, a clear wear layer, and sometimes a UV coating. Total thickness above the print is 0.2 to 0.7 mm. Even the finest sander removes more than that on the first pass.
What You Can Do Instead
- Replace individual planks. Click-lock floors come up plank by plank from the nearest wall. Order from the same SKU and lot number.
- Polish with a vinyl-safe finish like Rejuvenate or Bona Vinyl Floor Polish. Restores sheen, not depth.
- Hide minor scratches with a colour-matched wax stick or marker.
How Long Will the Wear Layer Last?
- 6 mil: light residential, 5 to 10 years.
- 12 mil: standard residential, 10 to 15 years.
- 20+ mil: heavy residential or light commercial, 15 to 25 years.
When to Replace Instead of Repair
Replace the whole floor if more than 10 percent of the planks are gouged, lifted, or sun-faded. Spot repairs on a faded 12 year old floor look obvious because the rest has darkened with UV exposure.
Frequently Asked Questions
Does the answer change in humid climates?
Yes. In Florida, Texas Gulf Coast, or the UK in winter, indoor humidity swings push wood-based floors outside their happy range (35 to 55 percent RH). Run a dehumidifier or HVAC and you will avoid almost every gap, cup, or buckle.
What about radiant heat?
Most rigid-core LVP, engineered hardwood, and porcelain tile are radiant-heat rated up to about 82F (28C) at the subfloor. Solid hardwood and bamboo usually are not. Always check the spec sheet before installing over heat.
How long should materials sit on site first?
48 hours in the room of installation is the safe default for laminate and LVP. Engineered hardwood needs 7 to 14 days until its moisture content is within 2 to 4 percent of the subfloor.
Does the same answer apply in the UK?
Mostly yes. UK retailers like B&Q, Wickes, and Carpetright sell the same product categories with similar specs, though pricing and brand names differ.
Pro Tips From the Trade
- Buy 10 percent extra. You will cut waste at every wall and doorway. Budget 15 percent on rooms with diagonals or many cutouts.
- Keep a few planks aside. Future repairs need a colour and lot match. Stash one full carton in storage, same production run.
- Photograph the install. Snap pictures of the subfloor, vapour barrier, expansion gaps, and transitions before baseboards go on. Warranty claims hinge on documentation.
- Save the receipts and lot numbers. Almost every flooring warranty requires proof of purchase and the production lot to honour a claim.
Bottom Line
Get the prep right (flat, dry, clean subfloor; correct underlayment; proper acclimation) and even a mid-priced product will look and perform like a premium one. Cut corners on prep and the most expensive plank will telegraph every flaw underneath.
Buyer's Checklist Before You Start
Before you order materials or call an installer, work through this checklist. It is the same one professional installers run on every job and it catches 90 percent of the problems that turn a weekend project into a multi-week disaster.
- Measure twice. Take the longest and shortest wall of every room, multiply, then add 10 percent waste (15 percent for diagonal layouts or rooms with lots of cutouts). Order from the same production lot to keep colour consistent.
- Check the subfloor. Lay a 10 foot straightedge in several directions. Flat to within 3/16 inch over 10 feet is the manufacturer spec for almost every floating floor sold in 2026. Anything worse needs self-levelling compound or floor patch first.
- Test moisture. Concrete slabs sweat. Tape a 2 ft square of plastic to the slab for 72 hours; condensation underneath means a moisture problem to solve before any flooring goes down. For wood subfloors a pin-type moisture meter should read under 12 percent.
- Plan the layout. Run planks parallel to the longest wall or toward the main light source. Avoid finishing on a sliver thinner than 2 inches; rebalance the first row instead.
- Pull permits if required. Most flooring swaps in single-family homes do not need a permit, but co-ops, condos, and HOAs almost always require an architect's letter for impact-sound attenuation (IIC 50+ is the common spec).
- Confirm transitions. Order T-mouldings, reducers, and stair nosings in matching colour and finish. They cost three times more after the fact than as part of the original order.
- Schedule acclimation. Get the materials on site at least 48 hours before install day so they settle to the room's temperature and humidity.
When to Call a Pro Instead of DIY
DIY is great on small, square rooms with a sound subfloor. Call a professional installer when any of the following apply: more than 600 square feet of continuous floor, diagonal or herringbone layout, glue-down hardwood over concrete, stairs, radiant heat, asbestos suspected in the existing floor, or transitions to existing flooring in adjoining rooms. A good installer charges $2 to $5 per square foot for labour, includes a 1 year workmanship warranty, and protects the manufacturer's product warranty in writing.
Ask for three references from jobs at least two years old, check that the company carries general liability insurance of at least $1 million, and verify their state or province contractor licence is current. In the United States, the NWFA Certified Installer database is the fastest way to find a vetted hardwood specialist; in the UK, look for members of the Contract Flooring Association (CFA).


