

Quick Answer
For solid 3/4 inch hardwood, cleats are better. Their L-shaped barbed shank flexes slightly with seasonal wood movement, so the floor expands and contracts without splitting tongues or popping fasteners. For engineered hardwood on plywood subfloor, narrow-crown staples hold tighter and are preferred. The industry split between the two camps is roughly 60 percent cleats / 40 percent staples for solid hardwood, and the opposite for engineered.
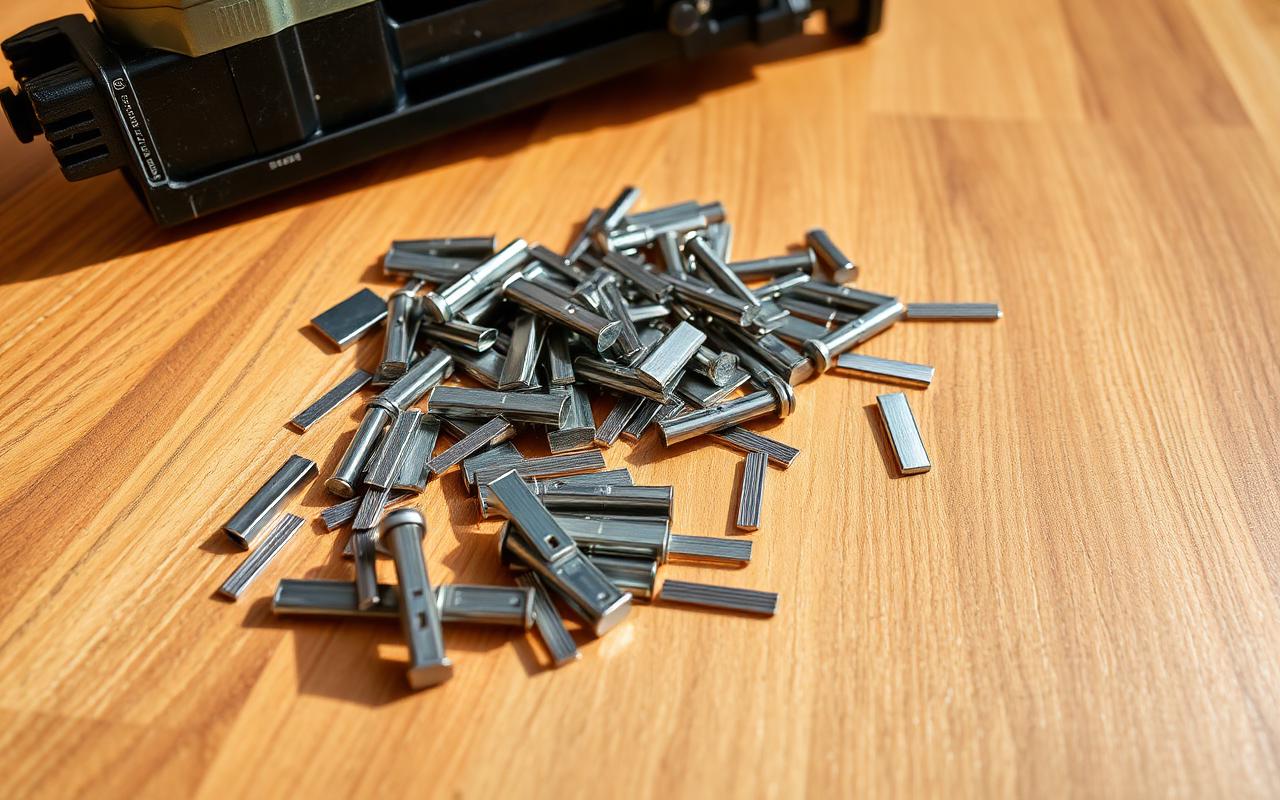
How Cleats Work
Cleats are L-shaped flooring nails with barbs along the shank. They are fired through the tongue of the plank at a 45-degree angle into the subfloor and joist. The barbs grip on insertion; the L shape lets the cleat bend slightly as the wood swells in summer humidity and shrinks in winter dryness. That flex is exactly why pros prefer cleats for solid hardwood , wood moves, the fastener moves with it.
How Staples Work
Flooring staples are typically 15 to 18 gauge, narrow-crown (7/16 inch), with two parallel legs joined by a crown. They are also fired through the tongue at 45 degrees. Staples hold tighter than cleats on initial installation because they grip in two places, but they do not flex. In solid hardwood that means seasonal movement can split tongues or back the staple legs out, causing squeaks.
When Cleats Win
- Solid 3/4 inch hardwood (oak, maple, walnut, hickory).
- Plank flooring 4 inches wide or wider (more seasonal movement).
- Humid climates with seasonal humidity swings of 30 percent or more.
- Re-installs over thick existing subfloor where holding power is the priority.
When Staples Win
- Engineered hardwood (multi-ply core resists splitting).
- Thinner solid hardwood (3/8 inch or 5/16 inch).
- Narrow strip (2 1/4 inch oak) where movement per board is small.
- Subfloor with marginal density, where stapling provides better grip.
What the Manufacturers Say
Most major hardwood manufacturers (Bruce, Mohawk, Shaw, Mullican, Mirage) accept either fastener but specifically recommend cleats for any plank 4 inches wide or wider. Some warranties (notably Mirage and Mullican) require cleats for solid 4-inch and wider plank or void the warranty. Always read the install spec before buying fasteners.
Tool Choice
Pneumatic flooring nailers from Bostitch, Powernail, Senco and Norge can usually fire either a cleat or a staple by swapping the magazine and nose plate. Pros own both. DIYers renting at Home Depot or Lowes can typically request a cleat-only or convertible nailer.
Spacing and Pattern
- Edge of plank: fastener every 6 to 8 inches.
- End joints: a fastener within 1 to 3 inches of each end.
- Stagger end joints at least 6 inches between adjacent rows.
Fastener Verdict
If you are installing solid 3/4 inch hardwood, use cleats. If you are installing engineered hardwood, use narrow-crown staples. If you are doing solid strip 2 1/4 inch, either works fine. When in doubt, check the manufacturer install instructions , using the wrong fastener voids the wear and structural warranty on most premium lines.
Pneumatic Pressure Settings
One overlooked variable is the air pressure feeding the flooring nailer. Most cleats and staples are spec'd for 70 to 90 psi. Run pressure too low and the fastener sits proud, requiring a second hammer strike that often cracks the tongue. Run too high and the cleat punches through the tongue or splits the plank. Always test on a scrap plank from the same carton before starting the install.
Climate matters too. The same flooring nailer in a 40 degree garage in winter needs slightly more pressure than in a 75 degree house in summer, because cold seals stiffen in the tool's piston.
Repair Implications
When a plank eventually needs replacing, cleats are easier to extract than staples. Cleats pull out cleanly with a cat's paw or pry bar. Staples often shear off at the crown and leave the legs embedded in the subfloor, which then need to be ground flush before the replacement plank seats correctly. This is a small but real argument for cleats in floors you might repair down the road.
Frequently Asked Questions
Will this answer change in 5 years?
Pricing and product lines drift, but the underlying physics of flooring (moisture, expansion, wear layer) does not. The buying principles in this guide hold long-term.
Is the answer different in the UK and Europe?
Mostly the same. Retailers like B&Q, Wickes and Carpetright sell equivalent product categories, and EU EN standards mirror North American ASTM tests closely.
What about commercial settings?
Commercial floors use the same materials but higher wear ratings (AC5 laminate, 28 mil vinyl, commercial-grade epoxy). Spec sheets state the heaviest foot traffic the product is rated for.
Where can I get a second opinion?
The National Wood Flooring Association (NWFA), Resilient Floor Covering Institute (RFCI), and World Floor Covering Association (WFCA) all publish free consumer guidance and certified-installer locators.
Pro Tips From the Trade
- Order 10 percent extra. Cuts, mistakes and future repairs add up. One spare carton stashed in the basement is cheap insurance.
- Photograph every layer. Subfloor, vapour barrier, expansion gap, transitions. Warranty claims hinge on documentation.
- Save the lot number. Replacement planks must match the production run or the colour will not line up.
- Acclimate before installing. 48 hours minimum in the room of installation for click-lock products; 7 to 14 days for engineered or solid hardwood.
Bottom Line
Flooring decisions are part budget, part lifestyle, part long-term resale. Prep the subfloor properly, match the product to the room, and follow the manufacturer's install spec, and even a mid-tier material will outperform a premium one that was rushed in. Cut corners on prep and even a top-shelf plank will telegraph every flaw underneath.


