Quick Answer
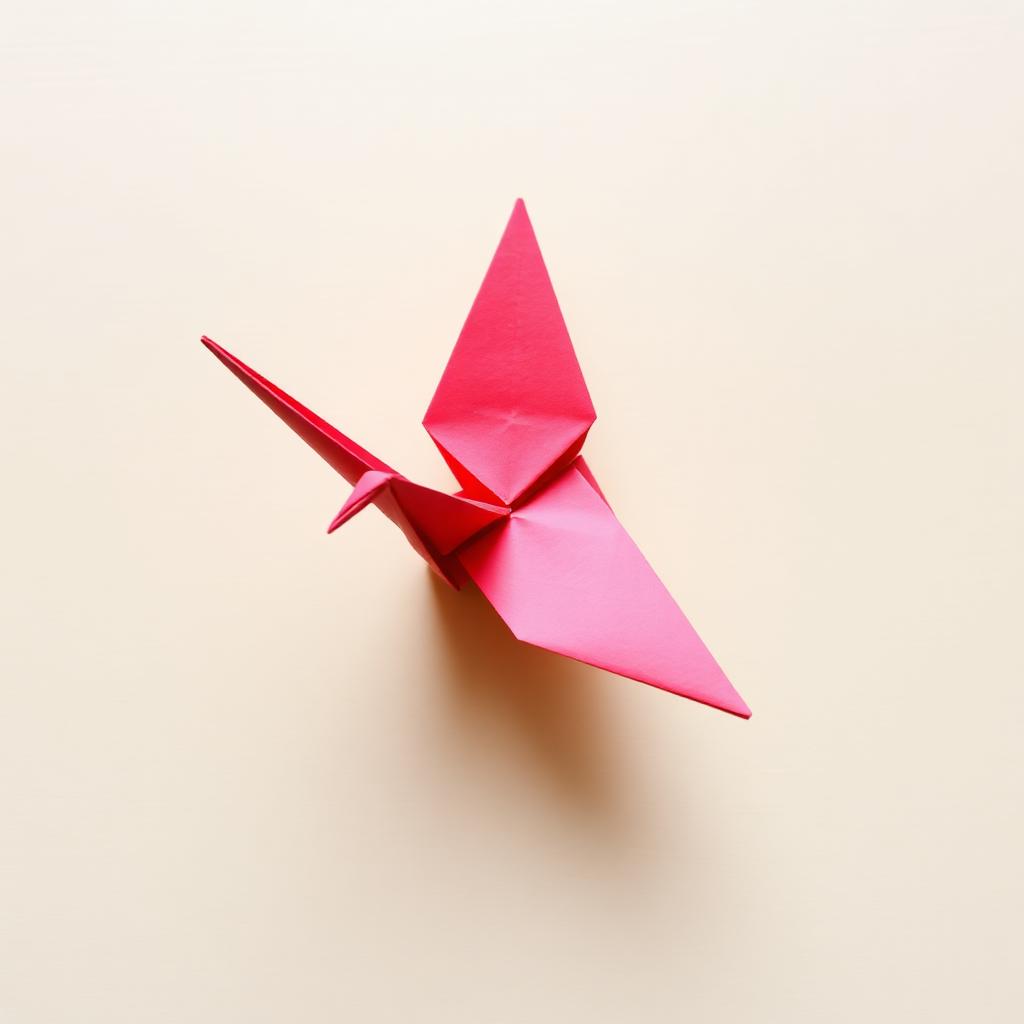
To fold a paper crane (Orizuru), start with a square sheet of origami paper, colored side up. Crease both diagonals, flip the paper over, crease both midlines, then collapse the paper into a square base. Petal fold the front and back to make a long diamond, fold the lower edges to the center line on both sides, then use two inside reverse folds to lift the legs into a neck and tail, and one more reverse fold to form the head. Open the wings gently to puff up the body.
Pick the right paper
Use authentic origami paper (Kami) for your first cranes. It is lightweight, holds a sharp crease, and is colored on one side and white on the other so you can keep track of orientation. Start with a 6 by 6 inch (15 by 15 cm) square. Smaller squares make the inside reverse folds at the end difficult and frustrate first time folders.
Step 1: the diagonal creases
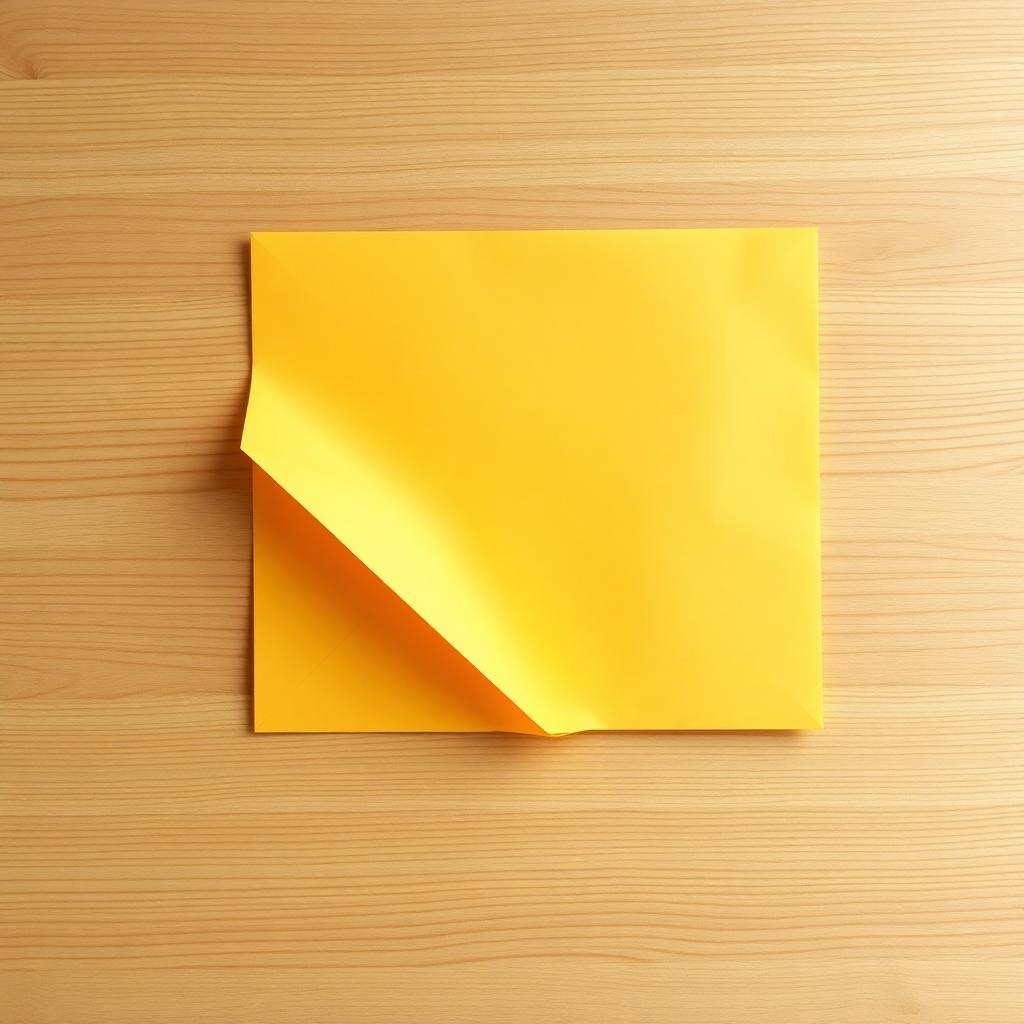
Place the paper flat with the colored side facing up. Fold corner to opposite corner diagonally, crease firmly, and unfold. Repeat with the other two corners. You should now see a clear X across the sheet on the colored side.
Step 2: the midline creases
Flip the paper over so the white side faces up. Fold in half horizontally, crease, and unfold. Fold in half vertically, crease, and unfold. You now have a plus sign of creases on the white side and an X on the colored side. This combination is what allows the next step to work.
Step 3: collapse to the square base
Hold the paper at two opposite corners. Push the other two corners gently down toward each other while letting the side midlines fold inward along the existing creases. The paper will naturally collapse into a small diamond shape with four triangular flaps, two on the front and two on the back. This is the Square Base. Flatten it firmly.
Step 4: the petal fold
Position the diamond so the open split corner points down. Fold the lower left edge of the top layer to the center vertical crease, then do the same with the lower right edge. The shape now looks like a kite. Fold the top triangular flap down over those folds, crease, then unfold all three of those moves.
Lift the bottom corner of the top layer up and away from you. As you lift, the side flaps will swing inward along the creases you just made. Press the lifted point flat against the top of the shape. This is the Petal Fold. The top layer is now a long slender diamond.
Flip the paper over and repeat the entire petal fold on the back. Both sides should now be slender diamonds.
Step 5: narrow the legs
With the paper oriented so the split open end points down, fold the lower left and right edges of the top layer in to meet the center vertical line. Flip the paper over and repeat on the back. The lower half of the shape is now two narrow legs.
Step 6: inside reverse fold for the neck and tail
Choose one leg to be the neck and one to be the tail. Lift the chosen leg up and outward at an angle of roughly 30 to 45 degrees. As you lift, open the central seam of that leg slightly and tuck the fold up between the two outer layers. Press flat. This is an Inside Reverse Fold. Repeat with the other leg in the opposite direction so the neck and tail point outward in opposite directions.
Step 7: form the head
At the very tip of the neck, perform a smaller inside reverse fold by folding the top of the neck down and tucking it between the layers. This makes the head. Open the wings of the crane gently by pulling them outward, which puffs up the body and gives the finished crane its three dimensional shape.
Common mistakes and fixes
- Square base will not collapse: the midline creases were probably not crisp enough. Re crease both midlines and try again.
- Petal fold tears the paper: the diagonal creases on the underside were not crisp. The petal fold needs all the creases to be sharp to work cleanly.
- Reverse folds bunch: open the leg up wider before tucking the fold inward. Forcing a narrow opening creates wrinkles.
The cultural context
The crane (tsuru) is one of the most important symbolic animals in Japanese culture. Folding a thousand paper cranes (senbazuru) is traditionally said to grant a wish, most often for health, healing, or peace. The story of Sadako Sasaki, who attempted to fold a thousand cranes while recovering from leukemia after the Hiroshima bombing, made the senbazuru an international symbol of peace.
The takeaway
The crane looks intimidating but it is built from a small vocabulary of folds: diagonal creases, midline creases, square base, petal fold, and inside reverse fold. Once those five techniques are comfortable, almost every other traditional Japanese origami opens up. Start with crisp creases and a forgiving 6 inch square and the crane will come together inside ten minutes.
Frequently asked questions
What size paper is best for a first crane?
A 6 by 6 inch (15 by 15 cm) square is the sweet spot. Larger than that uses too much paper for practice, smaller than that makes the head and reverse folds fiddly.
Can I use printer paper?
Yes, cut it to a perfect square. Printer paper is thicker than Kami so creases are slightly stiffer, but it works fine for learning.
Why does my crane look lopsided?
Almost always because the initial creases were not perfectly aligned. Take extra time on the first four creases, the rest of the model depends on them.
How long folding a thousand actually takes
A practiced folder can complete one crane in roughly two minutes. At that pace, a thousand cranes takes about 33 hours of continuous folding, which most people spread across two or three months of evening sessions. The traditional approach is to do them in batches of 25, stringing each batch together with thread.
Stringing a senbazuru
Cranes are strung from the underside of the body, threading a needle up through the center of the puffed body so the bird hangs with wings spread. Most senbazuru use 40 strings of 25 cranes each, totaling 1,000 birds. The strings are arranged in a colorful display, sometimes graduated from light to dark or arranged by color theme.