Quick Answer
To use a mobile boarding pass, you first need to check in for your flight via your airline mobile app within 24 hours of departure. Once checked in, the app generates a digital barcode that serves as your ticket for security and boarding.
I highly recommend saving the pass to your smartphone digital wallet, such as Apple Wallet or Google Wallet, immediately after check in. This allows you to access the pass without an internet connection and ensures it is ready for scanning at the TSA checkpoint and the departure gate.
Checking In for Your Flight
The process starts exactly 24 hours before your flight is scheduled to take off. I always set a phone alarm for this moment because it often dictates your boarding position, especially on airlines like Southwest. Open the airline app, enter your confirmation number and last name, and follow the prompts to confirm your identity and baggage status.
Once you complete the check in process, the app will ask how you want to receive your boarding pass. You can usually choose between an email, a text message link, or viewing it directly in the app. I prefer viewing it in the app immediately so I can verify the seat assignment and gate information are correct.
If you have several people on your reservation, you can typically swipe through all the boarding passes on one phone. However, if your group is large, it is much easier to have each adult hold their own digital pass on their own device to speed up the scanning process at the airport.
Saving the Pass to Your Wallet
This is the most critical step for a stress free travel day. Look for a button that says Add to Apple Wallet or Add to Google Wallet. Tapping this button moves the pass from the airline app into your phone native wallet app, where it stays organized and accessible.
There are three main reasons why I do this every time I fly. First, you do not need a cellular signal or airport Wi-Fi to open your Apple or Google Wallet. Second, these apps often put a shortcut on your lock screen when you get close to the airport. Third, the digital wallet will usually refresh automatically if your gate number changes.
If you choose to keep the pass only in the airline app, you risk the app crashing or failing to load because of poor reception in the terminal. I have seen many people hold up the line at security because they could not get their airline app to log in. Using the built in phone wallet avoids this technical glitch entirely.
Getting Past TSA Security
When you reach the front of the TSA line, the officer will ask for your ID and your boarding pass. Open your digital wallet and tap the pass to bring it to full screen. You should see a large QR code or a square barcode. Make sure your screen brightness is turned up, although most modern phones do this automatically when a pass is open.
Place your phone face down on the glass scanner provided by the TSA agent. You do not need to hand your phone to the officer. Wait for the machine to beep or for the officer to give you a nod before you pick your phone back up. I usually keep my phone in my hand until I reach the bins for the X-ray machine.
If you are using TSA PreCheck, your digital boarding pass will have a specific logo or text indicating your status. The scanner will automatically recognize this and tell the officer which lane you belong in. Just make sure the name on your digital pass matches the name on your government issued ID exactly.
Scanning at the Boarding Gate
Boarding the plane follows a similar routine to the security checkpoint. I usually wait until my boarding group is called before I pull the pass up on my screen. This prevents the phone from auto-locking or the screen from turning off while I am standing in line.
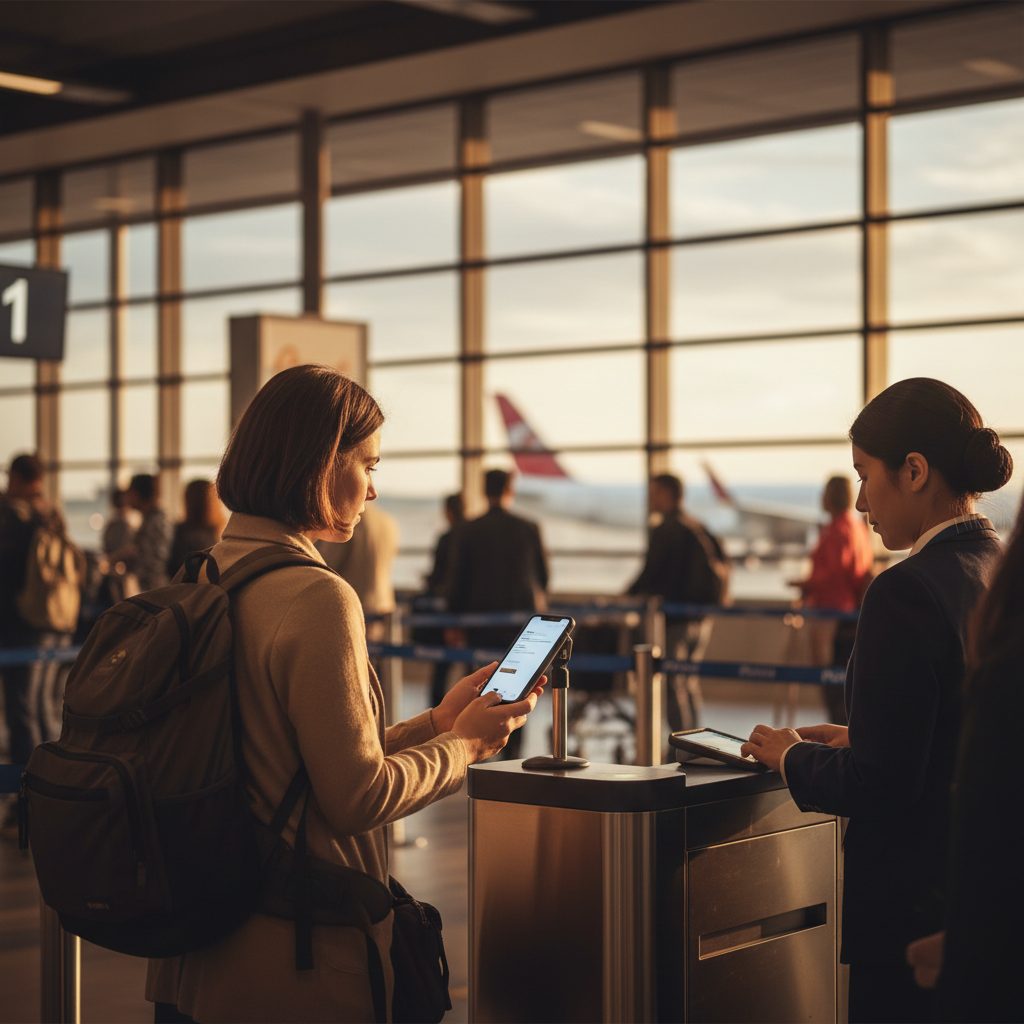
At the gate, the gate agent will have a pedestal with a scanner. Again, place your phone screen face down on the glass. You will hear a loud chime or see a green light if the scan is successful. If you have multiple people on one phone, you will need to scan the first pass, then swipe to the next and scan again until everyone in your party has passed through.
I find it helpful to take a quick look at the seat number one last time as I scan. Once you walk down the jet bridge, you might lose your signal, and having that number fresh in your mind makes finding your row much faster. Some airline apps will even send a push notification with your seat number the moment you scan your phone.
Handling Connection Flights
If you have a layover, the airline will typically issue both boarding passes at the same time during your initial check in. You should see two separate passes in your digital wallet. One will be for your first leg, and the other will be for your connecting flight.
- Check the gate for your second flight as soon as you land.
- Ensure your phone battery is sufficient for the entire duration of travel.
- Verify that the second pass has updated with the correct gate information.
- Keep your phone on airplane mode during the flight to preserve the battery life.
I always double check my digital wallet during the layover to ensure the second pass is still there. In rare cases where a flight is cancelled or rebooked, the old pass might disappear or become invalid. If that happens, you will need to open the airline app again to download the new, updated boarding pass for your new flight.
Backup Strategies and Troubleshooting
Technology is not perfect, and I always have a backup plan. The simplest backup is taking a screenshot of your boarding pass as soon as it is generated. This saves a photo of the barcode to your camera roll. If your wallet app fails or the airline app won't open, a screenshot will still scan perfectly fine at the airport.
If your phone battery dies, you are not stranded. You can go to any airline kiosk or the check in counter and ask them to print a paper boarding pass for you. They will usually do this for free if you explain that your phone is dead. Most airports also have charging stations, but they are often crowded, so carrying a small portable power bank is a smart move.
If the scanner at the gate simply will not read your phone screen, do not panic. This usually happens because of a screen protector that is too thick or a screen that is badly cracked. The gate agent can manually type in your confirmation code or scan your ID to pull up your reservation and let you onto the plane.
Frequently Asked Questions
Can I use a mobile boarding pass for international flights?
Yes, most major airlines allow digital passes for international travel, though you will still need to show your physical passport to the gate agent and at customs upon arrival. Some countries or specific airports still require a printed paper pass for security records, so check your airline app for specific alerts.
What happens if my phone dies at the gate?
You should head to the airline service desk or the gate agent immediately. They can print a paper boarding pass for you by looking up your name and identification, so you do not need to worry about missing your flight just because of a dead battery.
Do I need the airline app installed to use a mobile pass?
Not necessarily, as you can often receive a link to the pass via text or email and then save it to your phone wallet. However, having the app is beneficial because it provides real time updates on gate changes, delays, and baggage tracking that a simple screenshot cannot offer.
Can one phone hold boarding passes for the whole family?
Yes, you can swipe through multiple passes on one device at the security checkpoint and the boarding gate. It is often faster for families with small children, though I recommend that each adult carries their own pass on their own phone to keep the line moving efficiently.
Does a screenshot of a boarding pass really work?
Yes, a screenshot works perfectly fine because the scanners are only looking for the data horizontal and vertical bars within the QR code or barcode. Just make sure the screenshot is clear, the brightness is up, and you do not zoom in too far on the code itself.
Final Tips for Digital Travelers
I have traveled all over the country using only my phone, and it makes the airport experience much smoother. The key is preparation. Check in early, save the pass to your wallet, and keep a backup screenshot just in case. Once you get used to the convenience of not carrying extra paper, you will never want to go back to the old way.
Remember to keep your phone easily accessible but secure. I usually keep mine in a front pocket or a dedicated tech pouch in my carry on bag. With your digital pass ready to go, you can breeze through the terminal and focus on the fun parts of your trip rather than fumbling with folders and receipts.