Quick Answer
To take a good passport photo that meets US State Department standards, you must use a plain white or off white background and ensure your face is clearly visible. The final image must be two inches by two inches in size, with your head measuring between one inch and one and three eighths inches from the bottom of the chin to the top of the head. You must maintain a neutral facial expression or a natural smile with both eyes open.
Significant rules implemented recently include a total ban on eyeglasses unless for documented medical reasons. Avoid shadows on your face or the background by using even, front facing light. Wear standard street clothing rather than uniforms or camouflage. While you can take the photo at home using a smartphone, you must ensure the resolution is high and the print quality meets professional photographic standards to avoid application delays or rejections.
Mastering US State Department Dimensions and Framing
The technical specifications for a good passport photo are rigid because the State Department uses facial recognition software to verify identities. The photo must be a square, exactly two inches by two inches. Within that square, your head must be centered and occupy a specific amount of space. If your head is too small or too large within the frame, the automated systems will flag it. I recommend using a tripod or a second person to take the photo from at least four feet away to avoid the wide angle distortion common in close up selfies.
Proper framing requires the head to be between 1 and 1.375 inches in height. This means you need a bit of "white space" or "headroom" above your hair and a clear view of your shoulders. You should look directly at the camera lens with your head level, not tilted up, down, or to the side. If you use a home printer, it must be capable of producing high resolution images on matte or glossy photo quality paper. Standard inkjet paper used for documents is not acceptable because it absorbs too much ink and blurs the fine details of your facial features.
Keep in mind that the photo must be current, taken within the last six months to reflect your present appearance. If you have undergone a significant physical transformation, such as major facial surgery, adding large facial tattoos, or a significant change in weight, a new photo is required even if your current passport has not expired. Minor changes like growing a beard or coloring your hair do not typically require a new photo, but if you are in doubt, a fresh image is the safest way to ensure smooth international travel.
Perfecting Lighting and Eliminating Shadows
Lighting is perhaps the most difficult variable to control when trying to take a good passport photo at home. The goal is even illumination across the entire face without creating "hot spots" from a flash or dark shadows under the eyes and nose. I find that natural, indirect sunlight is the most flattering and effective light source. Standing near a window during the day provides soft light that fills in wrinkles and clearly defines the jawline. However, you must ensure the light is hitting your face directly from the front rather than from the side, which would create a shadow on one half of your face.
Shadows on the background are a frequent cause of rejected applications. To prevent this, stand about one to two feet away from your white wall or backdrop. If you stand directly against the wall, your body will likely cast a visible shadow that interferes with the clean white perimeter required by the government. If you are using artificial lights, place two lamps at 45 degree angles in front of you to create a cross lighting effect that cancels out shadows. Avoid using overhead lights alone, as they create dark circles under the eyes and make the forehead appear overly bright.
Color accuracy is also vital. The photo must be in color with a natural skin tone. If your light source is too "warm" (yellow) or "cool" (blue), the white background will not look white, and your skin may appear discolored. Check your camera settings for white balance to ensure the colors are true to life. Avoid using filters or social media apps that smooth the skin or alter facial features. The State Department requires an unretouched photo to ensure that border agents see an accurate representation of your physical appearance during security checks.
Navigating the Eyeglasses Ban and Wardrobe Rules
A critical rule change occurred in 2016 when the US State Department banned eyeglasses in passport photos. This was done to eliminate glare and shadows that frequently obscured the eyes, leading to delays in processing. Even if you wear glasses every day, you must remove them for the photo. The only exception is if you have a signed statement from a medical professional explaining that the glasses cannot be removed for medical reasons, such as after recent eye surgery. If you must wear them for health reasons, the frames cannot cover the eyes and there can be no glare or reflection on the lenses.
Regarding clothing, simplicity is your best friend when aiming for a good passport photo. You should wear everyday attire. Uniforms, or clothing that looks like a uniform, are prohibited. This includes military fatigues, pilot uniforms, or law enforcement gear. Camouflage patterns are also generally discouraged. You may wear religious attire if you provide a signed statement stating that the clothing is worn daily in public. However, even with religious headwear, your full face from the bottom of your chin to the top of your forehead must be visible, and the headwear cannot cast shadows on your face.
Avoid hats or head coverings that are for aesthetic or functional purposes, like baseball caps or beanies. Jewelry is permitted as long as it does not hide your face or create significant glare. Large, chunky earrings or hardware that drapes over the cheeks should be removed. For hair, it is best to tuck it behind your ears or pull it back so the contours of your face are fully visible. While you can wear makeup, it should be a natural look. Heavy contouring can change the perceived shape of your face, which might conflict with the biometric scanning used at airport kiosks.
Facial Expressions and Body Language
The State Department allows for a neutral expression or a "natural smile." While the classic "mugshot" look with a closed mouth is the safest option to avoid rejection, a small smile is acceptable as long as it does not look forced or exaggerated. Both eyes must be open and looking directly at the camera. If you are taking a photo of an infant or a small child, they also need to have their eyes open, though the government understands that infants are harder to pose. No other people should be in the photo, and the child's hands or the parent's hands cannot be visible.
Posture plays a subtle but important role in how the photo is framed. Sit or stand up straight with your shoulders back. Hunching over can make your neck appear shorter and may cause your clothing to bunch up in a way that looks messy. Keep your chin parallel to the floor. Tilting your chin too high can result in a view of the nostrils, while tilting it too low can create the appearance of a double chin and obscure the jawline. A relaxed but upright posture helps ensure the proportions of your head and shoulders fit perfectly within the two inch square.
Practice your expression in a mirror before you start clicking. A "neutral" expression does not have to mean an angry or sad one. I suggest relaxing your jaw and thinking of something pleasant to avoid a stiff or grimacing appearance. The goal is to look like yourself on a normal day. If you choose to smile, ensure your eyes do not squint so much that they appear closed, as this will result in an automatic rejection. The facial recognition software focuses on the distance between your eyes and the placement of your features, so keeping your face relaxed and forward facing is essential.
DIY Home Methods and Where to Print
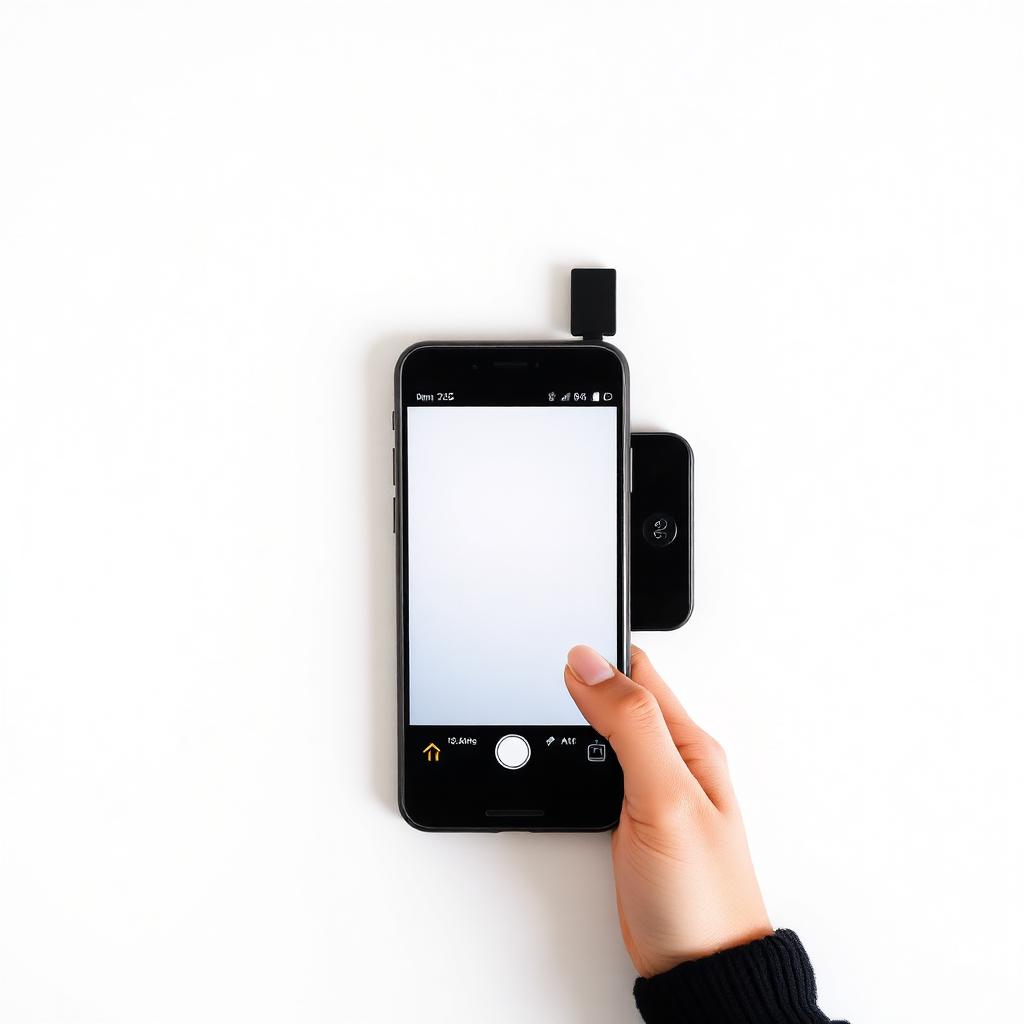
Taking your own photo at home is increasingly popular because it allows for unlimited retakes until you are satisfied. To succeed, use a high quality smartphone camera rather than a webcam. There are several reputable apps designed for this purpose, such as Passport Photo Ai or Passport Photo Booth, which provide an overlay on the screen to help you align your head and shoulders correctly. These apps often have tools to remove the background and replace it with a pure white one, though it is always better to start with a white wall to ensure the edges around your hair look natural.
Once you have a digital file that meets all requirements, you have several printing options. You cannot simply print the photo on a standard sheet of office paper. If you have a home photo printer, use high quality 4x6 inch photo paper and print two 2x2 inch images on one sheet, then carefully cut them to size using a paper trimmer or sharp scissors. Any jagged edges or incorrect sizes will result in your application being returned. Ensure the print is sharp and not pixelated, with no visible dots or patterns from the printing process.
If you prefer professional printing, you can upload your digital file to a pharmacy or big box store website. Retailers like Walgreens, CVS, or Walmart typically offer passport photo services where they take the photo for you and print it on the spot. These services usually cost between 15 and 20 dollars. However, you can save money by creating a 4x6 inch collage of your 2x2 inch photos and printing it as a standard 4x6 photo, which usually costs less than one dollar. Just be sure not to use any photo editing that changes your appearance, as the State Department specifically warns against using digital tools to alter your face.
Frequently Asked Questions
Can I wear a headband or hair clips in my passport photo?
Small hair accessories like narrow headbands or bobby pins are generally fine as long as they do not cover your face or forehead. However, large decorative bows, thick headbands, or any accessory that changes the shape of your head should be avoided to ensure the photo is not rejected.
Can I take a passport photo with my phone?
Yes, you can use a smartphone as long as the photo meets all official requirements. You should use the rear camera for better quality, use a tripod, and ensure you have bright, even lighting. Avoid using the selfie camera as it often distorts facial features and produces lower resolution images.
Is a selfie acceptable for a passport photo?
No, selfies are generally not acceptable because the distance at which they are taken distorts the face, often making the nose look larger and the ears disappear. Furthermore, the angle of a selfie is rarely perfectly straight. It is best to have someone else take the photo or use a tripod with a timer.
What color shirt is best for a passport photo?
Since the background must be white or off white, you should wear a color that contrasts with the background. Avoid wearing white or very light cream shirts, as you may appear to blend into the background. Solid, darker colors like blue, green, or black tend to look best and provide the necessary contrast.
Bottom Line
Creating a good passport photo requires strict adherence to US State Department guidelines regarding size, lighting, and appearance. By using a plain white background, removing your glasses, and ensuring even lighting without shadows, you can produce a professional result at home or in a store. Remember that the goal is a clear, unretouched, and accurate representation of your face. Taking the time to get the dimensions and expression right will prevent delays in your passport application process.