Quick Answer
Most modern DIY security kits, including Ring Alarm, SimpliSafe, Abode, and Nest Secure replacements, can be installed in two to four hours using only a screwdriver, a level, and a smartphone. Hubs use peel and stick adhesive or a single screw.
The work is 80 percent planning and 20 percent mounting. Map your entry points first, place the hub centrally for Wi Fi reach, then add contact sensors, motion detectors, and a keypad in that order.
No drilling, no installer fees, and no multi year monitoring contract is required to get a working system on the wall today.
Phase 1: mapping your entry points
Before you open a single box, walk your home and note every exterior door, ground floor window, and shared wall window on a floor plan or a phone sketch. Burglary statistics from the FBI Uniform Crime Reporting program consistently show that more than 55 percent of residential break ins enter through the front, back, or garage door, with the rest split between ground floor windows.
That means your sensor budget should be weighted toward doors first, ground floor windows second, and high traffic interior corridors third. A common rookie mistake is buying a 14 piece kit and clustering 10 sensors around the front door while leaving the patio slider completely uncovered.
Use a simple priority list:
- Front door, back door, side door, garage interior door, and any basement access.
- Every ground floor window that faces a yard, alley, or shared wall.
- One interior motion detector covering the hallway that connects bedrooms to the living area.
- One indoor camera placed where it can see the main entry corridor.
Phase 2: placing the base station
The hub is the brain of the system. Every sensor talks to it over Z Wave, Zigbee, or proprietary radio, and the hub then talks to your router. Three rules apply.
First, place it centrally so no sensor is more than 100 feet away through interior walls. Second, keep it within six feet of your router or use Ethernet for a wired backbone. Third, keep it off the floor and away from microwaves, baby monitors, and 2.4 GHz cordless phones that share the same radio band.
A bookshelf in a central hallway or on top of a media console usually works. Avoid metal cabinets, the inside of a closet, and the back of an entertainment unit where signals get blocked.
Phase 3: mounting contact, motion, and glass break sensors
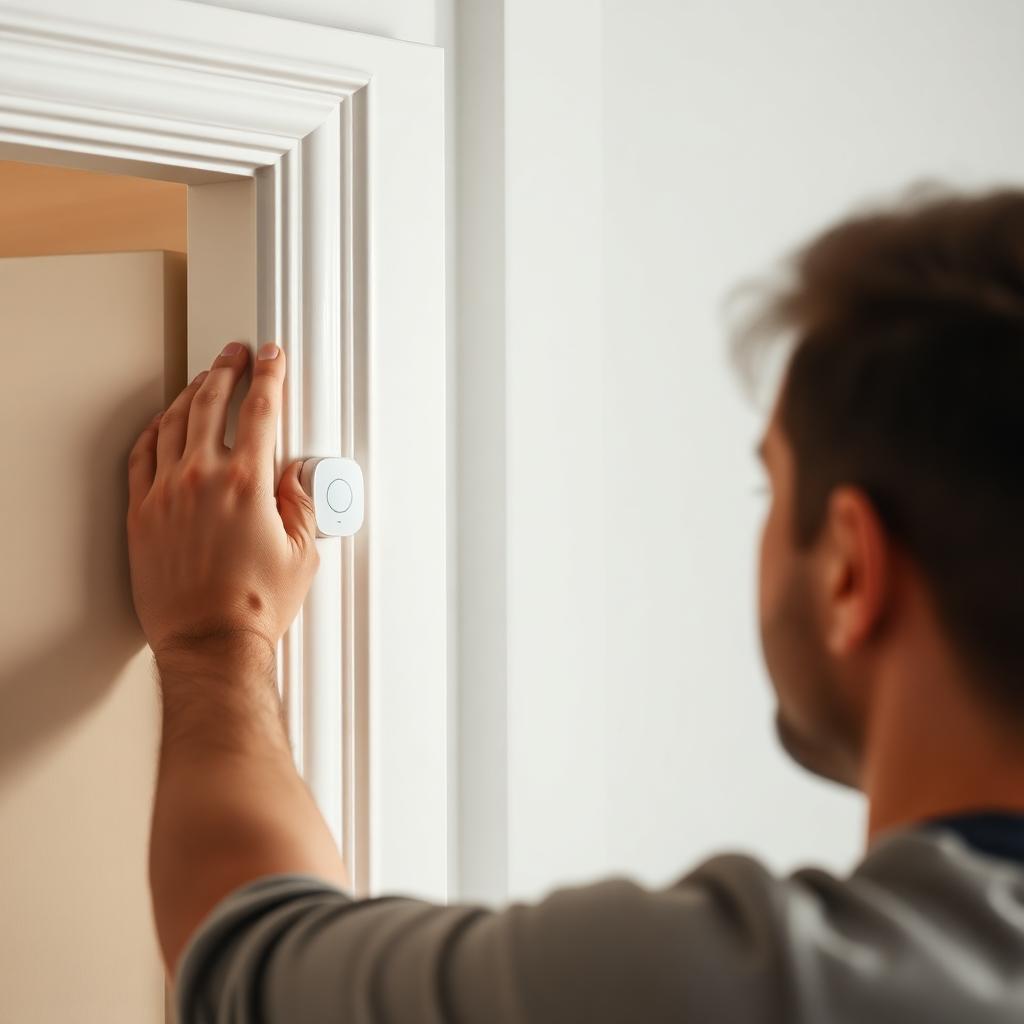
Contact sensors are the simplest piece of the install. Each one has two parts, a sensor body and a small magnet. When the magnet moves away from the body, the alarm triggers.
- Wipe the door or window frame with rubbing alcohol so the adhesive bonds cleanly.
- Stick the larger sensor body to the fixed frame at the top corner.
- Stick the magnet to the moving panel so the two pieces sit within half an inch of each other when closed.
- Open and close the door once to confirm the app registers an open and close event.
Motion detectors should sit 6 to 8 feet off the ground, ideally in a corner so the lens covers a wide cone across a hallway or living room. Aim them away from sunny windows, HVAC vents, and pet sleeping zones to avoid false trips. Most modern PIR sensors have a pet immunity rating up to 40 or 50 pounds, but a giant breed dog will still set them off if the placement is wrong.
Glass break sensors listen for the specific acoustic signature of shattering glass. Mount them on a ceiling or high shelf within 20 feet of the windows you want to protect. One sensor in a living room with three windows is usually enough.
Phase 4: keypads, cameras, and the smart lock
Mount the keypad about five feet off the ground next to the door you use most. This is the panel you will tap dozens of times a week, so accessibility matters more than aesthetics. If two adults in the house have very different heights, split the difference rather than centering on the taller one.
For cameras, place a video doorbell at chest height on the door frame so it captures faces, not chests. Indoor cameras work best in a corner facing the front door so anyone walking in is recorded head on. Outdoor cameras should sit 8 to 10 feet up, angled down at 15 to 30 degrees, with the sun behind the camera in the morning if possible.
If you add a smart lock, install it on the door used most for daily entry and exit. Pair it to the hub so the system can auto arm when the door locks at night.
Phase 5: arming, testing, and notification tuning
Once every device is online in the app, walk the house in arm away mode and trip every sensor in sequence. Confirm each one sends a push notification within five seconds and that the siren sounds. Then switch to arm stay mode and confirm the interior motion sensors are bypassed so you can walk around at night without setting off the alarm.
Spend 10 minutes inside the app notification settings. Turn off "motion detected" alerts from the front yard if you are on a busy street, otherwise your phone will buzz hundreds of times a day and you will eventually mute it entirely.
The takeaway
A modern DIY install is one afternoon of planning, mounting, and testing. Skip the planning and you end up with sensors in the wrong places. Spend the time up front and you end up with a system that quietly does its job for years without monthly installer bills or long monitoring contracts.
Frequently Asked Questions
How long does a DIY home security install take?
Two to four hours for a typical 8 to 12 piece kit, including app setup and a full walk through test.
Do I need a monitoring subscription?
No. Every major DIY system works in self monitored mode with phone push alerts. Subscriptions add 24 hour professional monitoring, cellular backup, and longer cloud video history.
Will adhesive sensors damage my paint?
The 3M VHB tape used on most sensors removes cleanly with a hair dryer and a slow peel. Test on a hidden corner first if you rent.
Do DIY systems work if the power goes out?
Hubs have backup batteries that last six to 24 hours. Cellular backup, which keeps you connected when Wi Fi fails, usually requires a paid plan.