Quick Answer
You can fly with an infant carrier car seat by either checking it as luggage or using it in a dedicated seat for your baby. To use it in the cabin, the seat must have a sticker stating it is FAA approved for use in motor vehicles and aircraft. Checking the seat is usually free on all major US airlines, whether you do it at the ticket counter or at the gate.
I always recommend booking a separate seat for your infant and bringing the carrier on board if your budget allows. Having your baby secured in a familiar seat is the safest way to travel and gives your arms a much needed break during the flight. If you choose to fly with a lap child, you will likely need to gate check the carrier just before you step onto the plane.
Understanding FAA Regulations
The Federal Aviation Administration strongly urges parents to use a government approved child restraint system, or CRS, during a flight. While they currently allow children under two to sit on a lap, turbulence is the leading cause of pediatric injuries on airplanes. A car seat provides the same protection in the air that it does on the highway.
Before you head to the airport, look at the sides or bottom of your infant carrier. You are looking for a specific sentence printed in red text. It must say that the restraint is certified for use in motor vehicles and aircraft. If that text is missing or rubbed off, flight attendants have the right to prevent you from using it in the cabin.
Most modern infant carriers sold in the United States by major brands like Graco, Chicco, or Nuna are FAA approved. However, some very large convertible seats or European models might have different requirements. Always double check your specific manual to be sure you are compliant with federal safety standards.
Buying a Seat vs Flying as a Lap Child
When I fly with an infant, the biggest decision is whether to pay for a second ticket. If you buy a seat for your baby, you have a guaranteed spot for the infant carrier. This makes the experience much more relaxing because you can set the baby down to eat or sleep. You will need to install the carrier in a window seat so it does not block the exit path for other passengers.
If you choose to fly with your baby as a lap child, you can still bring your carrier to the gate. I often ask the gate agent if the flight has any empty seats available. If the plane is not full, they will sometimes let you bring the carrier on for free to use in an empty middle seat. If the flight is sold out, you will be required to gate check the carrier.
Keep in mind that if you do not buy a ticket, you have no guarantee that your carrier will stay with you. You must be prepared to check it and hold your baby for the entire duration of the flight. For long haul domestic flights or international travel, paying for the extra seat is almost always worth the investment for the added safety and comfort.
Navigating the Airport with a Carrier
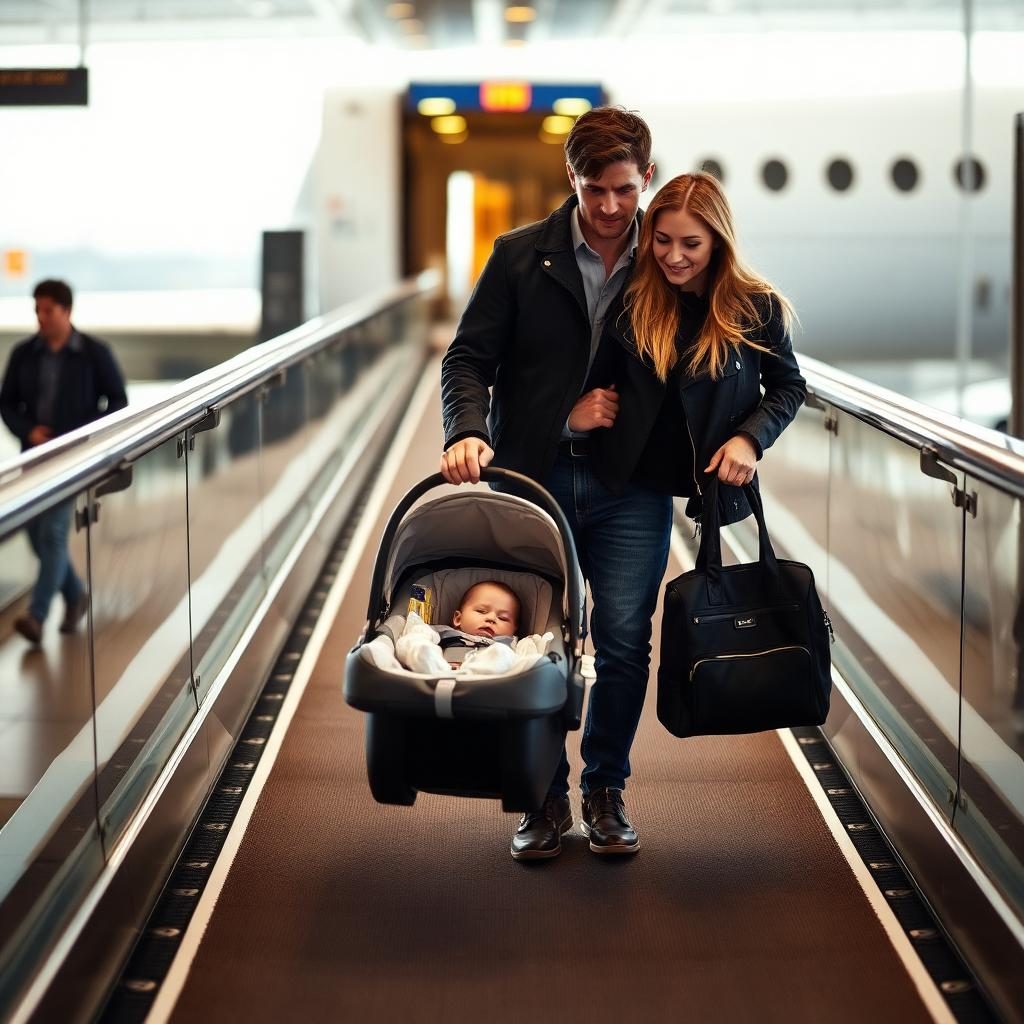
Getting a heavy infant carrier through a massive airport terminal can be a workout. I highly recommend using a travel system where the carrier clicks into a compatible stroller frame. This allows you to wheel the baby all the way to the door of the plane. You can then collapse the stroller and leave it at the jet bridge for the ramp agents to load into the cargo hold.
If you do not want to bring a stroller, you can buy a specialized car seat trolley. These are small wheeled platforms that the car seat straps onto, essentially turning the carrier into a piece of rolling luggage. Some parents also use backpack straps designed to clip onto the carrier, though this can be very bulky when navigating narrow security lines.
Another option is to wear your baby in a soft structured carrier or wrap while carrying the empty car seat. This keeps your hands free to handle boarding passes and luggage. Just remember that you usually have to take the baby out of a wearable carrier when going through the metal detector at TSA checkpoints.
Gate Checking Procedures
Gate checking is a great middle ground if you do not want to pay for a seat but want your carrier at your destination. When you arrive at your gate, speak to the agent at the desk immediately. Tell them you need a gate check tag for your car seat. They will print a long tag that you wrap around the handle of the carrier.
Once your group is called for boarding, you carry the seat down the jet bridge. Right before you step onto the plane, there will be a designated area to leave strollers and car seats. Leave it there, and the crew will take it down to the cargo hold. When you land, you will wait on the jet bridge at your destination for the crew to bring it back up to you.
I always suggest using a padded car seat bag if you plan to gate check. The baggage handlers are often in a rush, and the jet bridge can be dirty. A bag protects the fabric from grease and keeps the straps from getting caught in machinery. It also allows you to stuff a few extra diapers into the bag if you are running out of space in your carry on.
Installing the Seat on the Plane
Installing an infant carrier on an airplane is slightly different than in a car. Airplanes do not use the LATCH system found in modern vehicles. Instead, you will use the airplane seat belt. Most infant carriers allow for a baseless installation where you thread the lap belt through the blue or clear guides on the top of the seat.
Make sure the seat is rear facing, as this is the only safe way for an infant carrier to be installed. Once you thread the belt, pull it as tight as possible. I usually put my weight into the seat while pulling the belt to ensure there is no wiggle room. The handle of the carrier should be moved to the position recommended by the manufacturer for travel, which is usually clicked down toward the baby feet.
Flight attendants are trained to look for the FAA sticker and to ensure the seat is not in an exit row. Do not try to install the carrier in a row with an inflatable seat belt, as these are not compatible with car seats. If you are unsure if your seat has an inflatable belt, check the safety card in the seat back pocket or ask a crew member.
Tips for the Jet Bridge Shuffle
The transition from the terminal to the plane is the most stressful part of the journey. If you are traveling alone, this is where things get tricky. I recommend boarding during the family pre boarding window. This gives you extra time to walk down the jet bridge without a line of impatient passengers behind you.
- Collapse your stroller several feet before the plane door to avoid blocking the entrance.
- Ensure your gate check tags are visible and securely attached.
- If using the carrier on board, have your installation plan ready so you can do it quickly.
- Carry a small bag of essentials like a pacifier or bottle in your hand so you do not have to dig through the overhead bin immediately.
If you find yourself struggling with the seat and the baby, do not be afraid to ask for help. While flight attendants are not allowed to install the seat for you due to liability reasons, they can often hold your baby for a moment while you tighten the belts. Most fellow travelers are also happy to help lift a bag into the bin if they see you are occupied with a car seat.
Managing Baggage and Car Seat Bases
Most infant carriers come with a base that stays in your car. You do not actually need the base to fly or to use the seat in a rental car at your destination. Most carriers are designed for a baseless install using just a seat belt. Leaving the base at home saves a significant amount of weight and bulk.
If you absolutely feel you need the base for your trip, I recommend packing it in your checked suitcase. Wrap it in some clothes for padding. Checking the base separately can sometimes count as a piece of luggage, whereas the car seat itself is almost always free. Check your specific airline policy to see if they allow the base and seat to be checked together in one bag for free.
If you decide to check the car seat at the ticket counter instead of the gate, make sure it is in a sturdy, protective box or a very high quality padded bag. Checked luggage goes through a lot of conveyor belts and tossing. You want to ensure the plastic shell of the seat is not cracked or compromised before you put your baby back into it at your destination.
Frequently Asked Questions
Does a car seat count as a carry on item?
No, on most US airlines, a car seat or stroller does not count toward your carry on or personal item limit. These are considered necessary assistive devices for child safety and are transported for free in addition to your standard baggage allowance.
Can I use a booster seat on the plane?
No, the FAA does not allow the use of booster seats during takeoff or landing. Booster seats require a shoulder belt to function safely, and most airplane seats only have lap belts. You can bring a booster as a carry on or check it, but your child cannot sit in it during the flight.
What if my car seat is too wide for the airplane seat?
Most infant carriers fit easily, but some seats are as narrow as 16 inches. If your seat does not fit, the airline is required to try to find a seat in the same class of service that will accommodate it. If it simply will not fit anywhere, they will have to gate check the seat for you.
Do I need to bring the car seat manual?
While not strictly required, I always bring a digital copy on my phone. If a flight attendant or gate agent questions the installation or the FAA approval, having the manual ready can quickly clear up any confusion and prevent a stressful confrontation during boarding.
Is it better to check the car seat at the counter or the gate?
Gate checking is usually better because there is less time for the seat to be handled roughly or lost in the airport baggage system. It also allows you to use your stroller and car seat throughout the terminal, which is a life saver during long layovers or delays.
Final Thoughts on Flying with Carriers
Flying with an infant carrier might seem daunting, but it becomes second nature after a trip or two. The peace of mind that comes with knowing your baby is safe in their own seat is worth the extra effort of hauling the gear through the airport. Always prioritize the FAA approved sticker and give yourself plenty of time to navigate the boarding process.
Remember to stay calm and organized. The more prepared you are with your tags and installation knowledge, the smoother your flight will be. Whether you choose to book a seat or gate check, having your own car seat at your destination ensures that your baby stays safe in rental cars or taxis once you land. Safe travels to you and your little one.