Quick Answer
The most reliable way to back up your travel photos involves a three tier system: keeping them on your main device, syncing to a cloud service, and copying them to a physical SSD. This redundant approach ensures that even if you lose your phone or a hard drive fails, your memories remain safe.
I recommend using automatic cloud uploads like Google Photos or iCloud while you have Wi Fi, but you must also carry a rugged external SSD for offline backup. Never rely on a single device because theft and hardware failure are common risks when you are constantly moving through airports and hostels.
The Three Tier Strategy Explained
I have learned the hard way that a single backup is not enough. The gold standard for travel photography is the 3-2-1 rule, which means three copies of your data on two different types of media with one copy kept offsite. When I am on the road, I treat my phone as the first copy and my cloud storage as the offsite copy.
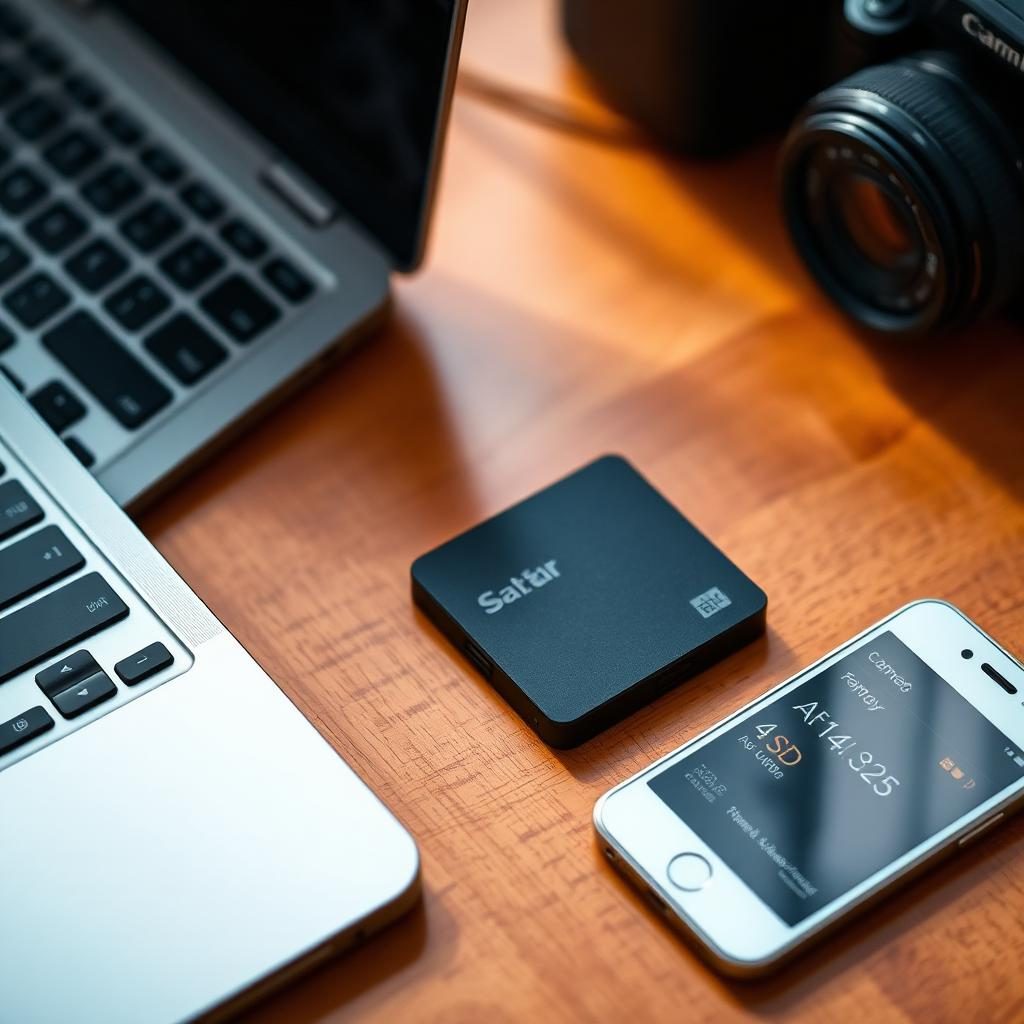
The second physical media is usually a small, portable Solid State Drive (SSD). Unlike traditional hard drives, SSDs have no moving parts, so they are much less likely to break if you drop your bag or if it gets bumped during a rough bus ride. I make it a habit to transfer photos from my phone or camera to this drive every single night before I go to sleep.
By splitting your photos across these different platforms, you protect yourself against technical glitches and physical theft. If your phone gets stolen, your cloud and SSD have the photos. If the cloud is inaccessible due to bad internet, your SSD is in your backpack. It is a simple system that provides immense peace of mind.
Choosing the Right Portable SSD
When you are looking for an external drive, do not just buy the cheapest one available. I always look for a drive that is rated for dust and water resistance, often referred to as an IP65 or IP67 rating. Since I travel to humid climates or dusty desert regions, this extra protection is vital for keeping the internal electronics safe.
Size and weight are also important factors for carry on travelers. I prefer drives that are about the size of a credit card and weigh less than two ounces. Technology has improved so much that you can now get two terabytes of storage in a device that fits in your coin pocket. This makes it easy to keep the drive on your person rather than leaving it in a hotel room.
Speed is the final consideration. I look for drives with high read and write speeds, usually labeled as USB 3.2 or similar. This ensures that I am not sitting awake for an hour waiting for five gigabytes of video to transfer after a long day of sightseeing. High speed drives usually cost a bit more, but the time saved is worth every penny.
Maximizing Cloud Storage Utilities
Cloud storage is your best friend when you have access to decent Wi Fi. I use Google Photos because it works across both Android and iPhone, but iCloud is excellent for Apple purists. The key is to set these apps to upload in the background so you do not have to manually select photos every day.
- Turn on background app refresh to allow the phone to sync while it is charging.
- Select high quality or original quality depending on how much storage space you pay for.
- Use the Free Up Space feature only after you are sure the photos have moved to the cloud.
- Check the upload status at the end of every day to ensure no files are stuck.
Be aware that many hotels have throttled internet speeds. I often find that my photos struggle to upload if the hotel router is crowded. In these cases, I prioritize my physical SSD backup and wait until I get to a cafe with better connectivity or use a local SIM card with a large data plan to finish the cloud sync.
Backing Up Without a Laptop
Many travelers no longer carry a laptop, which makes backing up to an SSD slightly more complicated but still very doable. I use a small adapter or a direct USB-C to USB-C cable to connect my phone directly to my external drive. Most modern smartphones have a built in File app that allows you to drag and drop images directly to the external storage.
If you use a dedicated camera instead of a phone, look for a drive that has a built in SD card slot. These devices allow you to insert your camera card and press a single button to copy the files without needing any other screen. It is the most streamlined way to work, though these specific drives can be slightly bulkier and more expensive.
Another option for phone users is to use a dual sided flash drive. One end sticks into your phone port and the other is a standard USB plug for a computer. I find these are great for quick backups of my favorite shots, though they usually have smaller capacities than a full sized SSD.
Protection Against Theft and Loss
The biggest risk to your photos is not a technical failure, but someone stealing your bag. I never keep my phone and my backup SSD in the same place. If my phone is in my pocket, my SSD is tucked away in a hidden compartment of my daypack or locked in a hotel safe. This way, a single incident cannot take out both copies of my memories.
I also recommend encrypting your external drive. If you do lose it, you do not want a stranger to have access to all your personal photos and data. Most drive manufacturers include simple software to set a password. It adds a few seconds to the login process, but it is a necessary layer of security for world travelers.
I also make sure my phone has a remote wipe feature enabled. In the event that my phone is snatched, I can log into a computer and erase my data so the thief cannot access my cloud accounts. Because I follow my backup routine, I know that even if I wipe the phone, my photos are already safe on my SSD and in the cloud.
Managing Photos on Long Trips
On trips lasting more than a month, the volume of photos can become overwhelming. I spend about ten minutes every few days deleting the junk. This includes blurry shots, accidental photos of the inside of my pocket, and duplicates of the same monument. Keeping your library clean makes the backup process much faster and saves money on storage costs.
I also organize my photos into folders by country or month. When I move files to my SSD, I create a new folder for each location. This makes it much easier to find specific memories when I get home. If you wait until the end of a six month trip to organize everything, you will likely never get around to doing it.
Finally, I always carry at least two high capacity SD cards for my camera. I do not erase the SD card until I have verified that the photos are backed up to both my SSD and the cloud. Treat your SD cards as temporary storage, but do not clear them until you have that double redundancy confirmed.
Frequently Asked Questions
Is it better to use a thumb drive or an SSD?
An SSD is much better for travel because it uses higher quality memory chips that are less likely to fail after repeated use compared to a cheap thumb drive. SSDs also offer significantly faster transfer speeds, which is important when you are backing up hundreds of high resolution photos at once.
How much cloud storage do I really need?
For a typical two week trip, a 200 gigabyte plan is usually sufficient for most people. However, if you are shooting 4K video or traveling for several months, I recommend upgrading to a 2 terabyte plan to ensure you never run out of space in the middle of a remote area.
Can I rely on social media as a backup?
No, social media platforms like Instagram or Facebook compress your images and strip away the original quality and metadata. They are great for sharing, but they should never be considered a storage or backup solution for your original high resolution files.
What should I do if my internet is too slow for cloud backups?
Focus entirely on your physical SSD backup and consider buying a second, smaller drive as an extra precaution. You can also look for coworking spaces or libraries in major cities, as these locations usually have much faster and more stable internet connections than budget hotels or hostels.
Should I back up every single day?
I highly recommend a daily backup routine. It only takes a few minutes if you do it every evening, but if you wait a week, the task becomes a chore and you increase the window of time where a lost phone means losing a week worth of irreplaceable memories.
Summary of the Backup Workflow
My daily routine is simple and effective. Every night when I return to my room, I plug my phone into the charger and let the cloud sync begin over Wi Fi. While that is happening, I plug my SSD into my phone or camera and copy over all the new files from that day. I verify that the file count matches and then I store the SSD in a secure, separate location from my phone.
This process takes less time than brushing my teeth, yet it protects my most valuable souvenirs. Photos are the one thing you cannot replace if they are lost. By investing in a small SSD and a basic cloud subscription, you can explore the world with the confidence that your photos will make it home with you, no matter what happens on the road.
Remember that the best system is the one you actually use. Do not overcomplicate it with expensive servers or complicated software. Stick to the basics: phone, cloud, and a rugged SSD. Once you establish the habit, it will become second nature, leaving you free to enjoy your travels without worrying about your data.