Quick Answer
To use a digital multimeter, plug the black probe into the COM jack and the red probe into the VΩmA jack. Turn the dial to the correct setting (V= for DC voltage, V~ for AC voltage, Ω for resistance, the speaker icon for continuity). Touch the probes to the two points you want to measure and read the value on the display.
For mains power, always start on the highest voltage range and step down. For current measurement, move the red probe to the 10 A jack and place the meter in series with the load, never in parallel across a battery or wall outlet.
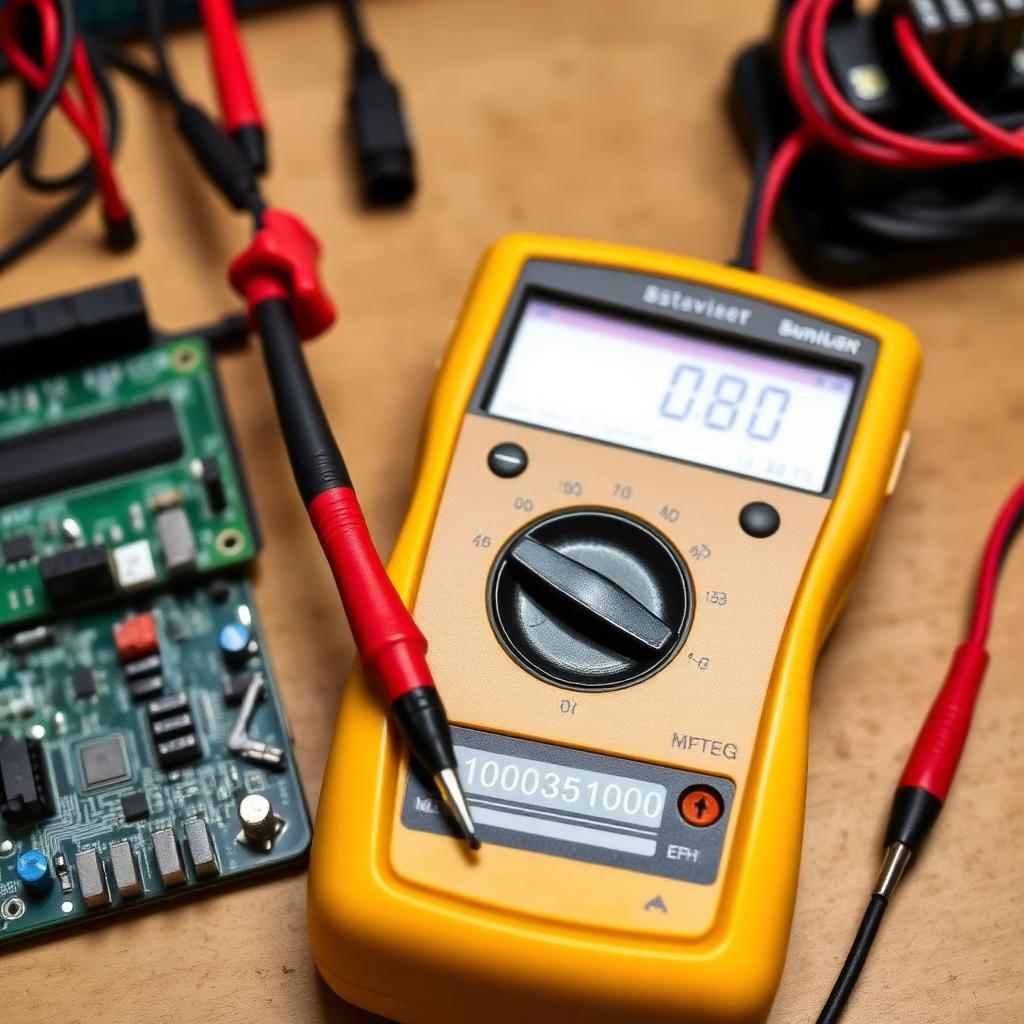
Anatomy of a digital multimeter
- Display: shows the reading, plus unit prefixes like m (milli) and k (kilo).
- Rotary dial: selects what you are measuring.
- Probes: red is positive, black is negative or common.
- Input jacks: COM (always black), VΩmA (small currents and voltage), and 10 A (for currents up to 10 amps, fused).
What the dial symbols mean
- V= or VDC: direct current voltage. Batteries, USB power, car electrical systems.
- V~ or VAC: alternating current voltage. Wall outlets, mains-powered appliances.
- Ω (Ohms): resistance. Tests resistors, heating elements, motor windings.
- Speaker icon: continuity. Beeps when resistance is near zero. Use this to find broken wires and blown fuses.
- Diode symbol: tests the forward voltage drop of a diode (around 0.6 V for silicon).
- A= and A~: direct and alternating current. The probe in the 10 A jack carries the load, so the meter goes in series with the circuit.
Safety before you touch a probe
A cheap multimeter can survive low voltage work all day. The same meter can explode if you connect it across a 240 V outlet while the dial is set to amps. Three rules keep you safe.
- Check the CAT rating printed on the case. CAT II is fine for household outlets, CAT III for distribution panels, CAT IV for the service entrance. Do not use a CAT II meter on a breaker box.
- Inspect the probes for cracked insulation. Replace them if you see exposed metal anywhere except the tips.
- Set the dial before you touch the probes. Setting a meter to amps and then touching the probes across a wall outlet creates a near short circuit through the meter fuse, sometimes through the meter itself.
Test 1: a fresh AA battery
- Plug black into COM, red into VΩmA.
- Turn the dial to V= (or 2 V if your meter has manual ranges).
- Touch the red probe to the positive terminal of the battery and the black probe to the negative terminal.
- A new alkaline AA reads 1.5 to 1.6 V. Anything under 1.3 V is depleted.
Reverse the probes by mistake? The display just shows a minus sign in front of the reading. The meter is not damaged.
Test 2: a wall outlet (US, 120 V AC)
- Set the dial to V~. If the meter has manual ranges, start at 600 V or higher and step down.
- Insert the black probe into the wider neutral slot.
- Insert the red probe into the narrower hot slot.
- You should read between 110 V and 125 V. A reading under 105 V or over 130 V suggests a wiring problem worth a call to an electrician.
Same test for a UK or EU 230 V outlet: start at 600 V on the dial and expect 220 to 245 V. Always keep one hand in your pocket when working near live mains. The right hand to right hand path is the one that crosses your heart.
Test 3: continuity on a fuse
This is the killer feature of a multimeter. Hold the probes against the two ends of any wire, fuse, switch, or trace. If the path is unbroken, the meter beeps. If it stays silent, you have found the break.
- Disconnect power and remove the fuse from its holder. Never test continuity on a live circuit; the reading will be meaningless and the meter could be damaged.
- Set the dial to the speaker icon.
- Touch one probe to each end cap of the fuse.
- Beep means the fuse is intact. No beep, with a display reading near OL (open loop) or a very high resistance, means the fuse is blown.
Test 4: resistance of a heating element
Toaster not toasting? Hair dryer running cold? The heating element is usually the culprit.
- Unplug the appliance.
- Set the dial to Ω (200 or 2k range if your meter is manual).
- Touch the probes to the two terminals of the heating element.
- A healthy element reads a small number of ohms (10 to 50 typically). OL on the display means the element has burnt through.
Test 5: measuring current (the careful one)
Most home tests do not need current measurement. When they do, the meter must sit in series with the circuit, which means breaking the wire and routing the current through the meter.
- Move the red probe to the 10 A jack.
- Set the dial to A= or A~ as appropriate.
- Disconnect power, then disconnect one wire of the circuit you want to measure.
- Touch the red probe to one open end and the black to the other, reconnect power.
- Read the current and disconnect promptly. Holding the meter on a high current load for more than 30 seconds can blow the internal fuse.
Common rookie mistakes
- Leaving the red probe in the 10 A jack while measuring voltage. The voltage reading still works but if you forget and turn the dial to V~ and touch a wall outlet, you can blow the meter.
- Touching the metal tips of both probes with your fingers while measuring. Your body becomes a parallel resistor and skews the reading.
- Testing resistance while the circuit is powered. The meter sends its own small voltage to measure, and a live circuit confuses the math.
FAQs
Auto-ranging vs manual ranging, which is better?
Auto-ranging is friendlier for beginners; the meter picks the correct scale. Manual ranging is faster once you know the values you expect.
Why is my reading jumping around?
Either your probes are not making firm contact, or you are measuring a small AC signal on a DC range. Press harder, then switch ranges.
The takeaway
Black goes in COM, red goes in VΩmA, the dial picks the test. Start every mains measurement on the highest range, never measure amps in parallel, and pull the plug before testing resistance or continuity. Those four habits cover 95 percent of safe DMM work.