Quick Answer
To take better photos with any camera, follow four habits: turn on the gridlines and place your subject on a rule of thirds intersection, shoot during golden hour (the first and last hour of sunlight), frame the shot with something in the foreground for depth, and scan the edges of the frame for clutter before pressing the shutter.
None of this needs an upgrade. The same four rules transform a budget smartphone shot or a mid range DSLR image into something that looks genuinely considered.
1. Rule of thirds, on by default
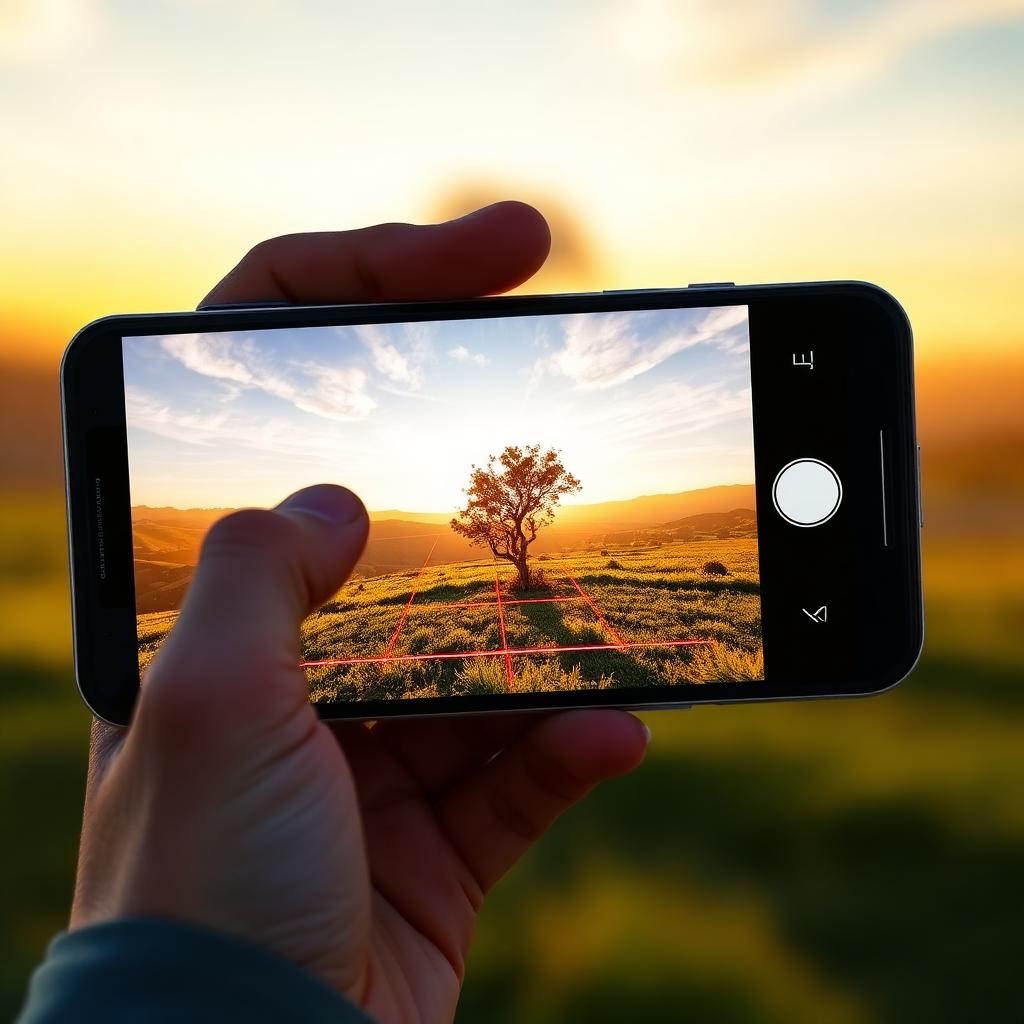
The single biggest amateur habit is centring the subject. Centred shots look static and predictable. The rule of thirds breaks the frame into a three by three grid with four intersection points, and placing your subject on one of those points feels balanced and dynamic to the human eye.
Turn on gridlines in your camera or smartphone settings (every modern camera has the option). Then when you compose, place the most important element (a face, a tree, a horizon line) along one of the lines or directly on an intersection. For landscapes, put the horizon on the lower third for big skies or the upper third for dramatic foregrounds.
2. Chase golden hour light
Light is the raw material of photography. Midday sun, especially between 11am and 2pm in summer, is harsh and overhead. It blows out highlights, casts ugly shadows under noses and eyes, and flattens colour.
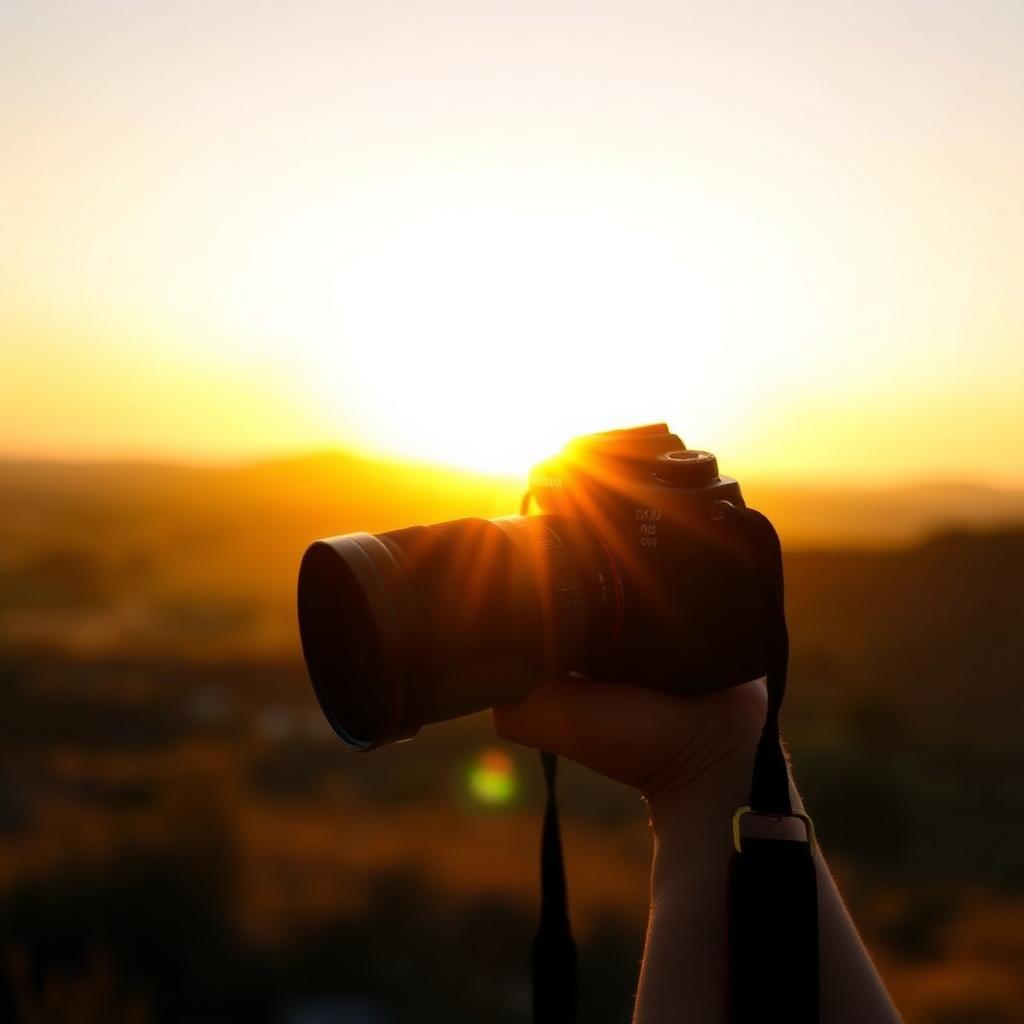
Golden hour is the window roughly an hour after sunrise and an hour before sunset. The sun sits low, so its light travels through more atmosphere, warming to a soft golden colour and casting long, soft shadows that add shape and depth to everything. Faces glow. Landscapes stretch. Even an ordinary street looks cinematic.
Free apps like Photo Pills or even the built in weather app show you the exact golden hour times for your location.
3. Frame with the foreground
Flat photos happen when everything important sits at the same distance from the lens. The fix is to add a foreground element close to the camera that frames the subject behind.
Shoot through low hanging leaves. Use a doorway or archway to surround a portrait. Get low and let grass blur in front of the lens before settling on the distant peak. The foreground element does not need to be sharp, in fact a blurred frame works better. What matters is creating a layer of depth, so the eye reads the photo in three dimensions.
4. Scan the edges
Pros do this before every shot. Before you press the shutter, run your eye around all four edges of the frame. Is there a rubbish bin poking in from the side? A signpost growing out of someone's head? A bright corner pulling attention away from the subject?
If yes, take one step left or right, or zoom in slightly, to clean it up. Cluttered edges drag the eye out of the photo. Clean edges keep it locked on the subject.
5. Hold the camera steady
Sharp photos start with stillness. Tuck your elbows into your ribs, exhale slowly, and squeeze the shutter rather than stabbing it. For low light or zoomed in shots, prop the camera on a wall, a railing, or anything solid.
On a smartphone, use the volume button on a wired headset as a remote shutter to avoid touch shake. On a DSLR, switch to the two second self timer when shooting on a tripod.
6. Get closer
Most amateur photos suffer from the same problem: the subject is too small in the frame. The classic Robert Capa quote applies here: if your photos are not good enough, you are not close enough.
Walk forward. Crop in. Fill the frame. A portrait gets stronger as the face dominates the image. A flower shot becomes art when you fill the frame with petals and a hint of stem.
7. Edit lightly
A small amount of editing improves almost any photo. In any free app (Snapseed, Lightroom Mobile, the built in Photos editor), nudge contrast up slightly, lift the shadows to recover detail, drop the highlights to recover sky, and add a touch of warmth. Avoid heavy filters that flatten skin tones and crush detail.
The takeaway
Grid on, golden hour, foreground frame, clean edges. Four habits, zero equipment cost, every camera. Apply them consistently for a week and your shots will look like someone else took them.