Quick Answer
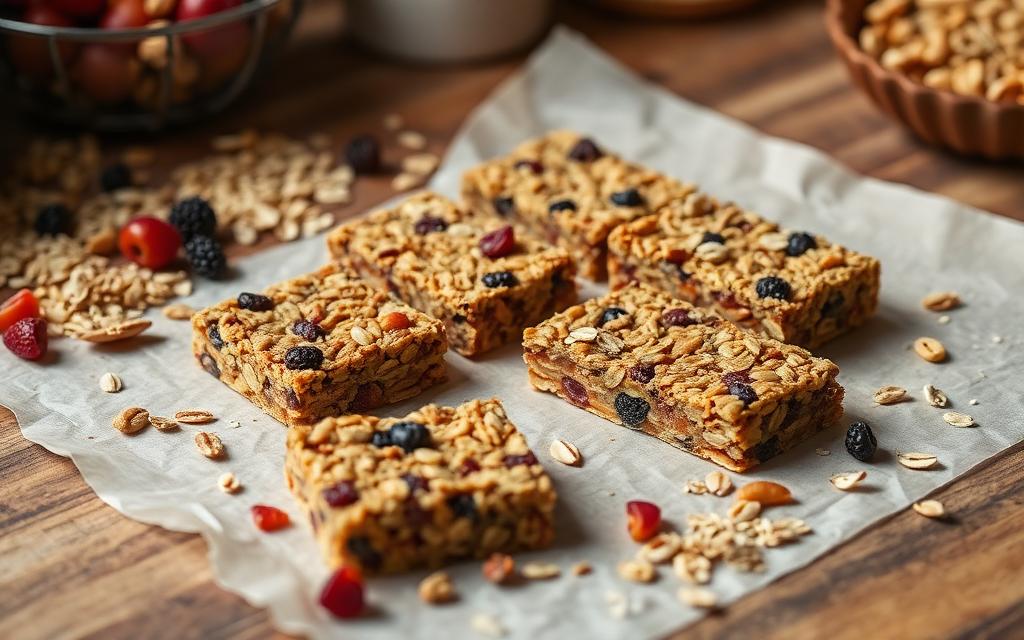
To make homemade granola bars that actually hold together, toast 2.5 cups of rolled oats, stir them into a warm mix of half a cup of nut butter and a third of a cup of honey, add half a cup of mix ins, then press the mixture firmly into a parchment lined pan and chill for at least 2 hours before slicing.
The two steps that make or break the recipe are toasting the oats (for nutty flavour and structure) and pressing the mixture down as hard as possible (to lock the bars together). Skip either and you get a crumbly mess.
Store the bars in an airtight container in the fridge. They keep for about a week and can be wrapped individually for grab and go.
Why most homemade granola bars fall apart
Crumbling comes from one of three things. Too little binder, untoasted oats that have no surface for the binder to grip, or a half hearted press into the pan. Get all three right and the bars hold up perfectly to a packed lunch or a gym bag.
The ingredients you need
- 2.5 cups old fashioned rolled oats (not quick oats, which go mushy).
- Half a cup of natural creamy almond butter or peanut butter.
- A third of a cup of honey or pure maple syrup.
- Half a cup of sliced almonds.
- A quarter cup of pumpkin seeds.
- A quarter cup of dried cranberries or dark chocolate chips.
- A pinch of salt.
- Optional, half a teaspoon of vanilla extract.
Step 1: Toast the oats
Spread the oats evenly on a baking sheet. Toast at 350 F (176 C) for 8 to 10 minutes until lightly golden and fragrant. Stir halfway through so they brown evenly. Toasted oats add a nutty flavour and a slightly drier surface that grips the binder better.
Step 2: Warm the binder
Combine the nut butter and honey in a small saucepan over low heat. Stir continuously for 1 to 2 minutes until smooth and pourable. Do not let it boil. If the mixture splits or looks grainy, take it off the heat and add a teaspoon of warm water to bring it back together. Stir in the vanilla and salt off the heat.
Step 3: Combine
In a large mixing bowl, combine the toasted oats with your mix ins. Pour the warm nut butter mixture over the dry ingredients and stir hard with a sturdy spoon until everything is evenly coated. Move quickly while the binder is still warm and sticky.
Step 4: Press firmly
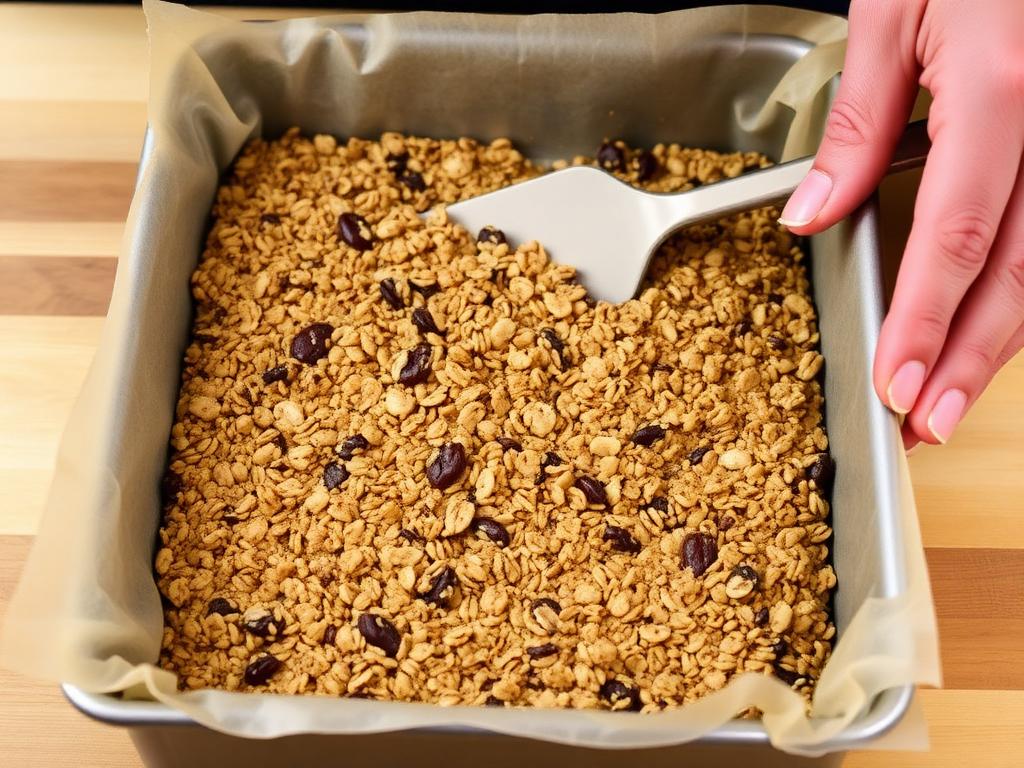
Line an 8 by 8 inch baking pan with parchment paper, leaving an overhang on two sides so you can lift the slab out later. Transfer the mixture and press down as hard as possible with the back of a measuring cup, a flat spatula, or another piece of parchment. The pressing step is what holds the bars together. If you do not feel like you are working at it, press harder.
Step 5: Chill and slice
Refrigerate the pan for at least 2 hours. Lift the slab out using the parchment overhang, place it on a cutting board, and use a sharp chef's knife to cut clean lines. Store in an airtight container in the fridge.
Make it your own
- Higher protein. Add a quarter cup of unflavoured whey or plant protein powder. You will need an extra tablespoon of nut butter or honey to keep it sticky.
- Chocolate version. Replace cranberries with dark chocolate chips and add 2 tablespoons of cocoa powder.
- Tropical. Use coconut flakes, dried mango, and macadamia nuts.
- Lower sugar. Reduce honey to a quarter cup and add a mashed banana for sweetness and binding.
Nutrition snapshot (per bar, makes 10)
- Calories: about 210.
- Protein: 6 to 7 g.
- Carbohydrates: 24 g.
- Fat: 11 g.
- Fibre: 3 g.
Numbers vary with mix ins. Adding chocolate chips or coconut raises the calorie count, swapping in extra seeds raises the protein.
Storage and shelf life
- Fridge. Up to 1 week in an airtight container, separated by parchment.
- Freezer. Up to 3 months. Wrap individually in cling film.
- Room temperature. Fine for 2 to 3 days, especially in cooler weather. Beyond that the nut butter softens and the bars lose their snap.
Why no bake bars work without baking
The honey and nut butter binder behaves like a soft caramel once chilled. It hardens enough to hold the oats and mix ins in place without ever needing the oven. The toasted oats provide the structure, the binder fills the gaps, and the press locks everything together. Baking is an option for a slightly firmer texture, but it is not required for the bars to hold their shape.
Common mistakes to avoid
- Using quick oats instead of rolled oats.
- Skipping the oat toasting step.
- Letting the binder boil instead of just warming it.
- Underpressing the mixture into the pan.
- Slicing the bars before they have fully chilled.
Frequently asked questions
Why are my bars too crumbly?
Almost always an underpress or too little binder. Try adding an extra tablespoon of honey and pressing the mixture down for at least 60 seconds.
Can I bake the bars instead of chilling them?
Yes. Bake at 350 F for 18 to 22 minutes until golden, cool fully in the pan, then chill before slicing. Baked bars are firmer and last slightly longer.
Can I use quick oats?
Quick oats absorb too much moisture and turn the bars soft. Stick with old fashioned rolled oats.
Can I make these vegan?
Yes. Swap honey for pure maple syrup or brown rice syrup. Both bind well and keep the same texture.