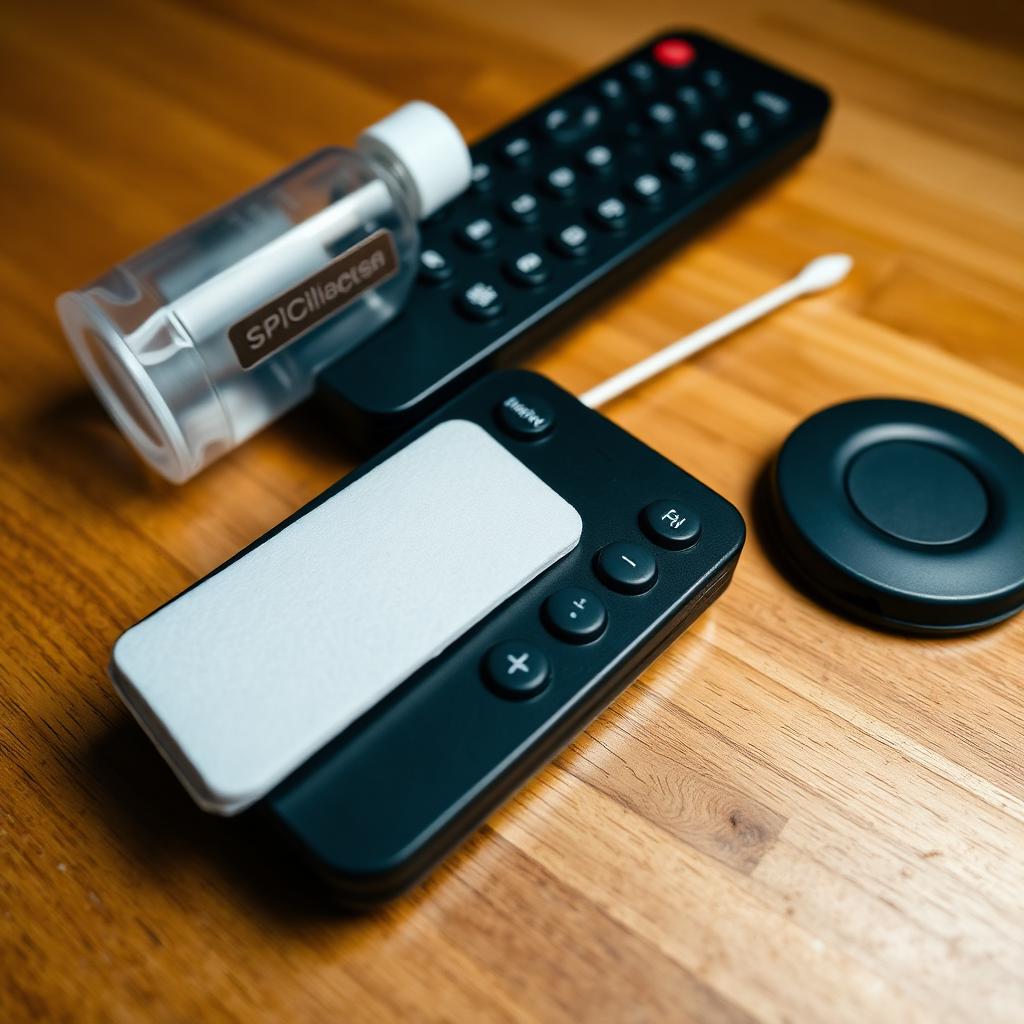
Whether it is a spilled morning coffee, sticky soda residue from family movie night, or years of built in hand oils, jammed remote buttons are an annoyance every household hits eventually. The good news: you almost never need to throw the controller away. A 15 minute clean restores the rubber dome and the carbon contact pad to factory feel.
Quick Answer
To fix a sticky TV remote button, remove the batteries, split the plastic housing with a plastic pry tool, wash the rubber keypad in warm soapy water, and wipe the green PCB contacts with 90 percent isopropyl alcohol on a cotton swab.
Total cost is under $5, total time is around 15 minutes, and the buttons go from mushy to clicky in one cycle.
Never spray cleaner directly onto the circuit board, never use ethanol mouthwash or window cleaner, and never use water on the PCB.
Supplies you actually need
| Tool | Purpose |
|---|---|
| 90 percent or higher isopropyl alcohol | Dries fast and leaves no conductive residue |
| Cotton swabs | Precision wipe of PCB contact pads |
| Plastic guitar pick or pry tool | Splits the snap fit case safely |
| Mild dish soap and warm water | Strips oils off the rubber membrane |
| Old toothbrush | Scrubs sticky residue around the buttons |
Step 1: remove the batteries
Never skip this step. Even AAA batteries can short circuit the chip if a metal tool slips across the traces.
Step 2: split the case
Most modern remotes are held together by internal plastic snaps along the side seam, not screws. Slide a thin plastic pry tool, old credit card, or guitar pick into the side seam and gently twist to release the snaps one by one. Work around the perimeter until the case splits in half.
Step 3: separate the layers
+-------------------------------------------------------------+
|              REMOTE INTERNAL LAYER STACK                    |
+-------------------------------------------------------------+
| Top Face Shell -> Rubber Button Membrane -> PCB Board       |
+-------------------------------------------------------------+
Lay out the three components on a clean workspace.
Step 4: wash the rubber membrane
Take the flexible rubber pad and the plastic face shells over to the sink. Wash with warm water and a few drops of grease cutting dish soap. Use an old toothbrush to scrub residue around each button. Air dry on a clean towel.
Step 5: clean the PCB contacts
The printed circuit board contains delicate carbon contact pads. Never wash with water.
- Dip a cotton swab lightly in isopropyl alcohol (the swab should be damp, not dripping).
- Gently wipe each circular contact pad where the buttons press down.
- Wipe away any oily dark fluid: that is hand oil mixed with degraded silicone, and it is the actual cause of the sticky feel.
Step 6: dry, reassemble, and test
Let everything air dry for 10 minutes. Place the rubber membrane back into the top shell, lay the PCB over it, and snap the case back together. Reinsert the batteries. Buttons should feel responsive and clicky again.
Frequently asked questions
Can I use rubbing alcohol below 90 percent?
70 percent works in a pinch but takes longer to dry and can leave a slight residue on carbon contacts. 90 percent or 99 percent is preferred.
My buttons still feel mushy after cleaning. What gives?
The conductive carbon coating on the underside of the rubber dome has worn off. Patch it with a conductive ink pen or a tiny circle of aluminum foil glued shiny side up to the worn pad.
Will hand sanitizer work in place of isopropyl alcohol?
No. Hand sanitizer contains glycerin and fragrance that leave a sticky film on the contacts and can make the problem worse.
The takeaway
A sticky remote button is almost always trapped grime, not a dead chip. Pop the case, wash the rubber membrane in soapy water, wipe the PCB with isopropyl alcohol, and reassemble. The whole project costs under $5 and takes 15 minutes. If buttons still misfire after the clean, the carbon contact pad has worn down and a conductive ink repair pen or foil patch will bring it back.