Quick Answer
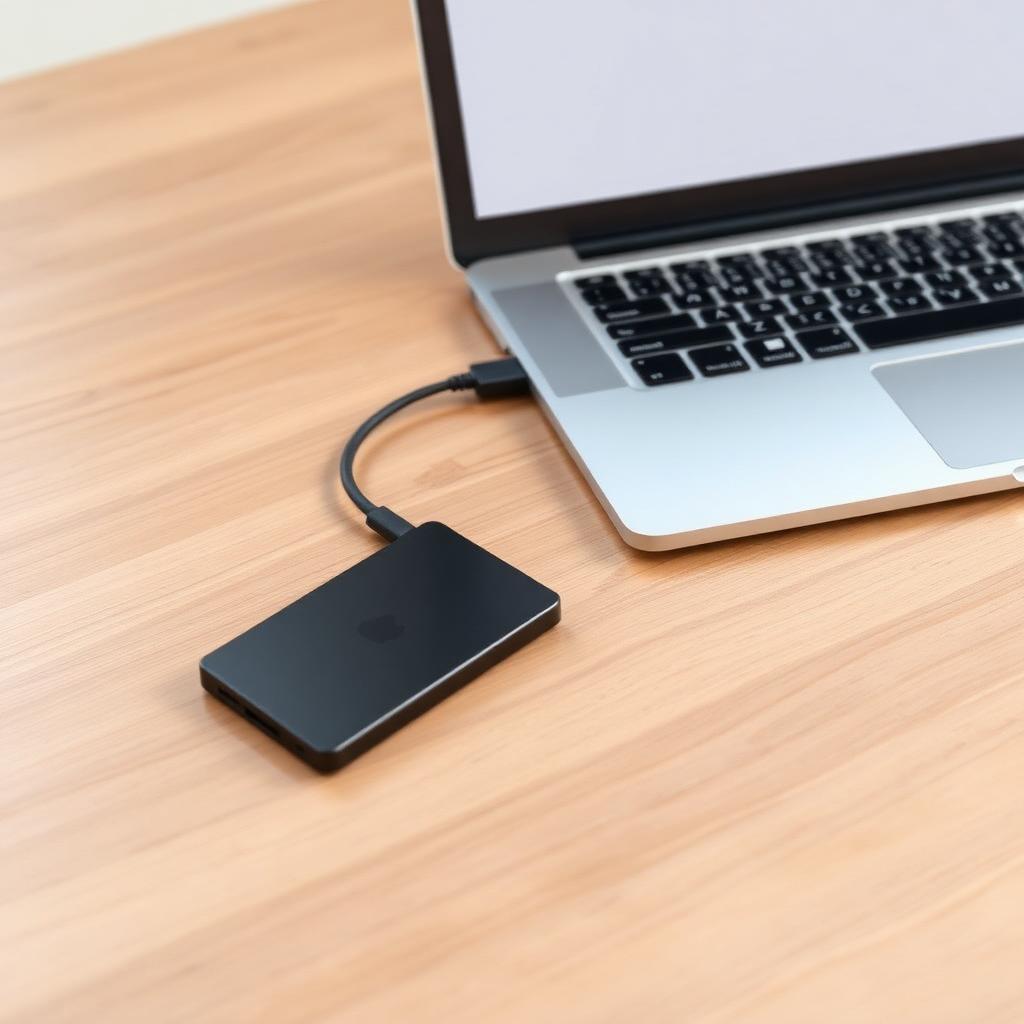
Plug in an external SSD or hard drive at least twice the size of your MacBook storage, open System Settings, General, Time Machine, click the plus button, and pick the drive. Time Machine starts an automatic hourly backup in the background. That alone covers most disasters.
For real safety, follow the 3 2 1 rule: three copies of your data, on two different types of media, with one copy offsite. A common setup is Time Machine to a local drive, plus iCloud Drive and Photos for cloud sync, plus a cloud backup service like Backblaze for full offsite protection.
Why a single backup is not enough
People who lose data almost always had some sort of backup. The catch is usually that the backup drive was sitting right next to the laptop when both were stolen, or the cloud sync was deleting files in lockstep with the broken local copy.
The 3 2 1 rule was created by photographer Peter Krogh for exactly this reason. Three copies means a single failure does not delete your data. Two different media types means one technology failing (a bad batch of SSDs, for example) does not take everything. One offsite copy means fire, flood, or theft cannot wipe everything at once.
The recommended setup for most people
| Copy | Where | Why |
|---|---|---|
| 1 | Your MacBook internal SSD | The working copy |
| 2 | Time Machine on an external SSD or HDD | Fast local restore, version history |
| 3 | Cloud (iCloud plus Backblaze, or one of the two) | Offsite protection |
Each layer covers a different failure: file deletion (Time Machine), drive failure (cloud), and physical loss like theft or fire (cloud).
Step 1: set up Time Machine
Time Machine is the built in macOS backup tool. It runs in the background and takes hourly snapshots that let you restore individual files, entire folders, or the whole system from a moment in the past.
- Buy an external drive at least twice the size of your MacBook storage. For a 512 GB MacBook, get a 1 TB drive. SSDs are faster and quieter, hard drives are cheaper for the same capacity.
- Plug it in. macOS may ask if you want to use it with Time Machine. Click Use as Backup Disk.
- If not, open System Settings, click General, then Time Machine, then the plus button, and pick the drive.
- Choose Encrypt Backup and set a strong password. An unencrypted backup is just as readable as your laptop if it gets stolen.
- Time Machine starts the first backup, which can take several hours depending on your data size.
- From then on it backs up every hour automatically whenever the drive is connected, keeping hourly snapshots for 24 hours, daily snapshots for a month, and weekly snapshots until the drive is full.
Step 2: turn on iCloud for documents and photos
iCloud is not a backup in the strict sense (it syncs, so a deletion on the laptop is mirrored in the cloud), but it does protect you from a dead device and gives you 30 days to restore deleted files.
- Open System Settings and click your Apple Account at the top.
- Click iCloud.
- Turn on iCloud Drive and click Sync this Mac. Then click Drive again and turn on Desktop and Documents Folders so everything on the desktop and in Documents syncs.
- Turn on iCloud Photos so the Photos library syncs.
- Most people will outgrow the free 5 GB plan. The 200 GB plan covers most home users, the 2 TB plan covers families.
Step 3: add a true offsite cloud backup
iCloud syncs, but a third party cloud backup mirrors the whole laptop without syncing deletes immediately. The two most popular are Backblaze and Carbonite. Backblaze is the simplest: unlimited storage for about 99 dollars a year per computer.
- Sign up at backblaze.com (or your service of choice).
- Install the Mac client.
- The first backup runs in the background and can take days for hundreds of gigabytes. Leave the laptop on and plugged in.
- After that, the service uploads any new or changed file continuously.
- If you lose the laptop, you can download files individually, or have Backblaze ship you a hard drive with everything on it for a one time fee.
How to restore from Time Machine
The whole reason for backups is that restoring is fast and predictable.
- Restore one file: open the folder where the file used to live, open Time Machine from the menu bar, scroll back in time using the right side timeline, select the file, click Restore.
- Restore the whole Mac to new hardware: set up the new MacBook, when Migration Assistant appears choose From a Mac, Time Machine backup, or startup disk, plug in the drive, and pick the most recent backup.
- Restore in place after a catastrophic failure: boot into macOS Recovery (hold the power button on Apple Silicon, or Command + R on Intel), choose Restore From Time Machine, and pick the backup.
Common backup mistakes
- Backing up to one drive that lives next to the laptop. A burglar or a coffee spill takes both.
- Never testing a restore. Pick a random file once a month and confirm you can recover it.
- Letting iCloud storage fill up. Once it is full, sync stops silently and new files only live on the laptop.
- Skipping encryption. Encrypt every backup drive. The performance hit is invisible on modern Macs.
- Treating Dropbox or Google Drive as a backup. They are sync services. If you delete a file, they delete the cloud copy too after a short window.
Choosing a backup drive
| Type | Speed | Best for | Typical 2 TB price |
|---|---|---|---|
| Portable SSD (USB C) | Very fast | Daily Time Machine, frequent transport | 120 to 180 dollars |
| Portable hard drive | Slower, mechanical | Cheap secondary backup | 60 to 90 dollars |
| Desktop hard drive | Larger capacities | Permanent home or office backup | 70 to 110 dollars |
| Network attached storage (NAS) | Continuous over Wi Fi | Multiple Macs in one household | 300 to 600 dollars without disks |
FAQs
How big should my backup drive be?
At least twice the size of your MacBook internal SSD, three times if you want a long history of versions.
Does Time Machine slow down my Mac?
The first backup uses noticeable CPU and I O. After that, hourly incremental backups are nearly invisible on Apple Silicon Macs.
Can I use the same drive for Time Machine and other files?
You can, but it is risky. A single accidental delete could affect both your working files and your backup. A dedicated backup drive is better.
Do I need Backblaze if I already have iCloud?
Yes for serious protection. iCloud syncs, which means an accidental delete (or ransomware) can propagate to the cloud copy. A true backup service keeps versions of every file for 30 days or longer.
The takeaway
Plug in an external drive, turn on Time Machine, switch on iCloud Drive and Photos, and add a real cloud backup service. The whole setup takes an afternoon to configure and runs forever in the background. The next time the SSD dies or the laptop disappears at the airport, you will lose nothing.