Quick Answer
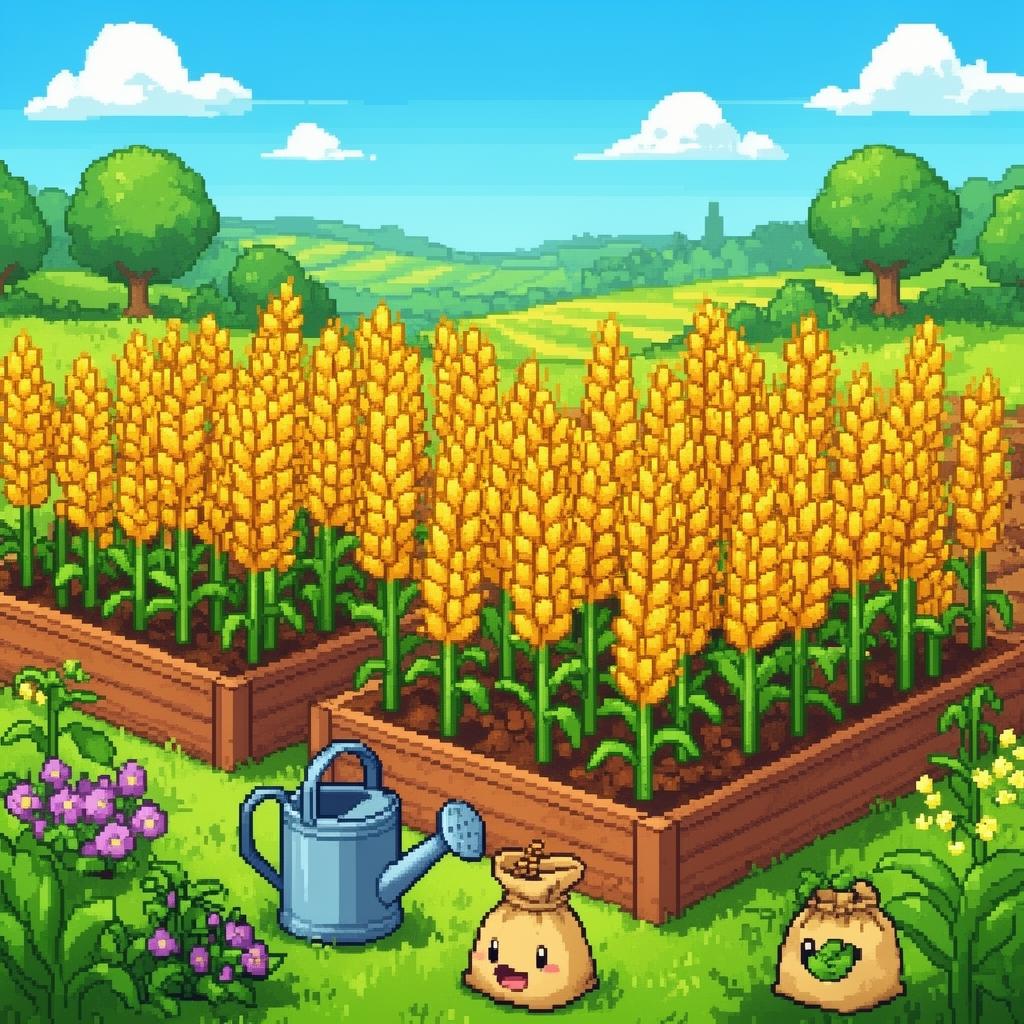
To get wheat in Pokémon Pokopia, you first need to unlock the Rocky Ridges area. You can find wild wheat growing south west of the Pokémon Center. Once discovered, you can purchase Wheat Seeds from the shop for 50 Coins and grow them yourself using the Rototiller ability and a Water Gun.
If you are diving into the world of Pokémon Pokopia, you quickly realize that battles are only half the journey. A massive part of the game revolves around farming, resource management and cooking.
Eventually, you will hit a wall during the "Team Initiation Challenge", specifically the step that requires you to submit 10 Tomatoes, 10 Beans and 10 Wheat. While beans and tomatoes pop up fairly early, wheat can be frustratingly elusive for new players. Here is the exact step by step guide to finding, unlocking and farming wheat.
Step 1: Unlock Rocky Ridges
You will not find a single grain of wheat in the starting area (the Withered Wasteland).
To access wheat, you must progress through the main story quests in the Withered Wasteland until you unlock the next major biome: Rocky Ridges. You will know you are on the right track after completing the "Yawn up a Storm!" Important Request. Once you have access to Rocky Ridges, the hunt for wheat begins.
Step 2: Forage for wild wheat
Before you can become a full time farmer, you have to discover the crop in the wild.
Once you arrive in Rocky Ridges, head directly to the Pokémon Center. From there, travel down the path to the south west (following the railway tracks). You will eventually spot an elevated area filled with dry, abandoned planting beds.
When you first approach the crop, the game will simply label it as "???". Go ahead and harvest it. Congratulations, you have just registered Wheat in your inventory.
Note: You may notice that a stream is blocked up nearby. Make sure you clear the blocks to let the water flow, which creates an excellent irrigated farming spot for later.
Step 3: Grow your own wheat (the Rototiller method)
Relying on wild wheat spawns takes far too long if you want to complete your challenges and start cooking advanced recipes. The best method is to grow it yourself.
Once you have harvested that first wild batch, the local shop will update its inventory. You can now purchase bags of Wheat Seeds (a bundle of five seeds will cost you 50 Coins).
To plant them, you need to prepare the earth:
- Till the soil: Use the Rototiller ability (which you get from Drilbur) on patches of dirt or grass to create a planting bed.
- Plant and water: Plant your Wheat Seeds in the tilled blocks. Then, use the Water Gun ability (by pressing ZR) to hydrate the soil.
- Speed up the growth: Just like in the real world, crops take time to grow. In Pokopia, plants grow in real time. If you are in a rush, bring a Grass type Pokémon with the "Grow" specialty, like Bulbasaur, to your garden. Their abilities will significantly decrease the growth timer.
The takeaway
Each plant will yield three pieces of wheat upon harvest. Once you have your crop, you can turn it in for the Team Initiation Challenge, use it in complex cooking recipes, or even feed it directly to Ditto to restore a little bit of PP.
What Wheat Is Used For in Pokopia
Wheat is one of the staple farming resources in Pokémon Pokopia. You will need it for bread recipes, several flour-based crafting items, certain Pokémon feed types and a handful of seasonal event quests. The game treats it like a long-term renewable resource rather than a one-off pickup.
That means the trick is not just finding wheat once, it is setting up a reliable supply chain that scales with your village.
The Easiest Way to Get Your First Wheat
- Complete the early-game farming tutorial with the village elder.
- Buy a starter packet of wheat seeds from the general store.
- Till a plot near a freshwater source, ideally with a Grass-type Pokémon nearby for the growth speed buff.
- Plant, water and wait three in-game days for the first harvest.
The tutorial gives you enough seeds to cover the first two plantings, which is usually enough to unlock the basic bread recipe.
Other Reliable Sources
- Wild wheat clusters in the western meadow biome, harvestable with a sickle tool.
- The weekly travelling merchant, who rotates wheat into the stock pool on a roughly biweekly basis.
- Wheat seed gifts from village neighbours after completing their friendship quests.
- Festival vendors during the seasonal harvest events, which often discount bulk seed packs.
How to Maximise Your Wheat Yield
Wheat yields scale with soil quality. Use compost from the village composter to boost the soil tier of your wheat plots. Sprinkling a Berry-type fertiliser before planting adds an additional yield bump. If you have unlocked the irrigation upgrade, automatic watering nearly doubles your effective output by removing the missed-watering risk.
Plant on a Sunday in-game to align harvest with the weekly market reset, which often gives you a better selling window if you produce a surplus.
Which Pokémon Help Most
- Grass-types boost growth rates when assigned to the plot.
- Water-types automate watering, saving you tool durability.
- Bug-types reduce pest risk during the late-game seasons.
- Flying-types can scout for wild wheat clusters on the world map.
Trading Wheat With Other Players
You can list wheat on the village trading board once you have unlocked the second tier of the trading system. Bulk listings of 50 units at a slight discount usually sell within a day. Avoid listing too low because the platform takes a small cut and competition from established farmers can push prices down further.
Common Mistakes to Avoid
Do not plant wheat in soil that is depleted from previous corn or barley harvests, because yields drop noticeably. Do not skip the watering window on hot days, because the plant timer resets if it dries out. And do not sell every harvest immediately. Keep a buffer stock for the seasonal events, where wheat prices and quest rewards spike.
Once you have a steady wheat pipeline, the rest of the farming economy in Pokopia opens up quickly.