Quick Answer
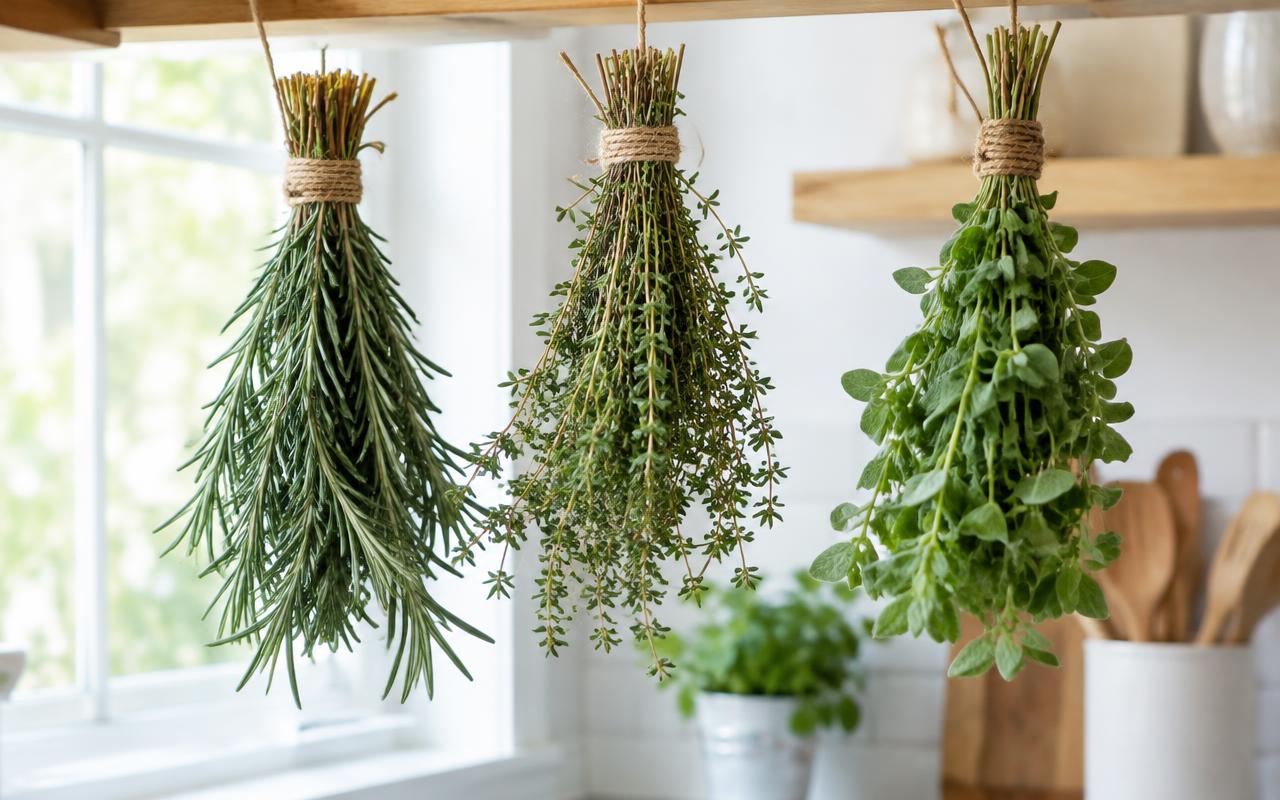
The easiest way to dry fresh herbs is to tie small bundles, hang them upside down somewhere warm, dark and airy, and wait one to three weeks until the leaves crumble.
If you want it done today, a dehydrator at 95 to 115 degrees F takes two to four hours, and an oven on its lowest setting with the door cracked works in a similar time.
Store the dried leaves whole in airtight glass jars away from light, and crush them only when you cook. They keep their best flavor for about a year.
When Should You Harvest Herbs for Drying?
Timing matters more than method. Herbs hold the most aromatic oil just before they flower, so that is the moment to cut the bulk of a plant for drying.
I harvest in the morning, after the dew has dried but before the afternoon sun warms the leaves. Heat drives off the volatile oils that carry flavor, so a cool morning cut gives a stronger dried herb.
Rinse only if the leaves are dusty or splashed with soil, then shake them off and pat completely dry with a towel. Any surface water slows drying and invites mold.
Which Herbs Dry Well and Which Do Not?
Herbs fall roughly into two groups, and knowing which is which saves you a lot of disappointment.
- Low moisture, woody herbs: rosemary, thyme, oregano, sage, marjoram, bay and savory. These dry easily, often by air alone, and keep most of their character.
- High moisture, tender herbs: basil, mint, parsley, chives, tarragon and lemon balm. These mold easily if hung slowly and lose more flavor. They do better in a dehydrator, or frozen instead.
Honestly, dried chives and dried basil are a pale version of fresh. If you grow a lot of them, freezing chopped leaves in a little oil gives a better result for cooking.
Method 1: Air Drying in Bundles
Air drying costs nothing and suits the woody herbs perfectly.
- Strip the lowest inch of leaves from each stem.
- Gather five to ten stems into a small bundle. Small bundles dry evenly; big ones rot in the middle.
- Tie with twine or a rubber band, which tightens as the stems shrink.
- Hang upside down in a warm, dark, dry room with moving air. Direct sun bleaches color and flavor.
- For dusty spaces, slip a paper bag with a few holes punched in it over the bundle.
Expect one to three weeks, depending on humidity. The herbs are ready when a leaf crumbles cleanly between your fingers and the stems snap instead of bending.
Method 2: The Oven
An oven is quick, but it is also the easiest way to cook the flavor out of your harvest. The trick is to keep it as cool as possible.
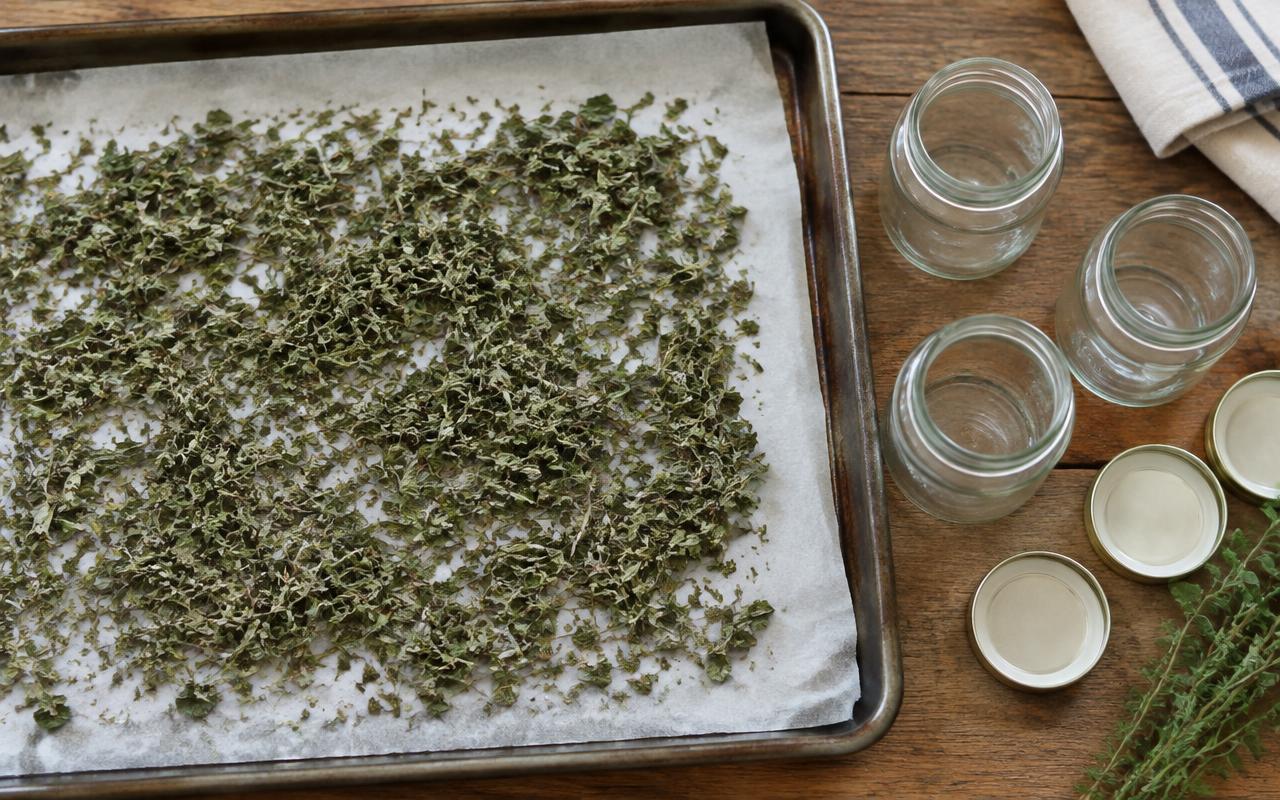
- Spread leaves in a single layer on a parchment lined baking sheet.
- Set the oven to its lowest setting, ideally below 180 degrees F.
- Prop the door open slightly so moisture can escape.
- Check every 30 minutes and turn the leaves. Most herbs take two to four hours.
If your oven cannot go lower than 200 degrees F, use the oven light alone overnight or choose another method. Brown, toasty leaves mean the oils have gone.
Method 3: A Food Dehydrator
For tender herbs like basil and mint, a dehydrator is the most reliable tool. It holds a low, steady temperature with constant airflow, which dries leaves before they can mold.
Preheat to 95 to 115 degrees F, lay the leaves in a single layer, and dry for two to four hours. In humid climates you may need up to 125 degrees F, but go no higher than you need.
Lay a mesh sheet on the trays for small leaves like thyme, or they will fall through once they shrink.
Method 4: The Microwave
The microwave works for small amounts when you want dried herbs within minutes.
- Place a single layer of leaves between two paper towels.
- Microwave on high for one minute.
- Continue in 20 to 30 second bursts, checking each time, until the leaves are brittle. Total time is usually one to three minutes.
Watch closely. Leaves go from dry to scorched very quickly, and paper towels can catch fire if overheated.
How to Store Dried Herbs
Good storage is what makes all that effort worthwhile.
- Keep leaves whole. Crushing breaks the oil cells, and the flavor fades fast after that. Crumble just before cooking.
- Use airtight glass jars. Plastic bags let air in and absorb aromas.
- Keep them dark and cool. A cupboard away from the stove beats a spice rack over the burners.
- Check for moisture. If condensation forms inside the jar in the first few days, the herbs were not fully dry. Tip them out and dry them longer.
- Label and date. Most dried herbs are at their best within a year.
How to Cook With Herbs You Dried Yourself
Dried herbs are more concentrated than fresh. A common rule of thumb is one teaspoon of dried herb for every tablespoon of fresh.
Add dried herbs earlier in cooking than fresh ones. Soups, stews, sauces and braises give them time to rehydrate and release flavor. Rubbing the leaves between your palms before adding them wakes up the aroma.
A quick test for freshness: crush a pinch and smell it. If you barely notice anything, the herb is past its best and it is time to dry a new batch.
Common Mistakes to Avoid
- Drying in direct sunlight, which bleaches color and drives off flavor.
- Making bundles too thick, which traps moisture and causes mold in the center.
- Using high heat to speed things up.
- Storing herbs before they are completely brittle.
- Grinding the whole batch at once instead of crushing as needed.
Frequently Asked Questions
How long do homemade dried herbs last?
They stay safe for longer, but their best flavor lasts about a year in an airtight jar kept dark and cool.
Can I dry herbs in an air fryer?
Yes, if your air fryer has a dehydrate setting at a low temperature. On normal settings it is too hot and the fan blows leaves around.
Why did my herbs turn brown?
Usually too much heat or too much light. Green, fragrant leaves mean you dried them correctly.
Should I remove the leaves from the stems before drying?
Hang woody herbs on the stem, then strip the leaves once dry. For tray methods, pick the leaves off first.
Bottom Line
Hang woody herbs like rosemary, thyme and oregano in small bundles in a warm, dark spot, and use a low dehydrator for tender herbs like basil and mint. Store the leaves whole in glass, crush them as you cook, and replace them every year.