Quick Answer
Identify your exact motherboard model and current BIOS version (Windows + R, type msinfo32, look at BaseBoard Product and BIOS Version/Date). Download the matching BIOS file from your motherboard manufacturer's support page. Copy it to the root of a USB drive formatted as FAT32. Reboot into UEFI (Del or F2 during POST), launch the manufacturer's in-firmware flasher (EZ Flash, M-Flash, Q-Flash, or Instant Flash), point it at the file, and confirm.
While the flash runs, do not touch the keyboard, do not reset, and do not let the power drop. A failed flash mid-write is the one common way to genuinely brick a board. The whole thing takes two to five minutes and the system will reboot itself when it is done.
When you actually need to update
BIOS/UEFI updates are not Windows Update. You only flash when there is a concrete reason:
- You are installing a new CPU that the current BIOS does not support (very common when buying a current-generation chip for an older motherboard).
- The release notes patch a security vulnerability that affects your platform.
- You are seeing a documented bug (random reboots, memory training failures, broken USB) that the manufacturer's changelog explicitly fixes.
If the machine boots fine and runs your workload, there is no upside to flashing for the sake of it. The downside (a failed write) is permanent.
Step 1: identify the exact board and current version
This is the step most people skip and most people regret. Press Windows + R, type msinfo32, and hit Enter. Three fields matter:
- BaseBoard Manufacturer: ASUS, MSI, Gigabyte, ASRock, Biostar, or your OEM.
- BaseBoard Product: the exact model SKU, often with a version suffix like Rev 1.0 or 1.1. The suffix matters; a 1.0 file will not flash to a 1.1 board.
- BIOS Version/Date: compare this against the latest version on the support page. If they match, you are already current.
Step 2: download the right file and prep the USB
Go to the motherboard manufacturer's support page (not a third-party download mirror, which has historically been the source of fake/corrupted BIOS files). Search by the exact model and version. Download the latest stable build, plus its release notes, and read the changelog. If there are warnings about not downgrading after a particular version, take them seriously, because some recent UEFI updates raise the microcode security version and the board will refuse to flash older firmware after.
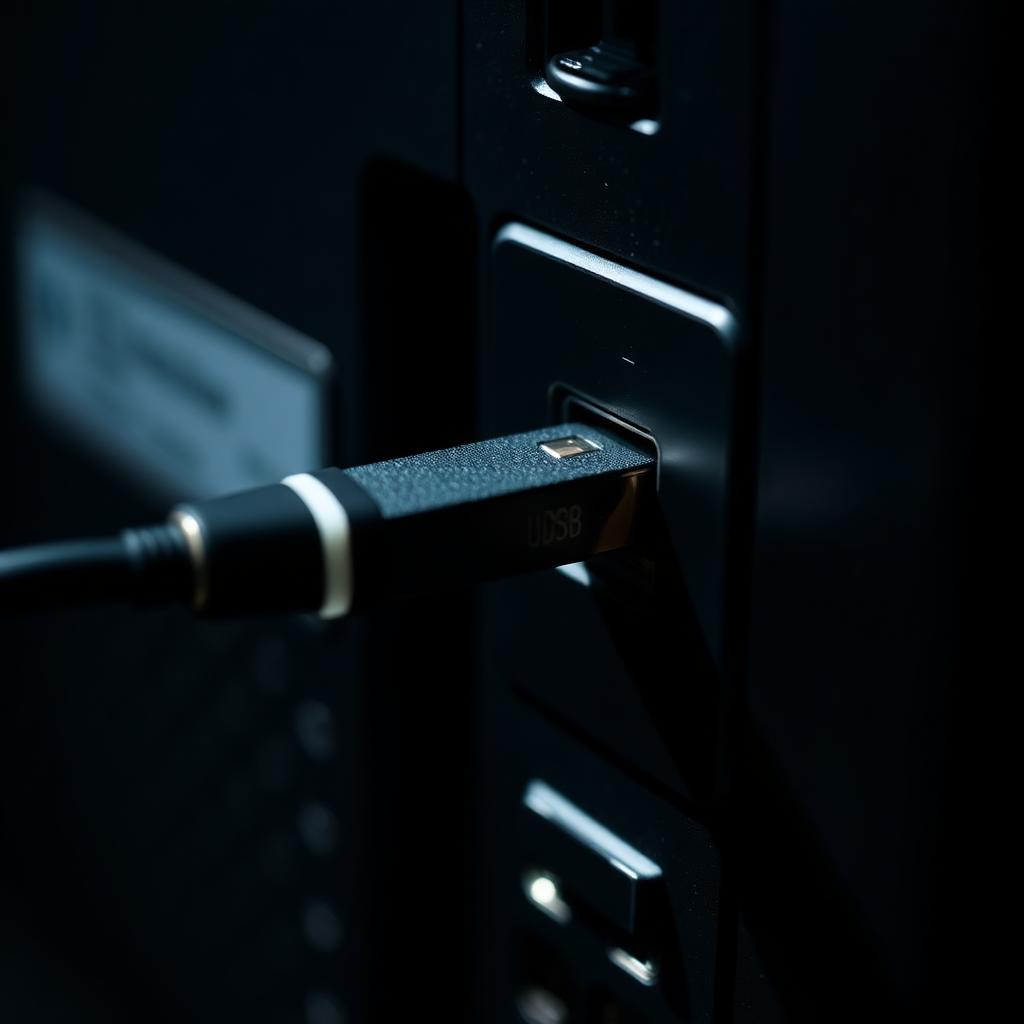
Format a USB drive (8 GB or smaller is fine) as FAT32 with the file system label cleared. NTFS and exFAT are not reliably supported by in-firmware flashers. Extract the downloaded ZIP and copy the raw BIOS file (often a .CAP, .ROM, .BIN, or model-numbered file) to the root of the drive. Do not put it inside a subfolder. Some manufacturers (ASUS) also require you to rename the file using a small bundled tool; the readme in the ZIP will tell you.
Step 3: provide stable power
A desktop on a flaky power strip during a thunderstorm is the worst time to flash a BIOS. Connect the tower to a UPS (uninterruptible power supply) if you have one. If you do not, at least confirm the building is not under any planned power work that day and avoid flashing during a storm. On a laptop, plug in the charger and verify the battery is above 50 percent. Most laptop UEFI flashers refuse to start below that threshold for exactly this reason.
Step 4: enter UEFI and run the flasher
Restart the PC. As soon as the manufacturer logo appears, press the UEFI hotkey repeatedly until you land in the firmware menus. The keys vary:
- ASUS, ASRock, MSI desktops: Del
- Gigabyte desktops: Del (occasionally F2)
- Most laptops: F2 (Dell, ASUS) or F10 (HP) or F1 (Lenovo ThinkPad)
Find the manufacturer's flashing utility. Common names:
- ASUS: EZ Flash 3 or EZ Flash Utility
- MSI: M-Flash
- Gigabyte: Q-Flash
- ASRock: Instant Flash
Launch the utility. Pick your USB drive from the storage list. Pick the BIOS file. Confirm. The flasher will validate the file, erase the old firmware, write the new firmware, and verify. You will see progress bars and the system may reset multiple times. That is normal.
The non-negotiable safety rules during the flash
- Do not touch the keyboard or mouse.
- Do not press the reset button.
- Do not unplug the USB.
- Do not turn off or reboot the system manually.
- Do not panic when the fans spin to maximum; that is the board running without thermal regulation while the firmware is being written.
If the power cuts mid-write and your board does not have a BIOS recovery feature, the chip will be left in a corrupt state and the board will not boot. Some modern boards have a hardware feature called BIOS Flashback or DualBIOS that can recover from this (Gigabyte's DualBIOS uses a second physical chip; ASUS BIOS FlashBack writes from a USB stick without any CPU or RAM installed). Check whether your board has one before you flash; it changes the worst-case outcome from bricked board to inconvenient recovery.
After the flash
The system will reboot itself when the write completes. It is normal for the first POST after a flash to take longer than usual; the board is retraining memory timings against the new firmware. When you enter UEFI again, your settings will be at factory defaults. Re-enable XMP/EXPO for memory, re-pick boot order, re-set fan curves if you customised them. Verify in msinfo32 (or in UEFI itself) that the new BIOS version number shows. You are done.
Special case: AMD AGESA and CPU compatibility flashes
If you are flashing specifically to support a newer CPU on an AM4 or AM5 board, check the manufacturer's CPU support list for the exact BIOS version that adds support. On AM5 (Ryzen 7000/8000/9000), AGESA versions matter for memory stability with EXPO; pick a stable release rather than the most recent beta. ASUS and MSI both run BIOS Flashback features on most current boards that let you do this initial flash with no CPU installed, which is the only reliable path if your current CPU is not supported by the shipping firmware.
The takeaway
Flashing a BIOS is safe as long as you (1) verify the exact board model and version, (2) use the manufacturer's file on a FAT32 USB, (3) flash from inside the firmware's own utility, and (4) do not interrupt the process. Skip any of those and you risk a paperweight. Done correctly, the whole procedure takes five minutes, your settings reset to defaults, and you are running the firmware you actually need.