Quick Answer
On iPhone, open the photo in Photos, tap Edit, then tap the red-eye icon (a slashed eye) in the top-left of the editor and tap each affected pupil. On Android, open Google Photos, tap Edit, then Tools, and select the eye-correction tool, then tap each pupil. Both flows take seconds.
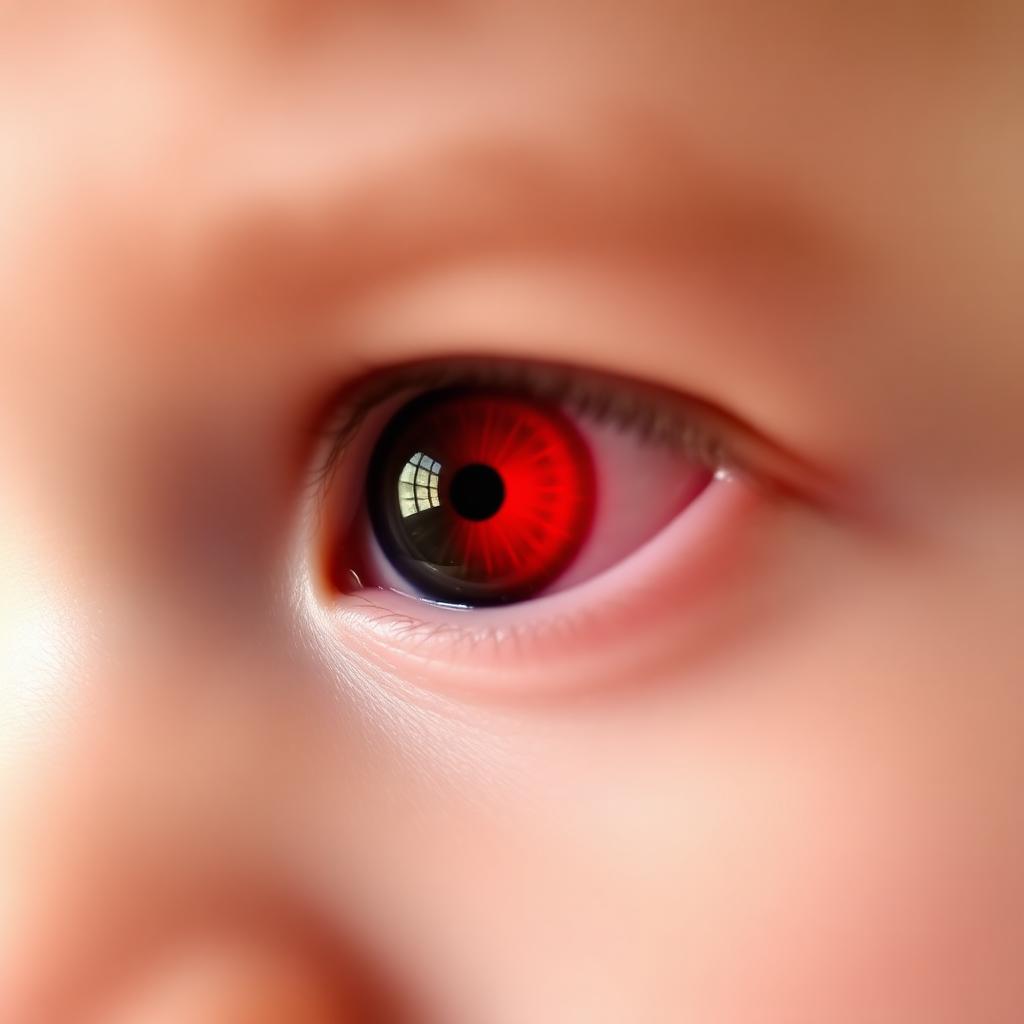
The longer-term fix is to stop creating red eye in the first place. The effect happens because a direct on-camera flash enters a dilated pupil and reflects off the blood-rich choroid layer at the back of the eye. Move the light source away from the lens (a bounced external flash, a softbox, or even angling the phone) and red eye disappears.
Why red eye actually happens
In low light your pupils dilate to let more light in. A camera flash fires faster than the iris can react, so the pupil is still wide open when the burst hits. The light passes straight through the lens of the eye, lands on the retina, and bounces back out. What the camera records is the colour of the highly vascular choroid layer behind the retina, which is red because it is full of blood.
Animals get a different colour reflection (often green or yellow) because many species have a reflective tapetum lucidum behind the retina. Humans do not have a tapetum, so our reflection is the blood layer itself. This is why your dog's eyes glow green and your cousin's glow red.
Fix it on iPhone (iOS)
- Open the Photos app and tap the affected image.
- Tap Edit in the top right.
- In the editor, look for the small icon shaped like an eye with a slash through it. It appears in the top-left corner when the photo contains a recognised face. Tap it.
- Tap each red pupil in turn. The software detects the red and replaces it with a natural dark pupil, keeping the catchlight intact.
- Tap Done.
If the slashed-eye icon does not appear, the photo does not have a clearly detected face. In that case use the manual approach: tap Edit, tap the Adjust panel, and reduce Saturation on the small area around the pupil after using the brush selection. It is slower but works.
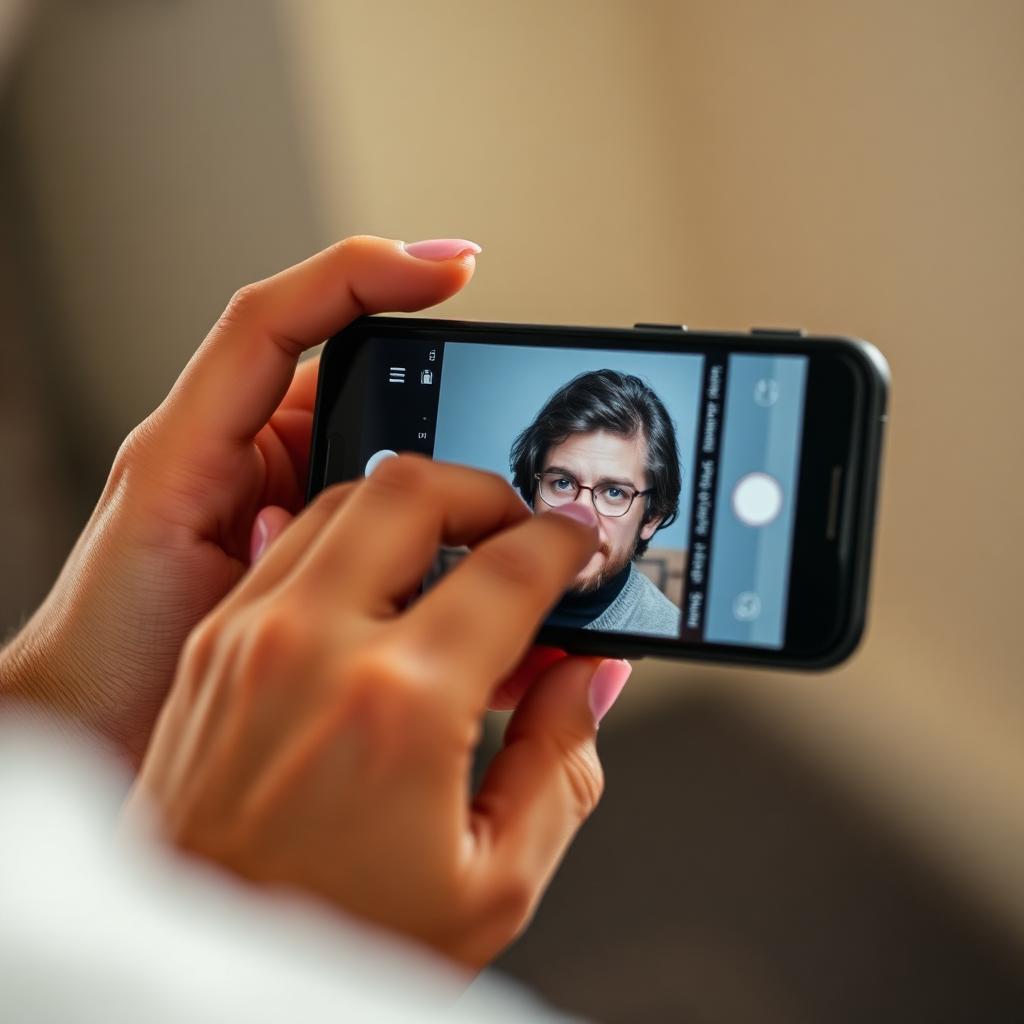
Fix it on Android (Google Photos)
- Open Google Photos and tap the image.
- Tap Edit at the bottom of the screen.
- Swipe across to the Tools section.
- Tap the eye-correction tool (the icon varies slightly by Android skin but is usually labeled or sits next to Portrait Blur).
- Tap each red pupil. Save.
On Samsung devices, the native Samsung Gallery app also has a red-eye removal under Edit, More, Detail correction. Either flow works.
Fix it on the desktop
For batch fixes or larger image files, use a desktop editor. The flow is the same idea in every app:
- Adobe Lightroom or Photoshop: use the Red Eye Correction tool (J in Lightroom, available under the Spot Healing brush group in Photoshop). Drag a circle over the pupil and the algorithm desaturates and darkens the red pixels.
- GIMP (free): use Filters, Enhance, Red Eye Removal after selecting the pupil with the elliptical select tool. Adjust the threshold slider until the red is gone but the catchlight stays.
- Apple Photos on Mac: open the photo, click Edit, click Retouch, and look for the red-eye option in the side panel. Click each pupil.
How to stop red eye at the source
Software fixes are easy but they always leave a slightly flatter, less natural-looking eye than a properly lit shot. The cleaner answer is to prevent the reflection geometrically. The reflection only happens when the flash is close to the lens axis, which is why on-camera and on-phone flashes are the worst offenders.
- Bounce an external flash. A speedlight tilted up at the ceiling or a side wall fills the room with diffused light and pulls the source far away from the lens axis. Red eye essentially vanishes.
- Use red-eye reduction mode. Most cameras and phones offer a pre-flash that fires a short series of bursts before the real flash. This makes the pupils contract before the photo is taken. It works, but it produces a delay between press and capture and people often look surprised in the final frame.
- Add ambient light. If you turn on a lamp behind you before shooting, pupils contract naturally and the flash hits a smaller opening. This is the easiest fix for indoor family snapshots.
- Move the subject's gaze. A subject looking slightly off-axis from the lens (toward a side light source) breaks the straight reflection path back into the camera.
What to do about red eye in old or scanned photos
Old print scans often have particularly aggressive red eye because film stocks of the 1980s and 1990s were less forgiving of mixed flash colour. The same tools work: open the scan in Photos, Google Photos, or GIMP, and use the red-eye tool. The trick with scans is that the red is often darker and more brown than digital red, so you may need to drop the threshold or paint over the area with a small soft brush set to dark grey.
One thing to avoid
Do not use a generic colour replace tool that swaps every red pixel in the image. It will desaturate lipstick, sweaters, and the catchlight in the eye, all of which should stay. The dedicated red-eye tools are pupil-aware and only touch the small affected zone. Stick with them.
The takeaway
Red eye is light reflecting off the back of the eye through a wide pupil. To fix it: iPhone Photos editor, tap slashed-eye icon, tap pupils. Google Photos: Edit, Tools, eye correction, tap pupils. To prevent it: move the flash off-axis, add ambient light, or have the subject look slightly away from the lens. The fix takes seconds; the prevention takes one shift in your lighting habit.